
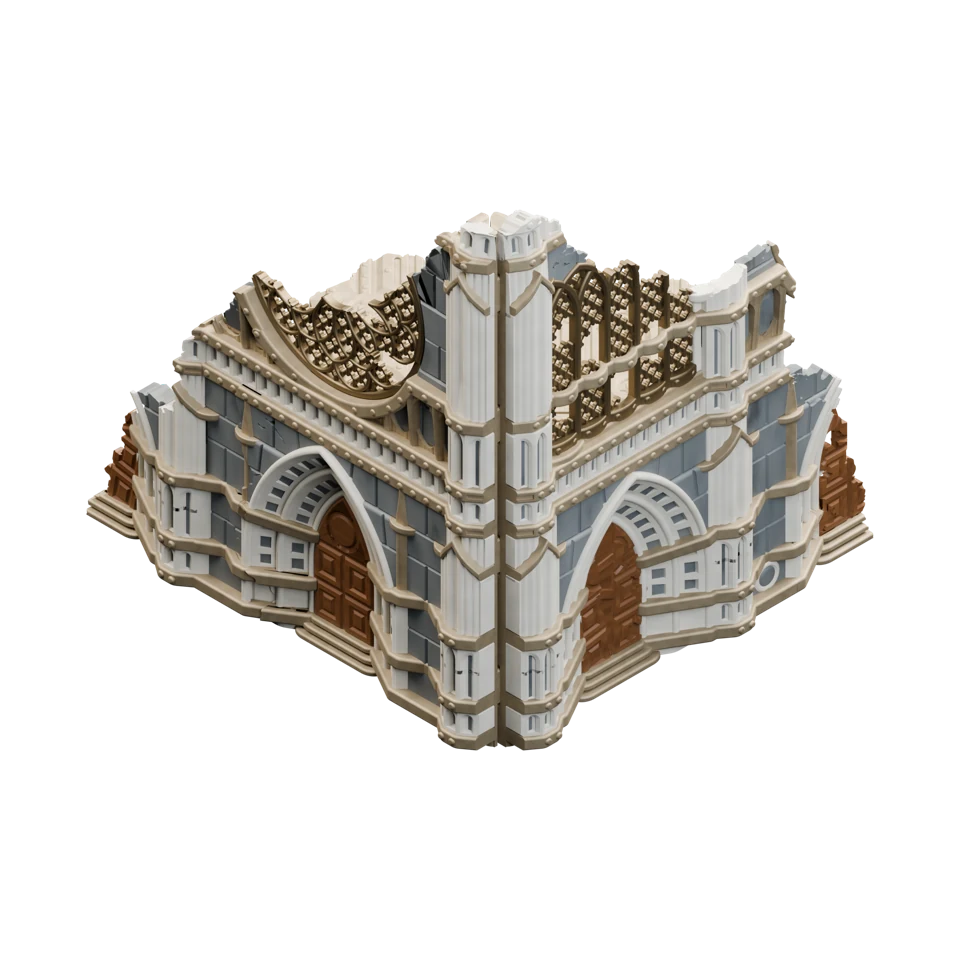
 2×
NUGOTH_D [AB].stl
Choose your faction to see what to print and where each piece goes
Downloads from the MyMiniFactory store come in a ZIP file with STL and .3mf files. Follow the instructions in the object's description, and if you feel you're stuck and can't figure something out, join the Discord server to ask for printing advice.
2×NUGOTH_D [AB].stl
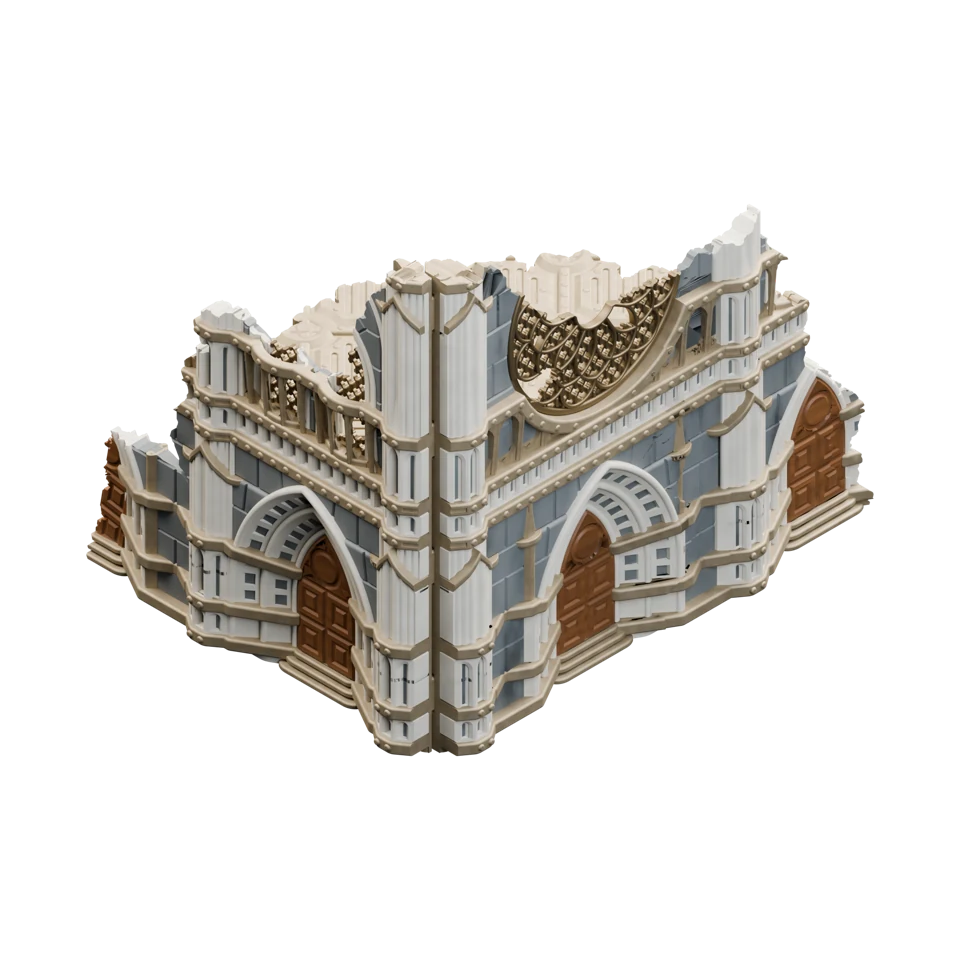 2×
NUGOTH_E [EF].stl
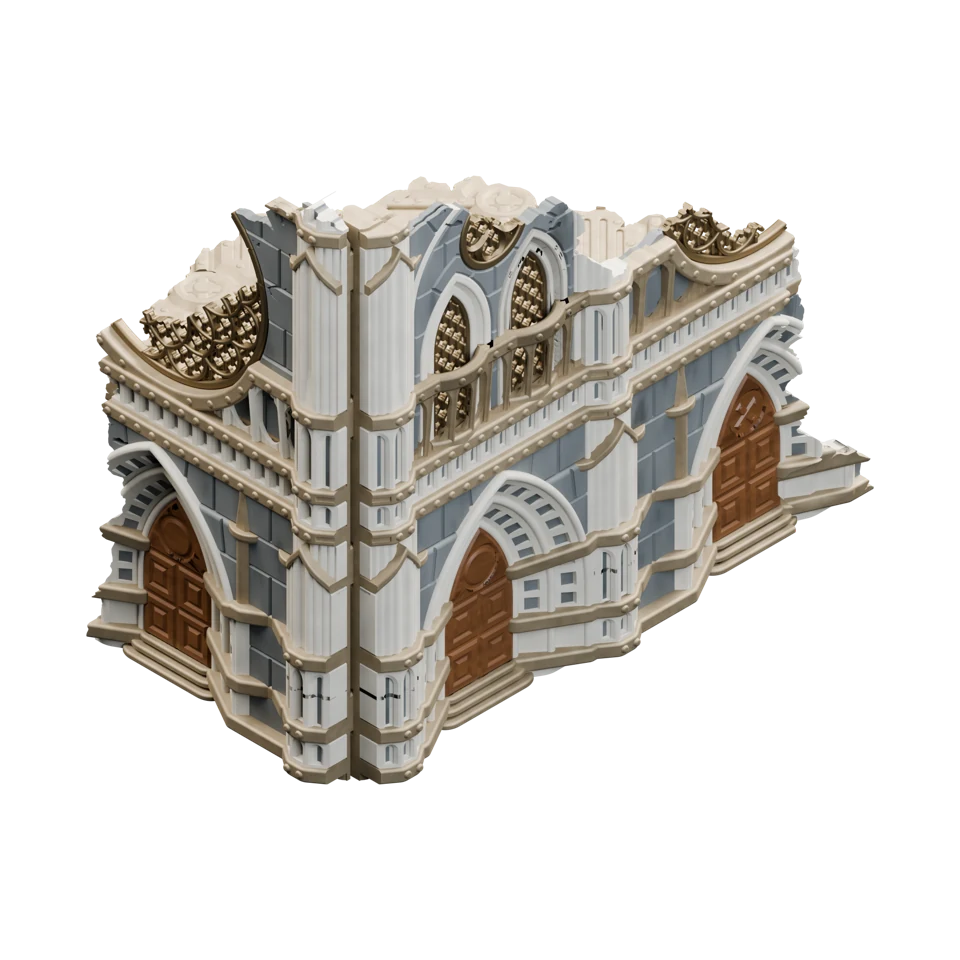 2×
NUGOTH_F [CD].stl
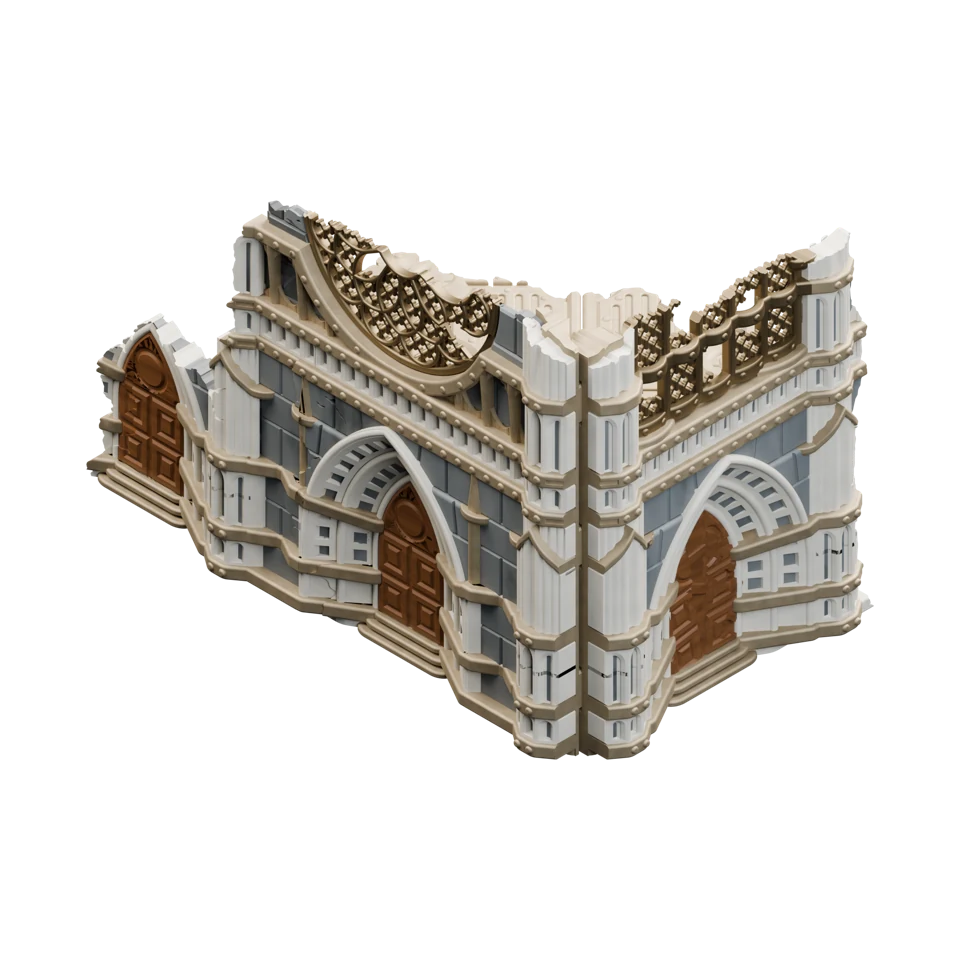 2×
NUGOTH_G [GH].stl
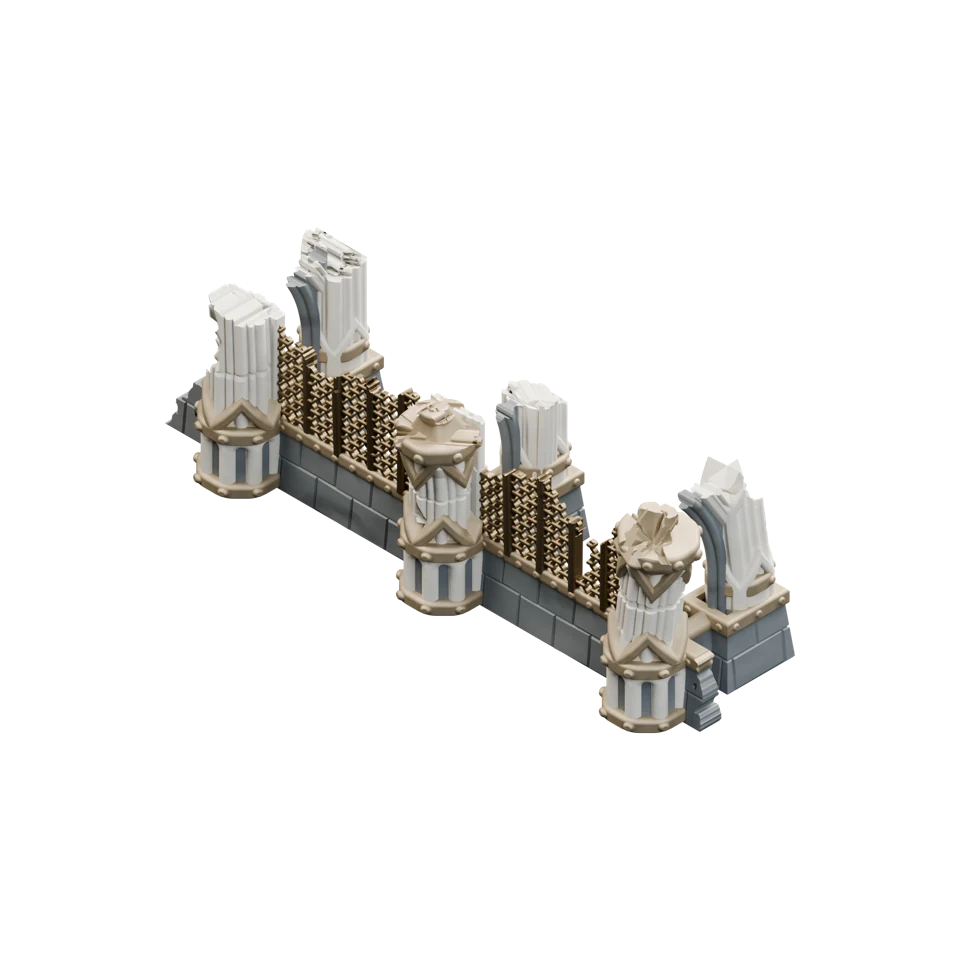 2×
NUGOTH_11THED_2x4x2.stl
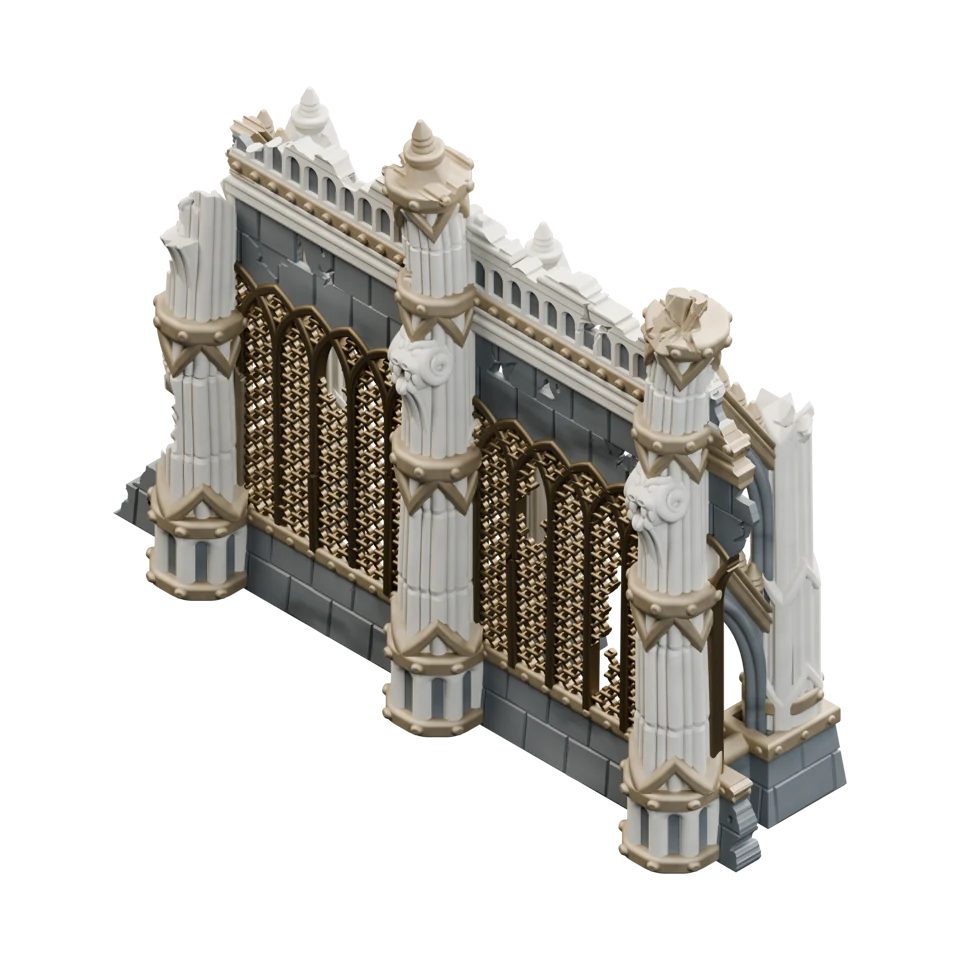 2×
NUGOTH_11THED_2x4x4.stl
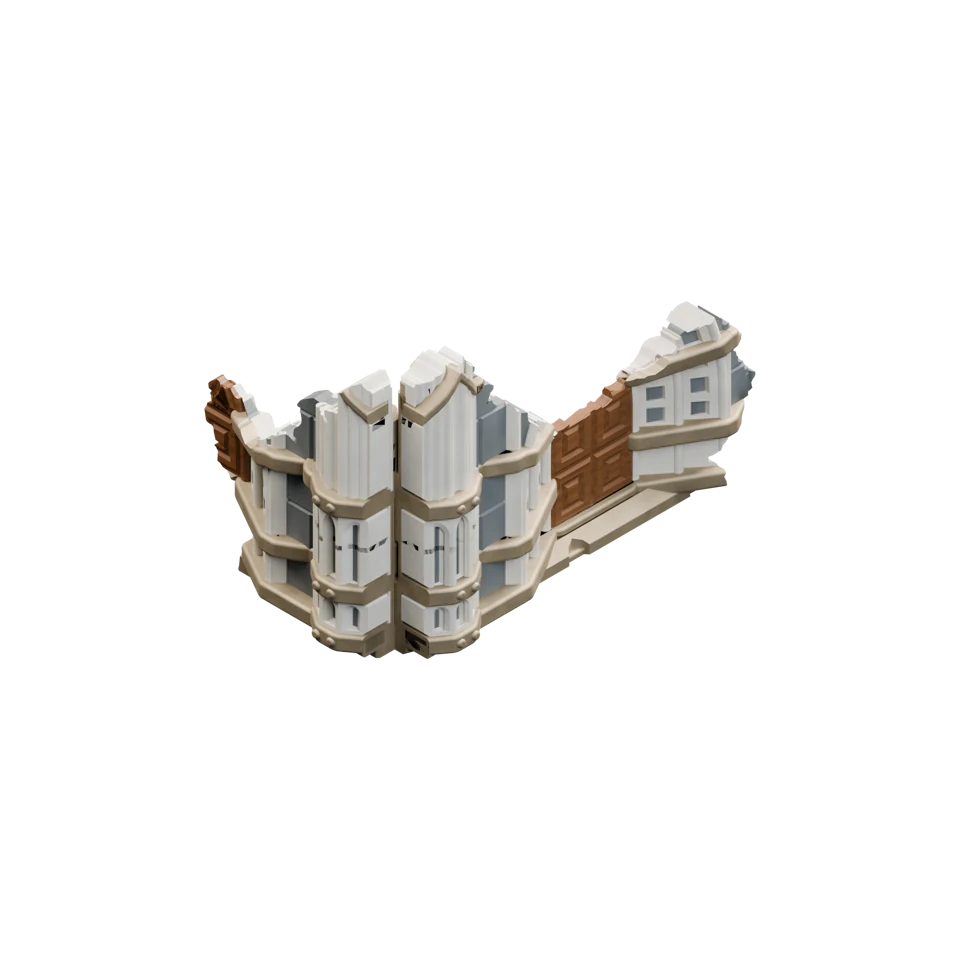 4×
NUGOTH_SCATTER_A.stl
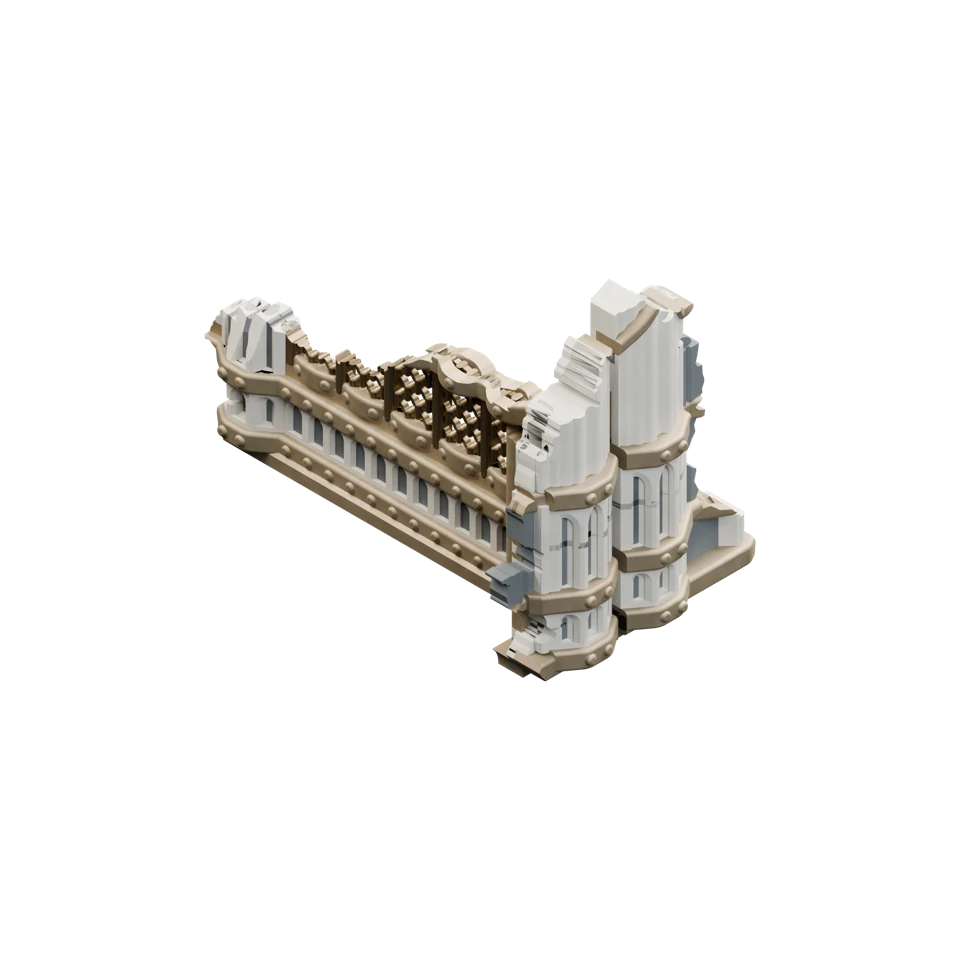 4×
NUGOTH_SCATTER_D.stl
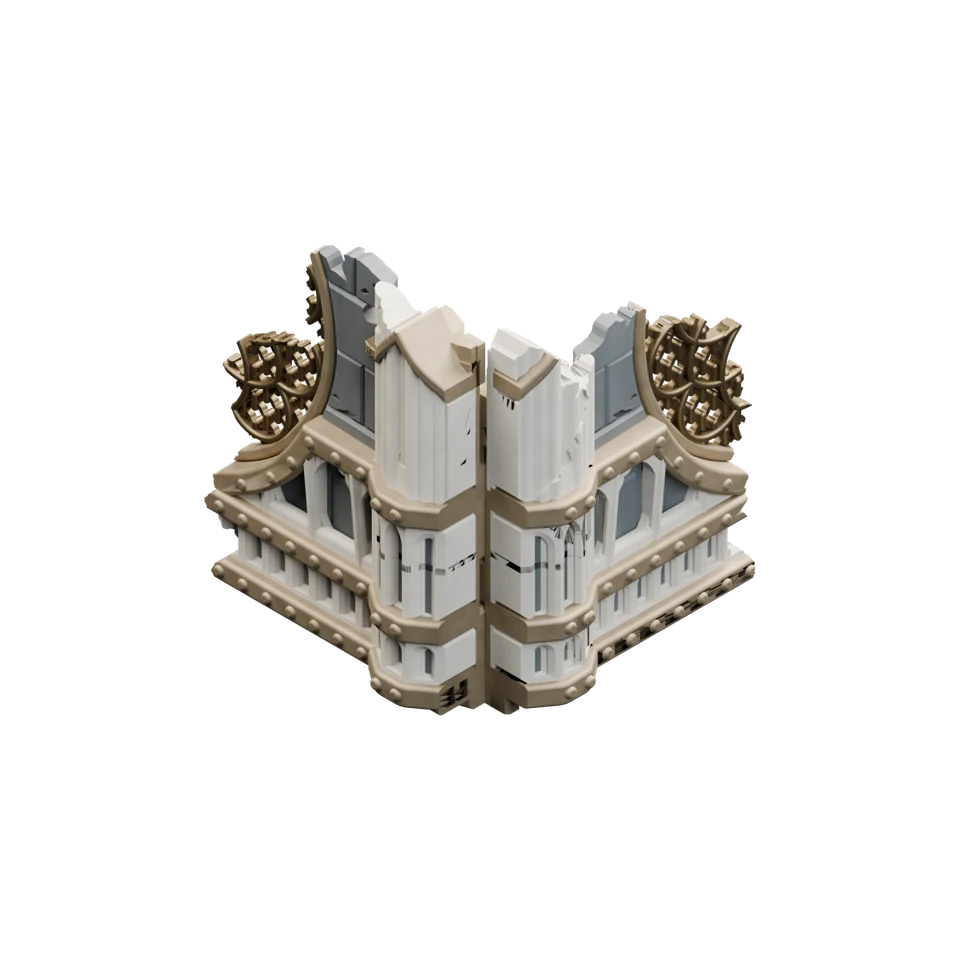 2×
NUGOTH_SCATTER_E.stl
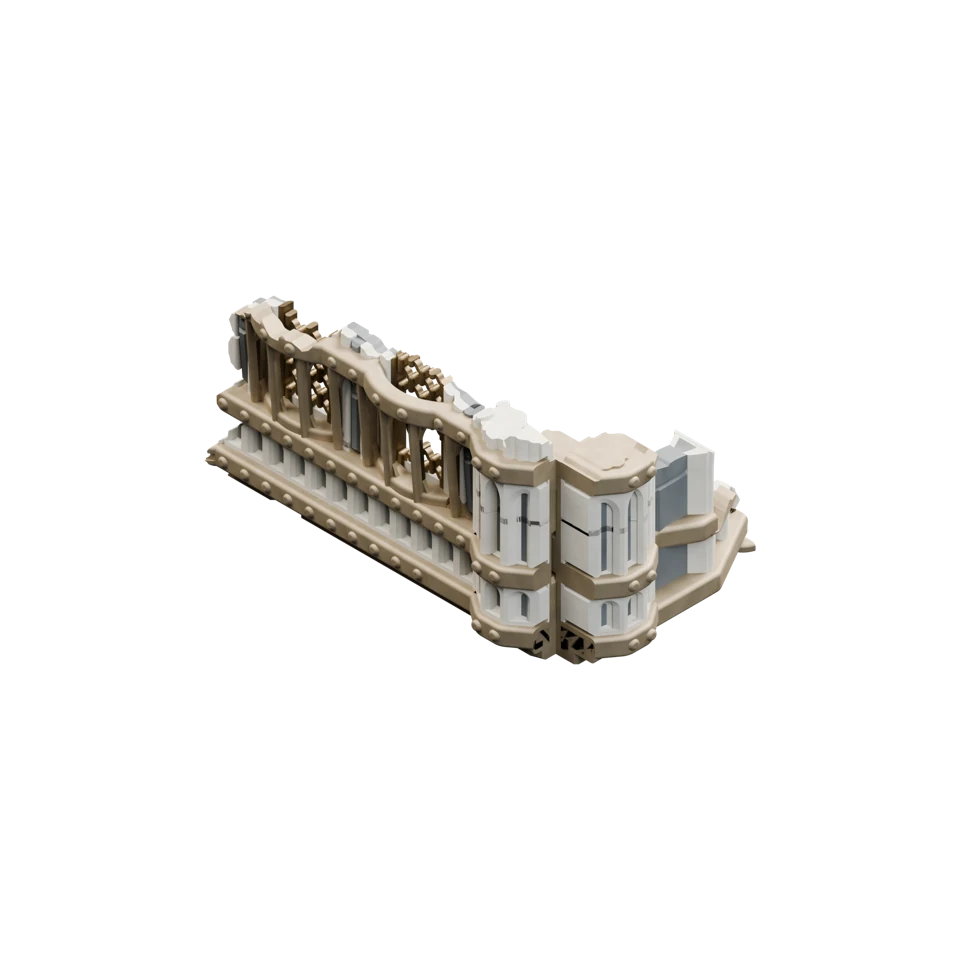 2×
NUGOTH_SCATTER_F.stl
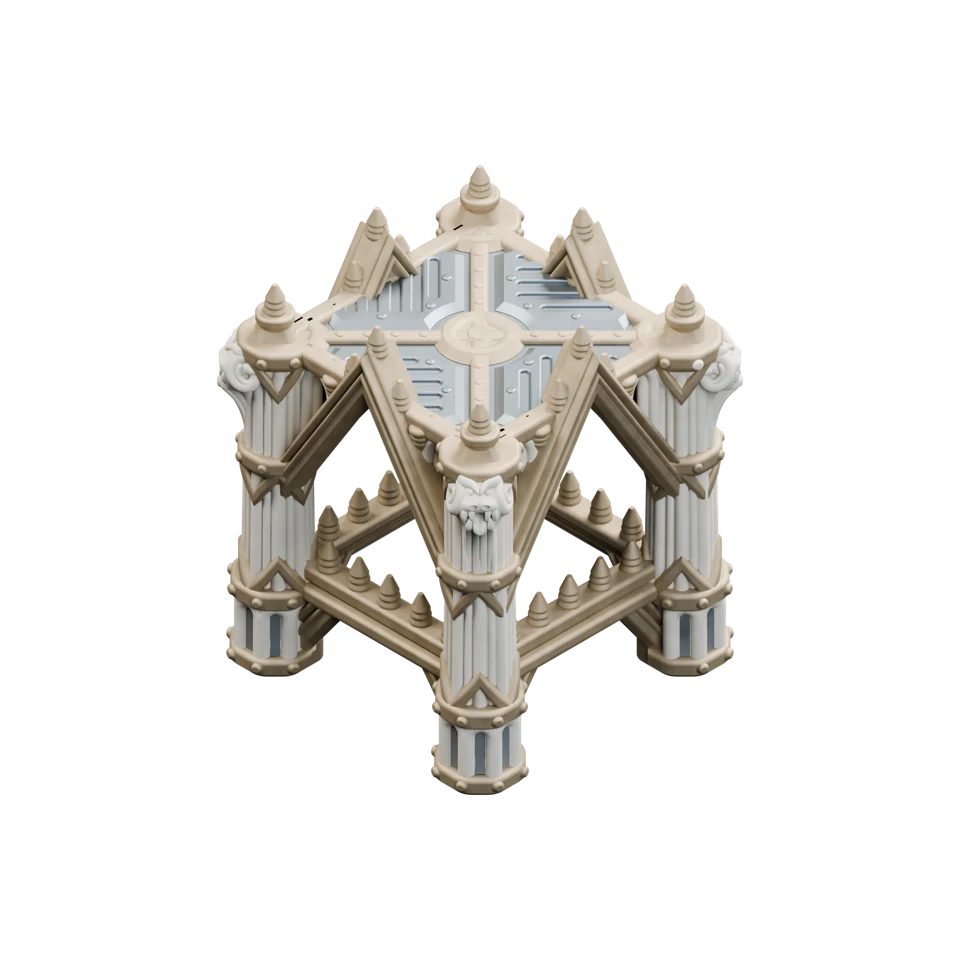 2×
NUGOTH_CONT_A.stl
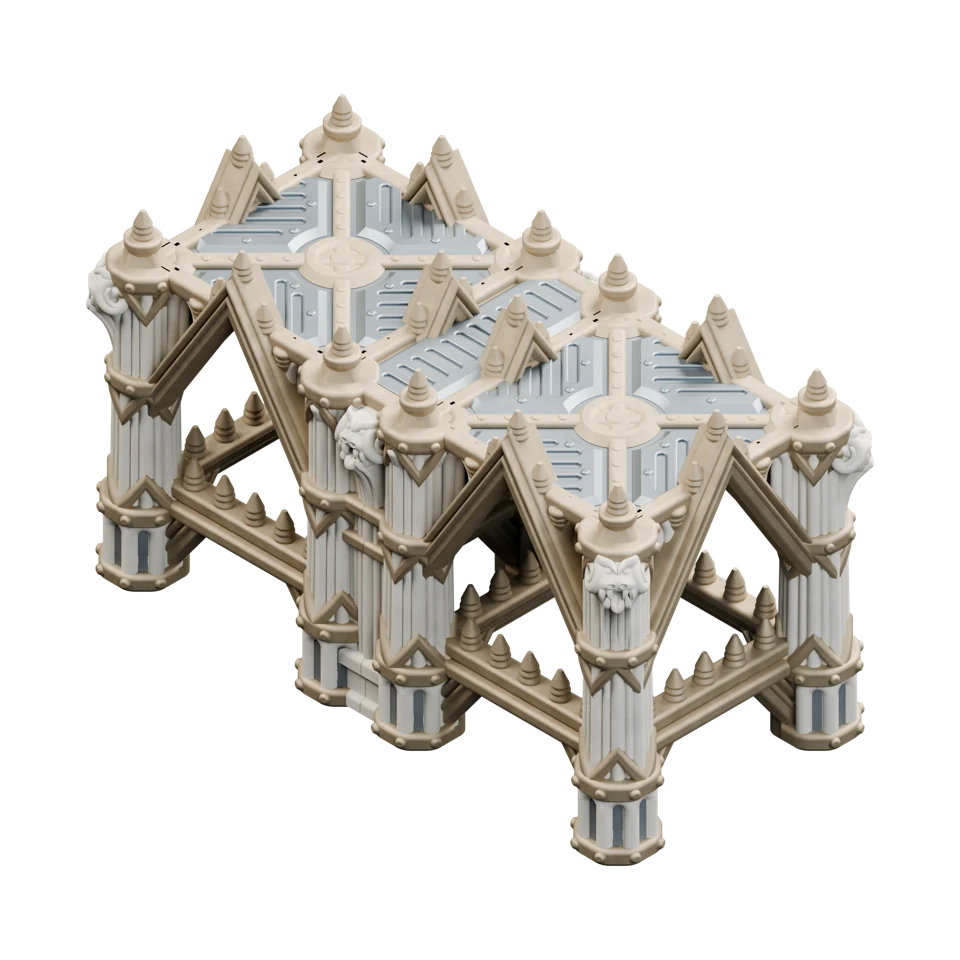 2×
NUGOTH_CONT_B.stl
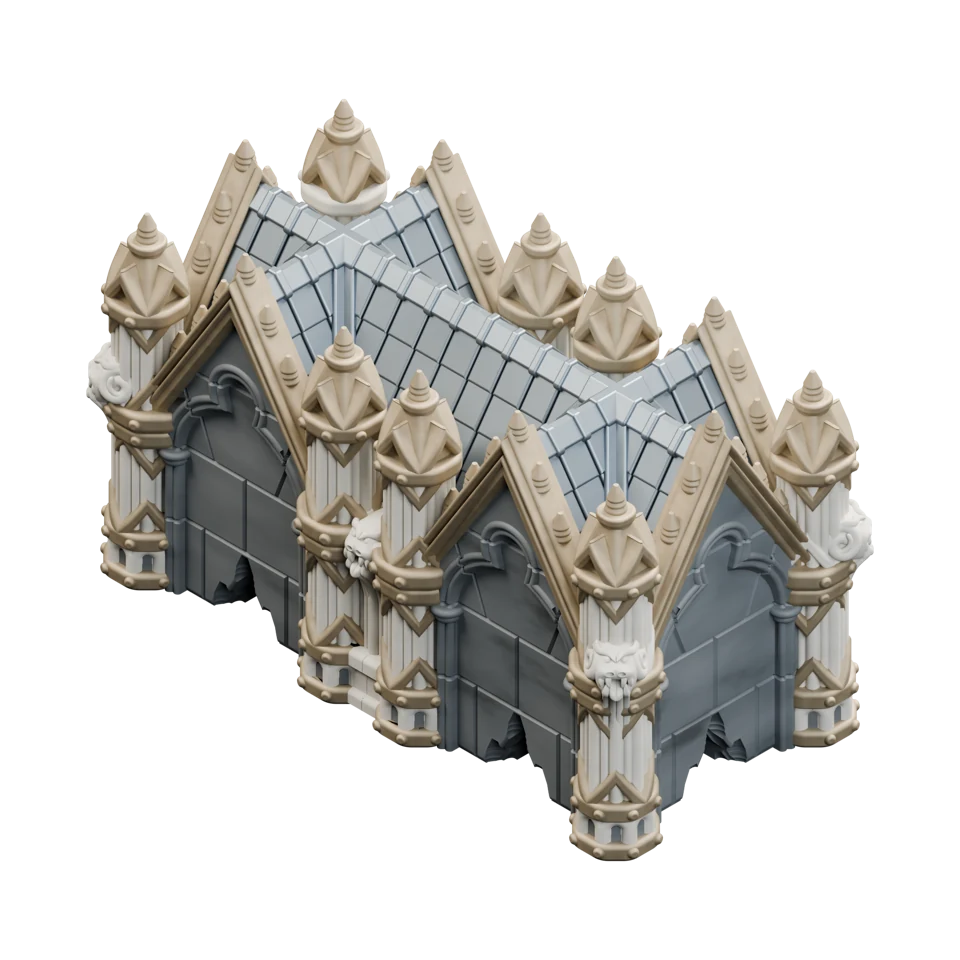 2×
NUGOTH_CONT_C.stl
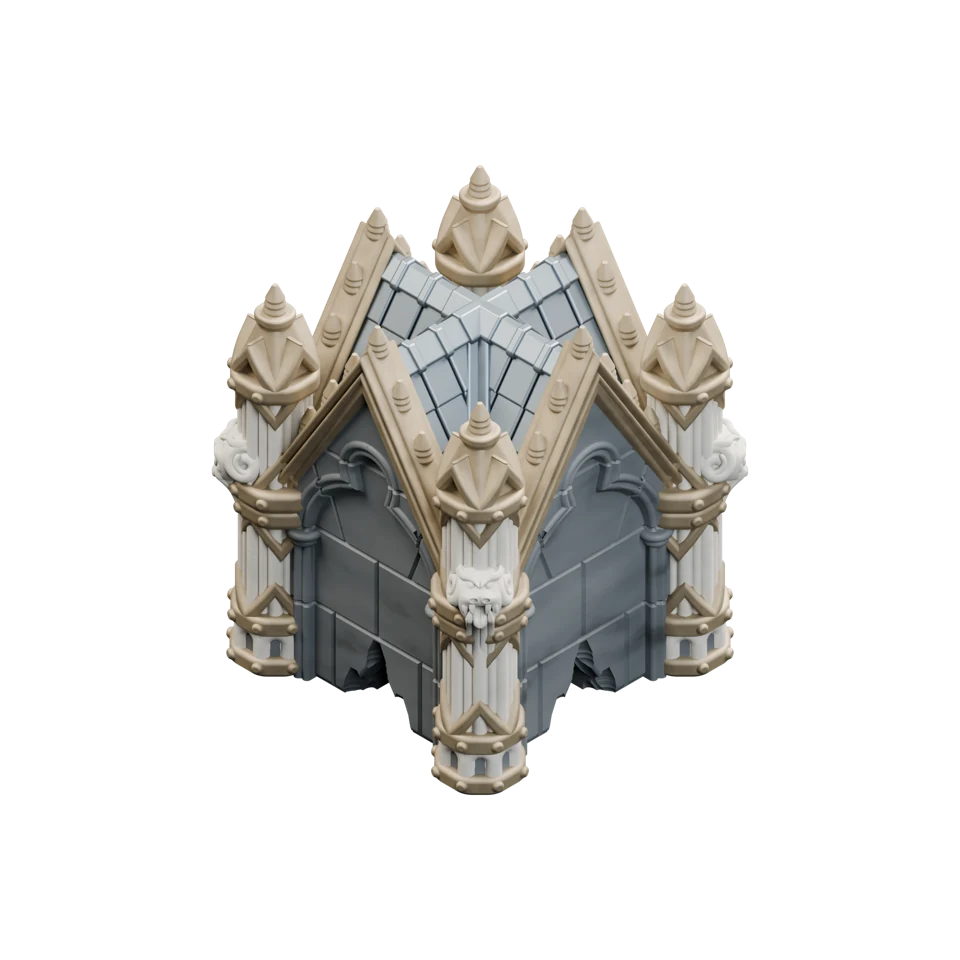 2×
NUGOTH_CONT_D.stl
Use the footprints included in your MMF bundle, the free terrain templates or footprints from another maker or official sources; what matters is having the footprints required by your layout. Tinker Junkie recommends the official GW footprints or third-party alternatives to help keep the table immersive.
 2×
2.5 × 10″
 4×
2 × 6″
 4×
4 × 6″
 4×
12 × 8″
 2×
11.5 × 7″
Start by laying out your area terrain footprints. Competitive 11th Edition tournament layouts use a shared set of footprints in different arrangements and orientations. Match the shapes and the letter pairs in brackets [AB], [CD], [EF] and [GH] to your multi-level ruins, then place your foldable terrain on the corresponding footprints. The foldable ruins have their letter combination embossed underneath the floors. The rest of the ruins follow the layout depicted in the following diagrams.
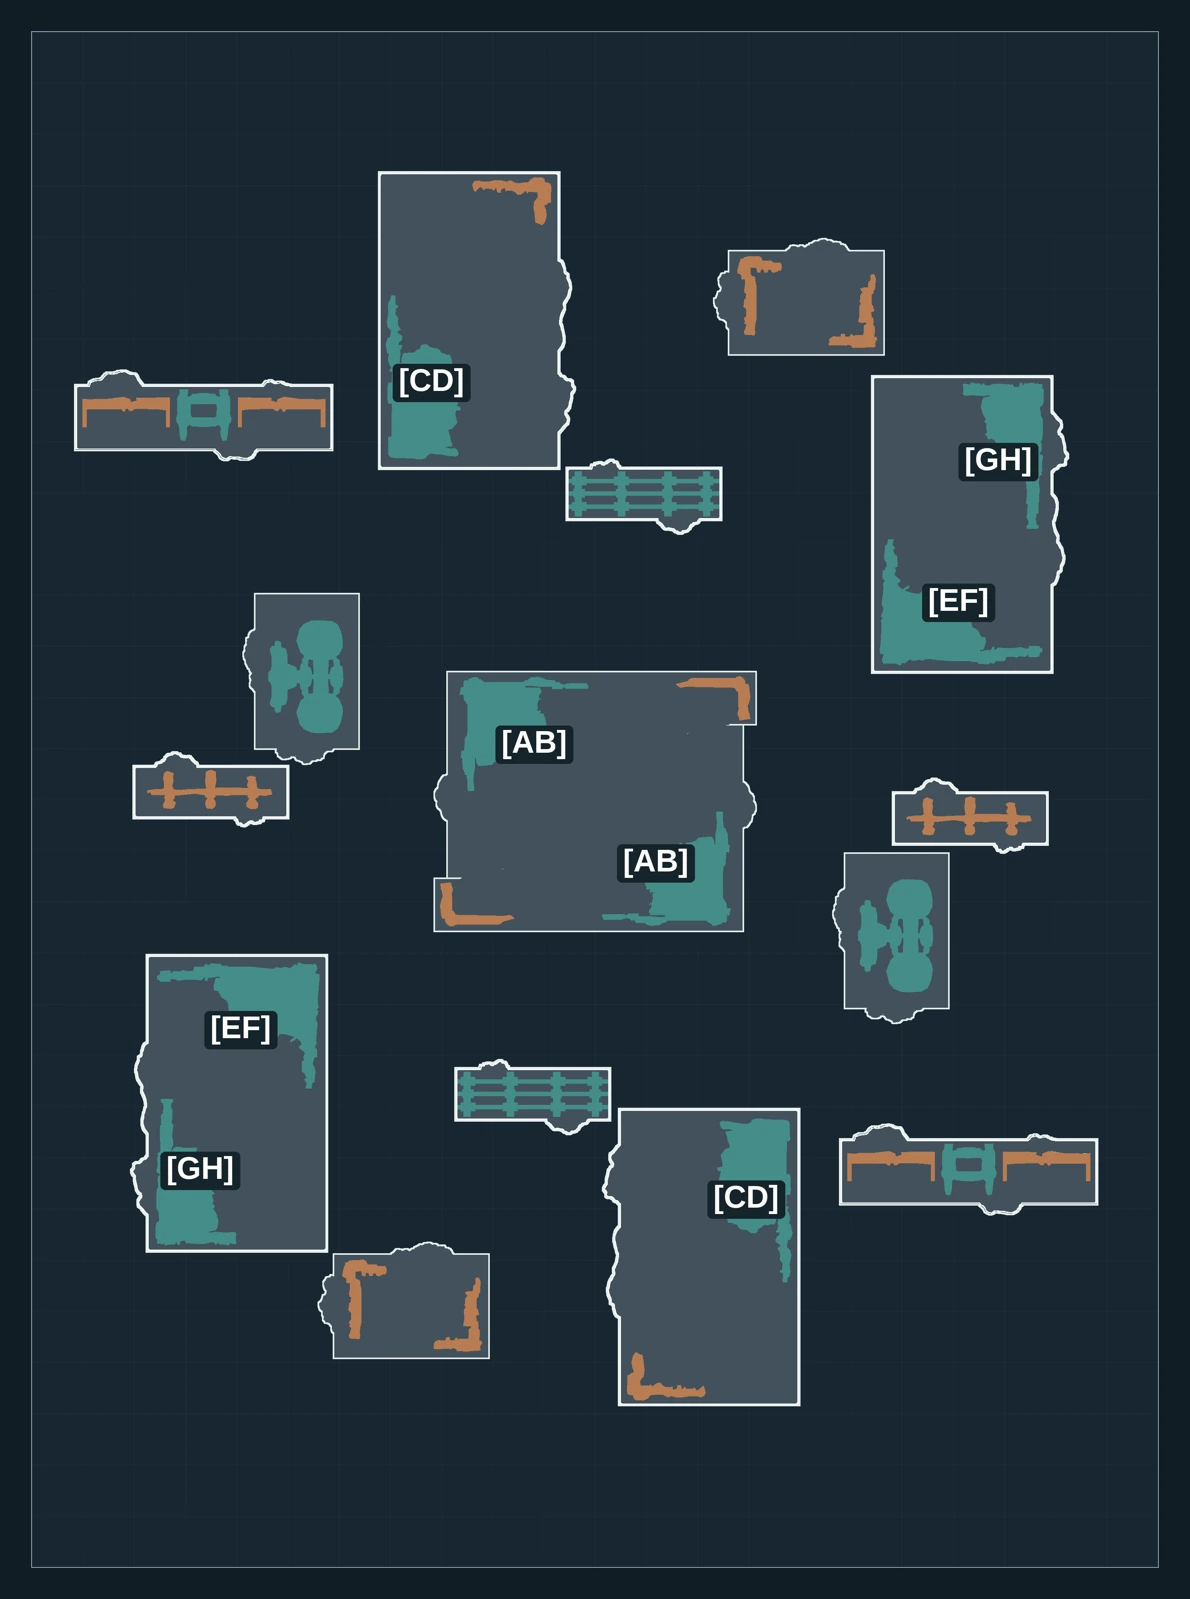
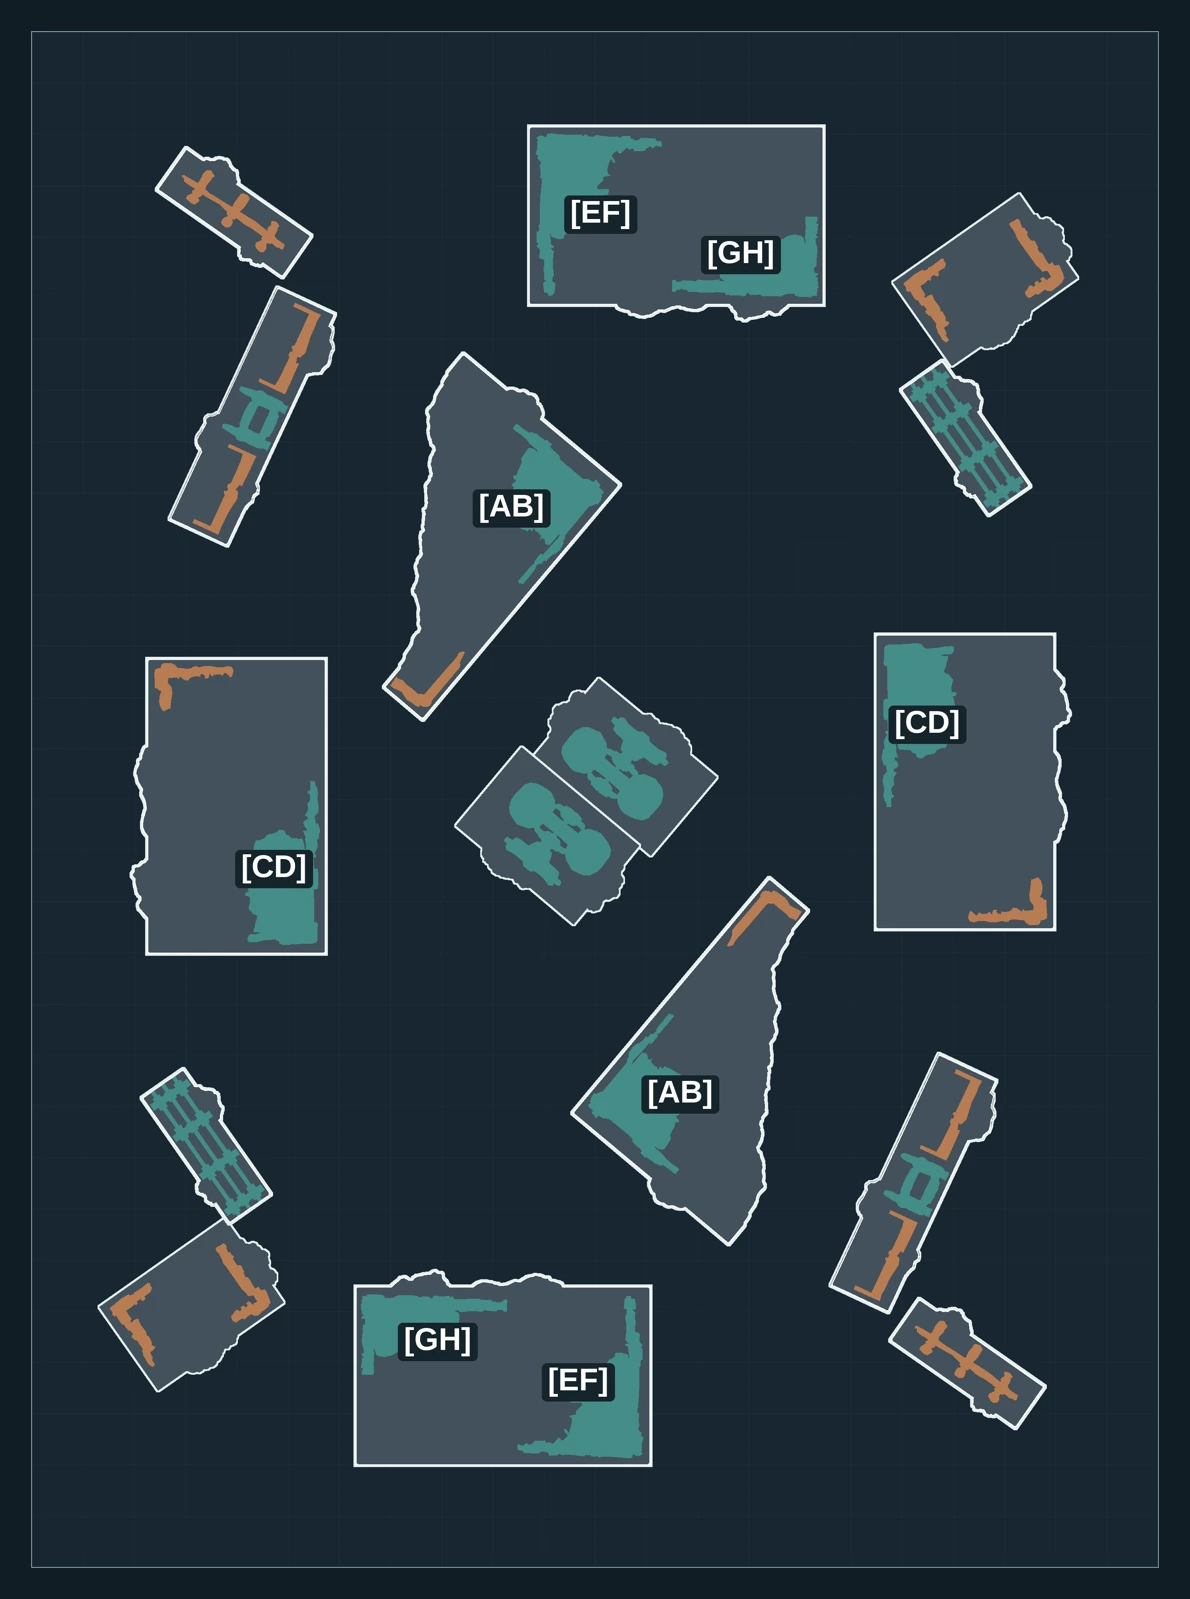
After a couple of setups, remembering what goes where becomes much easier. Use the visual guide below to check the pieces for each footprint alongside your event’s layout diagram.
Single containers + 2× Scatter D
1× low piece 2×4×2
1× tall piece 2×4×4
Stacked double containers
2× Scatter A
1× Ruin E [EF] + 1× Ruin G [GH]
1× Ruin F [CD] + 1× Scatter F
1× Ruin D [AB] + 1× Scatter E
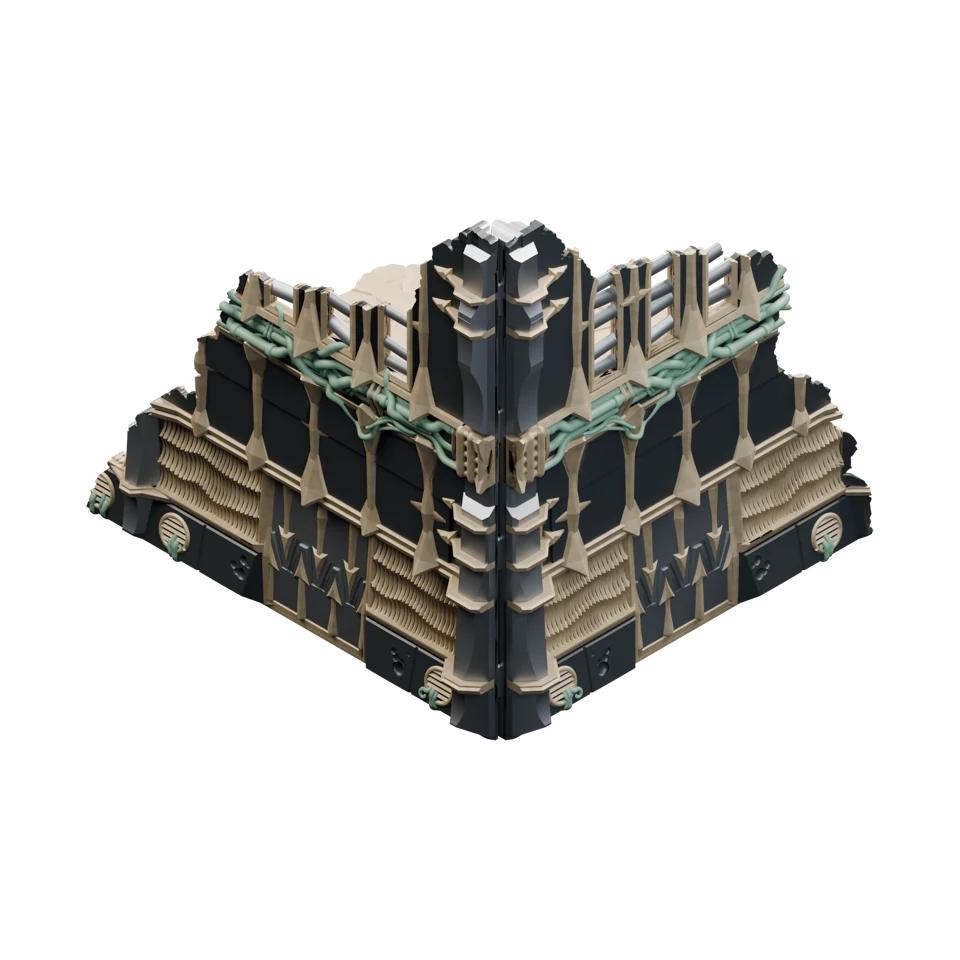 2×
CHAOS FORT_D [AB].stl
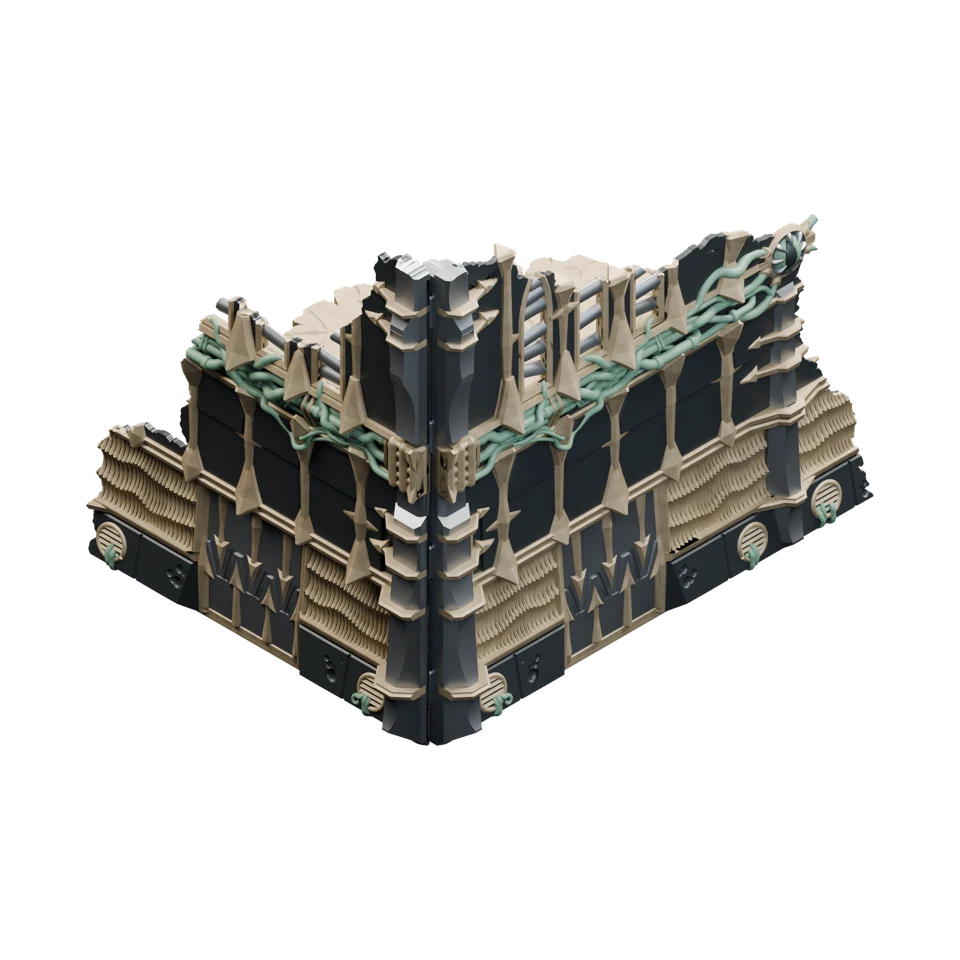 2×
CHAOS FORT_E [EF].stl
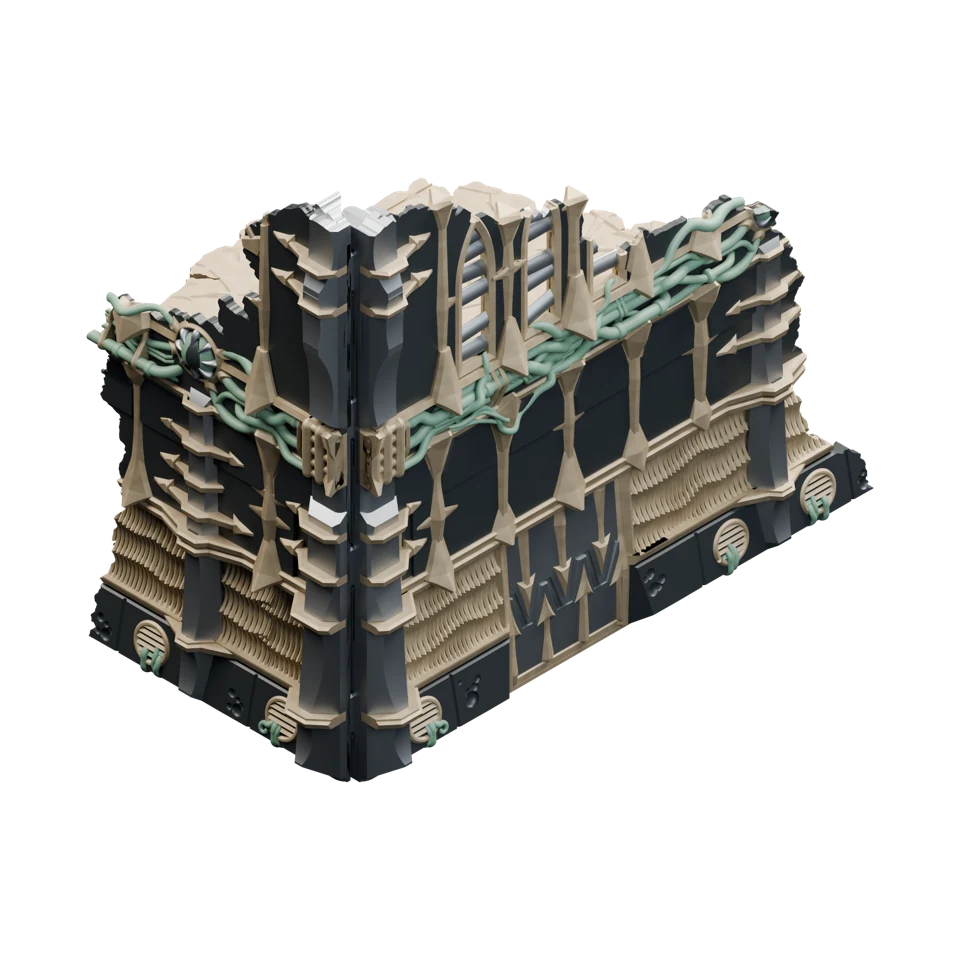 2×
CHAOS FORT_F [CD].stl
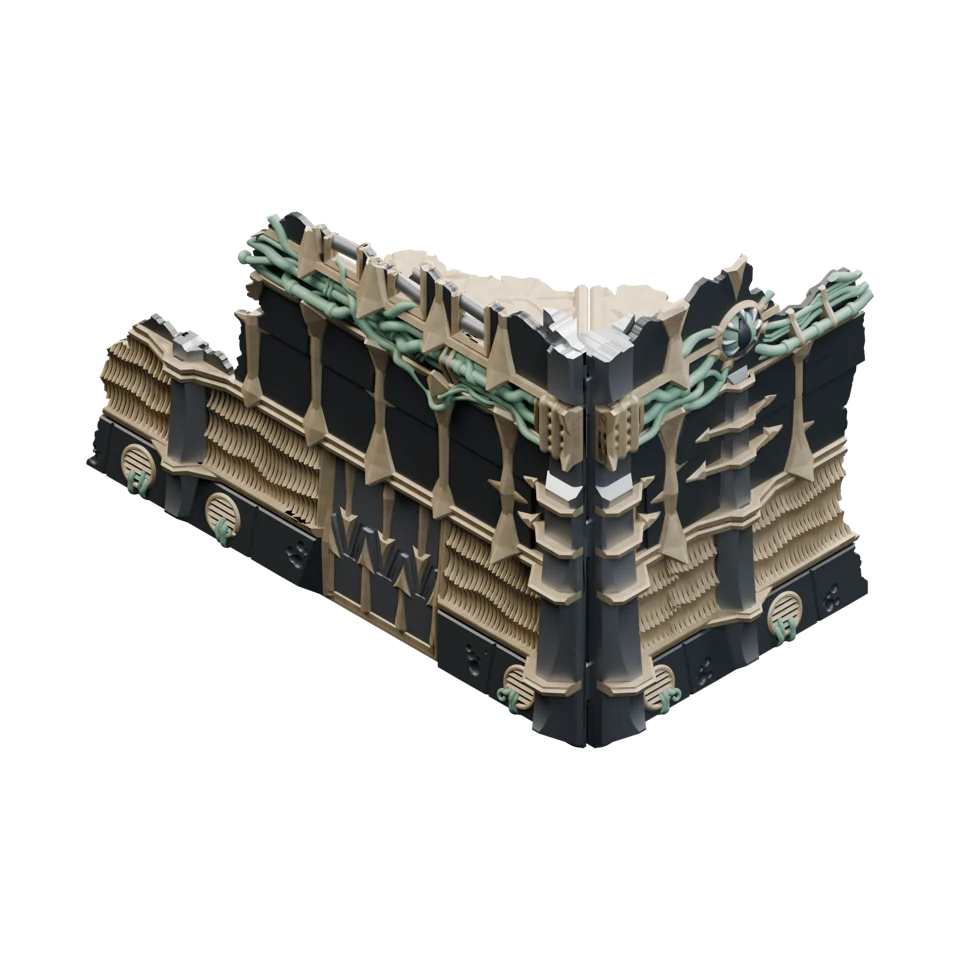 2×
CHAOS FORT_G [GH].stl
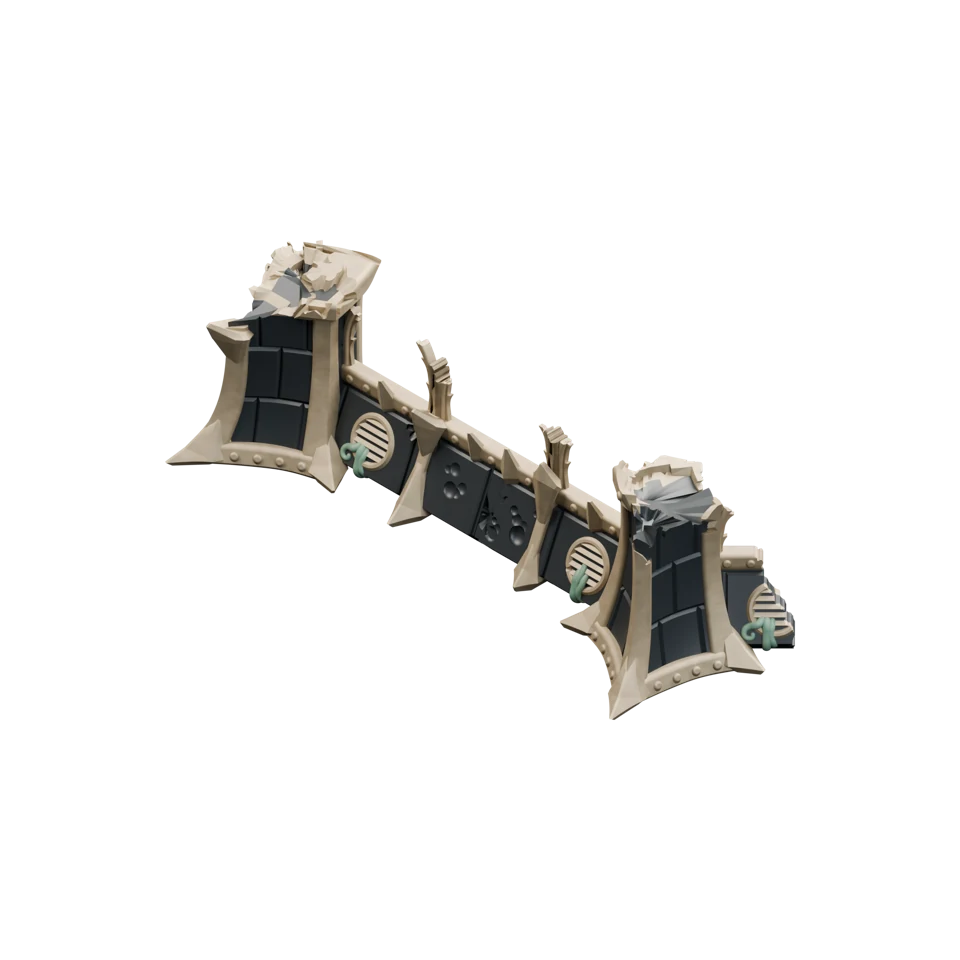 2×
CHAOS_2x4x4.stl
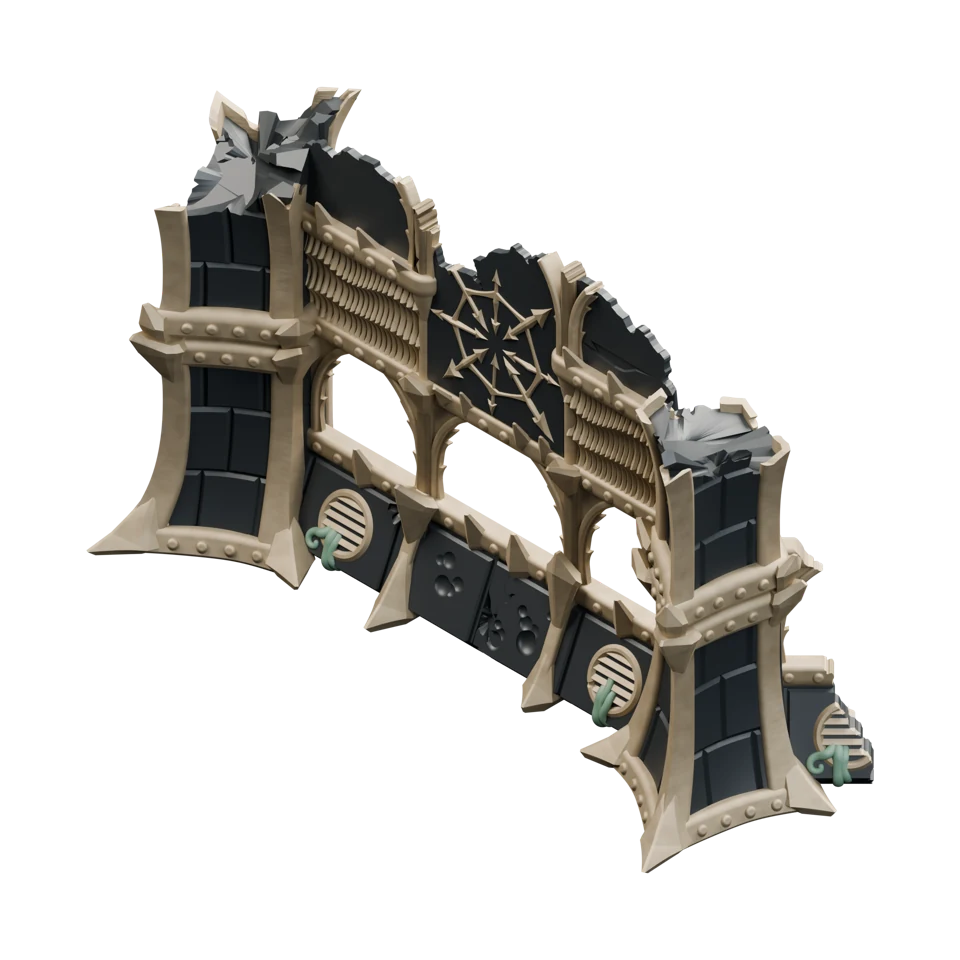 2×
CHAOS_2x4x2.stl
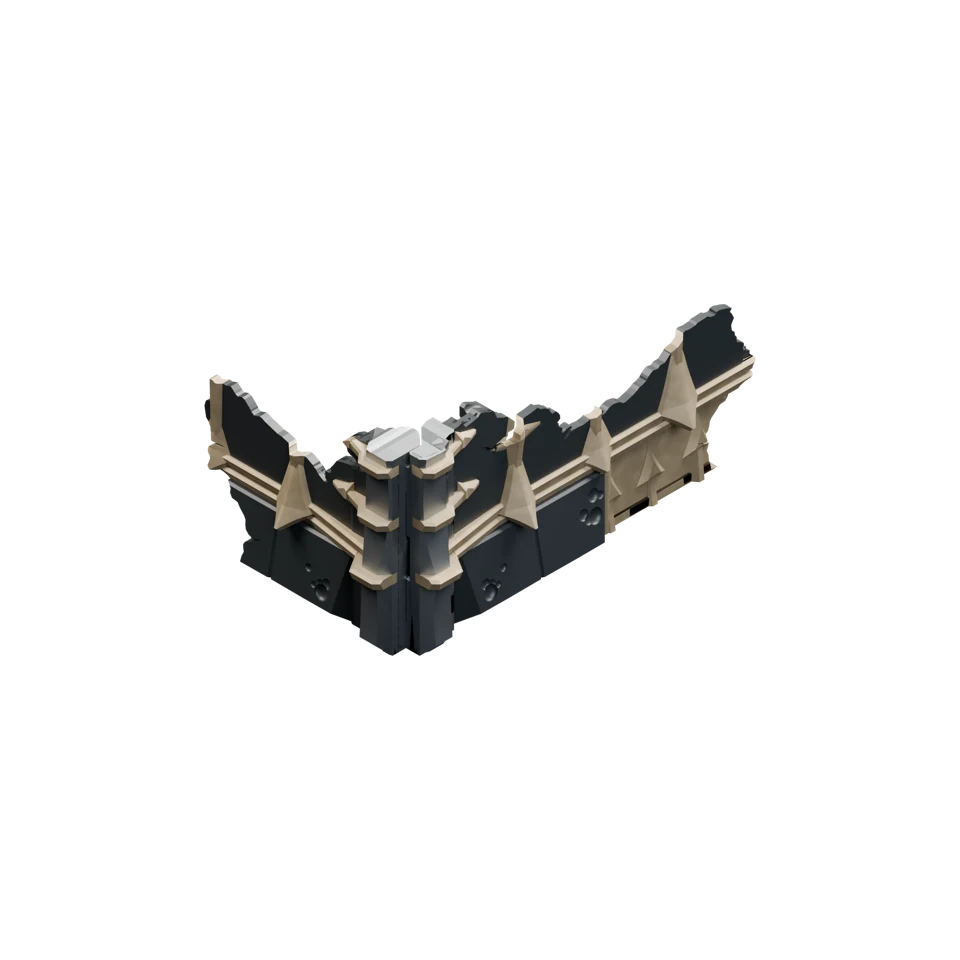 4×
CHAOS_SCATTER_A.stl
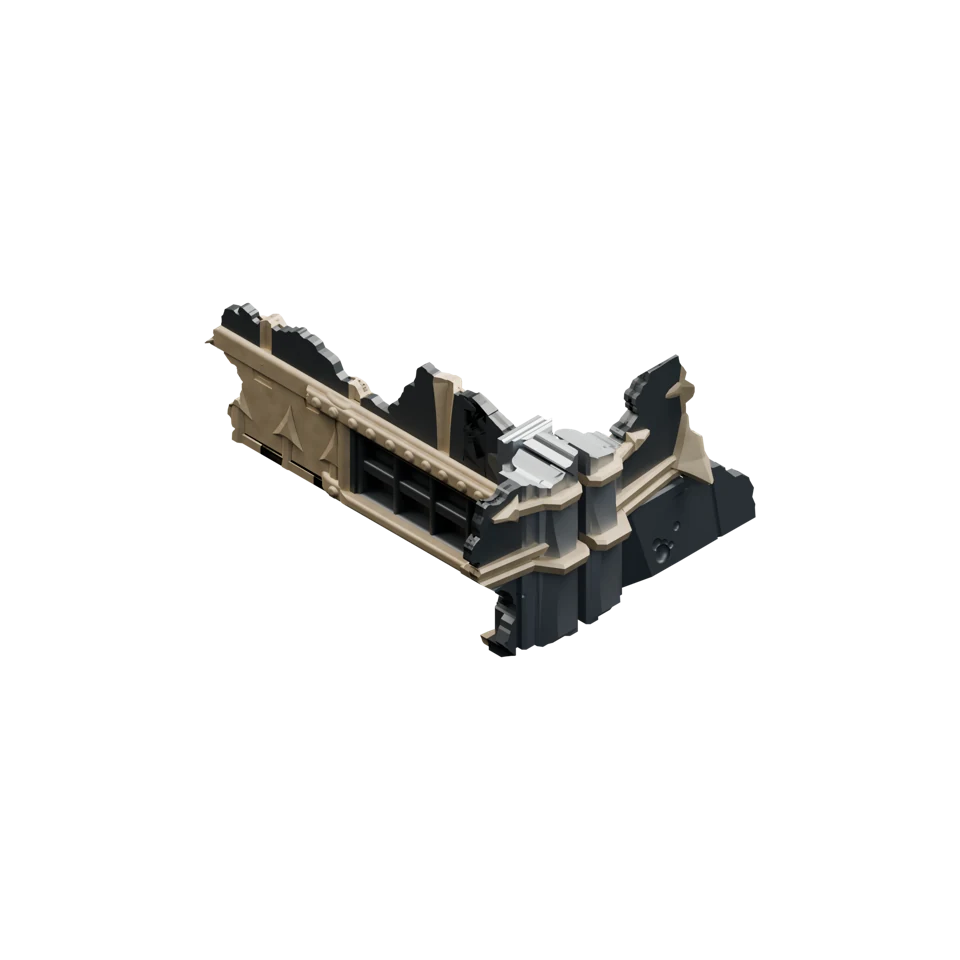 4×
CHAOS_SCATTER_D.stl
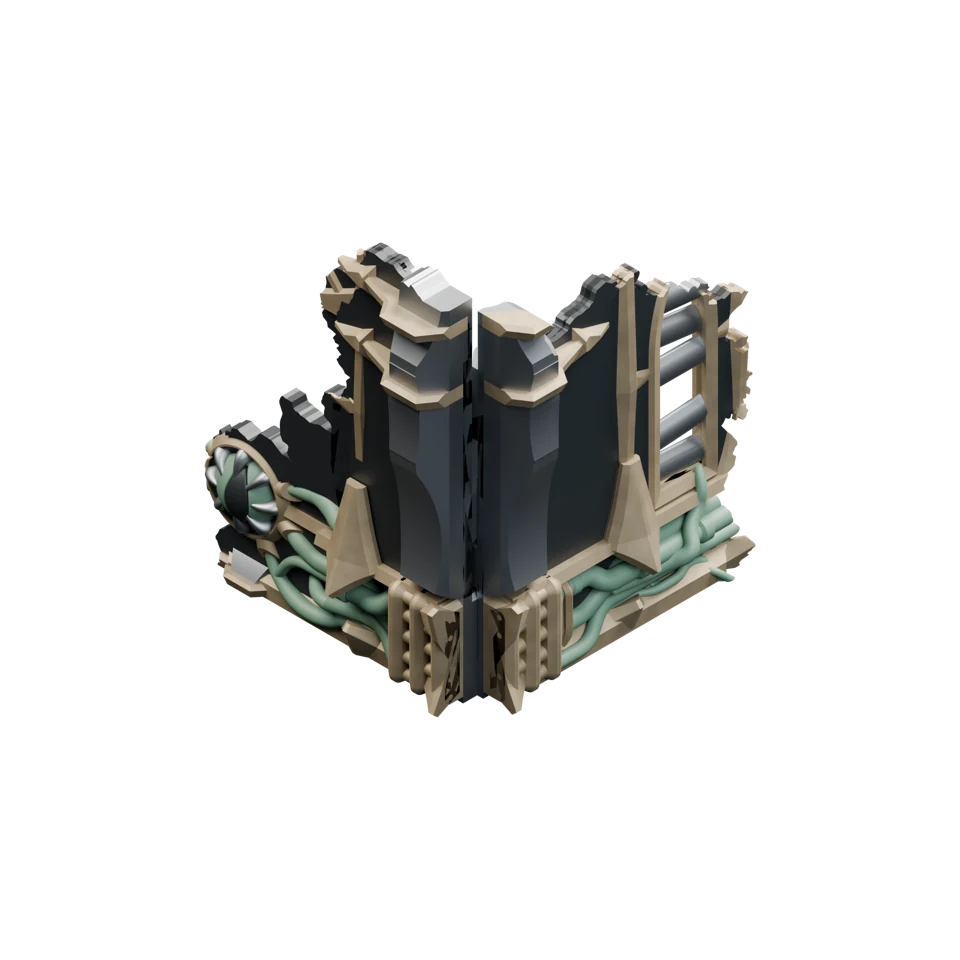 2×
CHAOS_SCATTER_E.stl
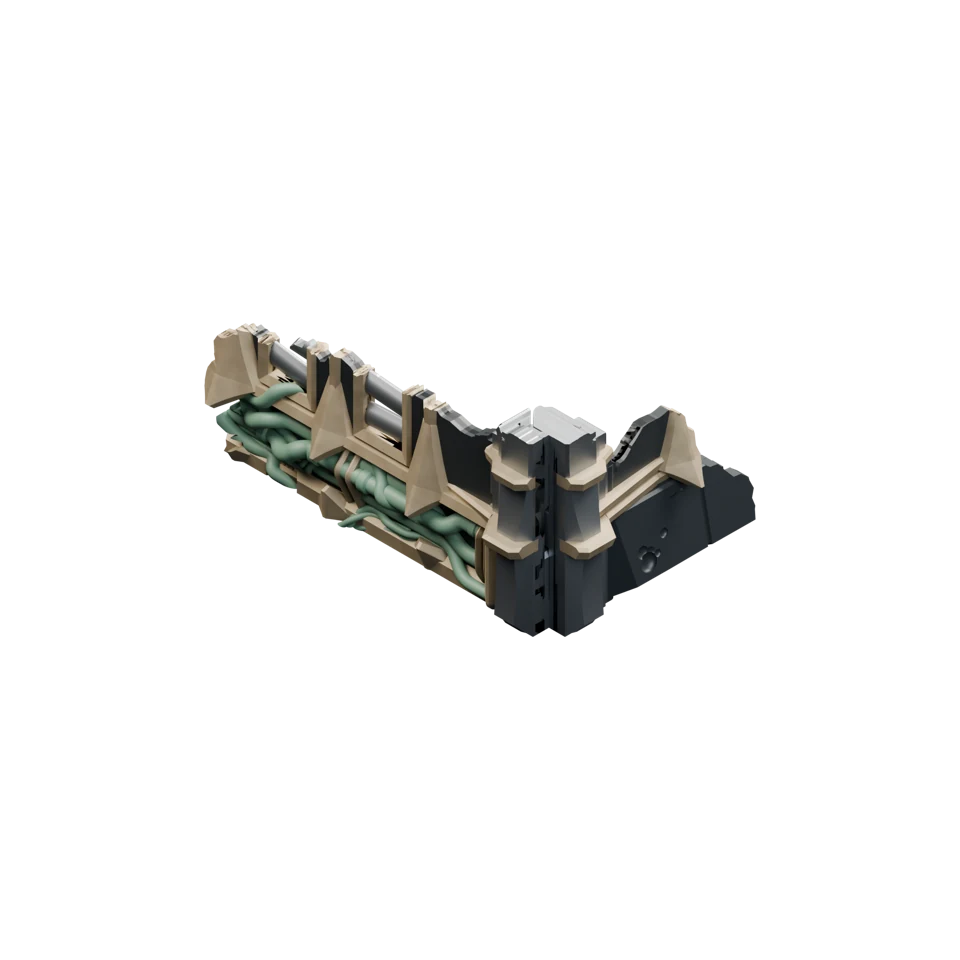 2×
CHAOS_SCATTER_F.stl
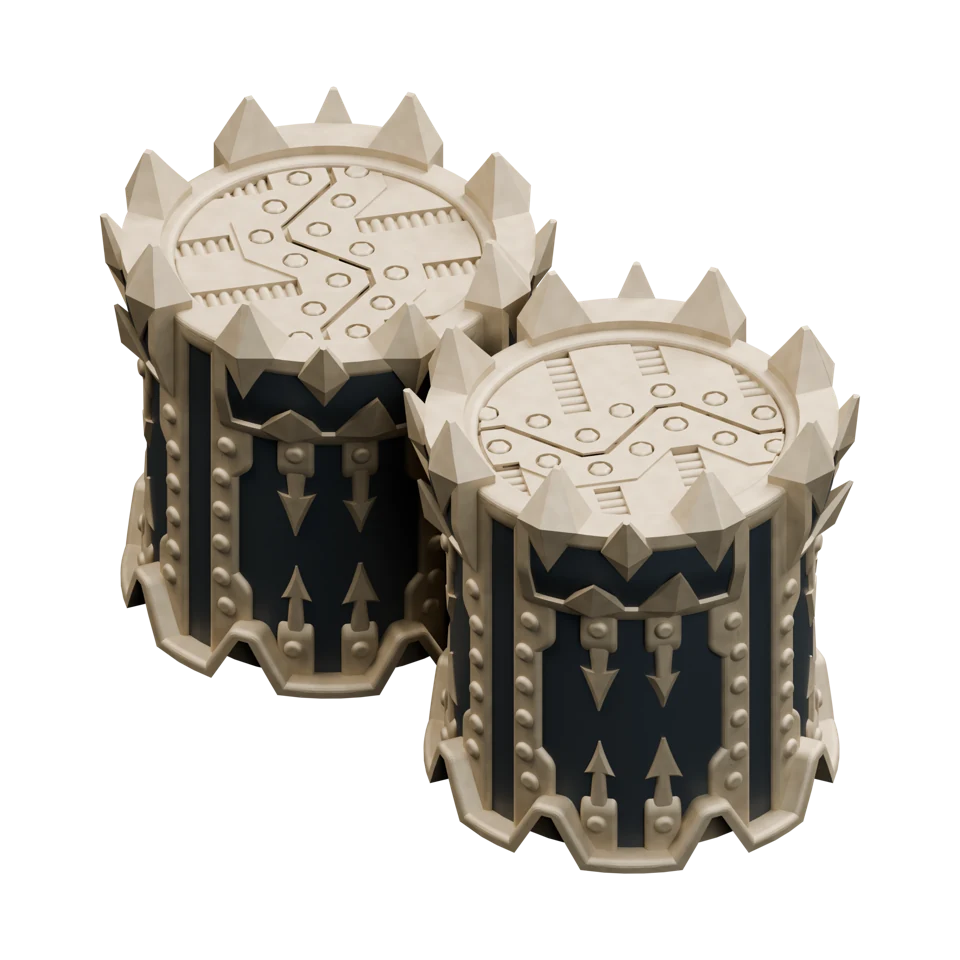 4×
CONTAINER CHAOS DOUBLE MONOCOLOR V3.stl
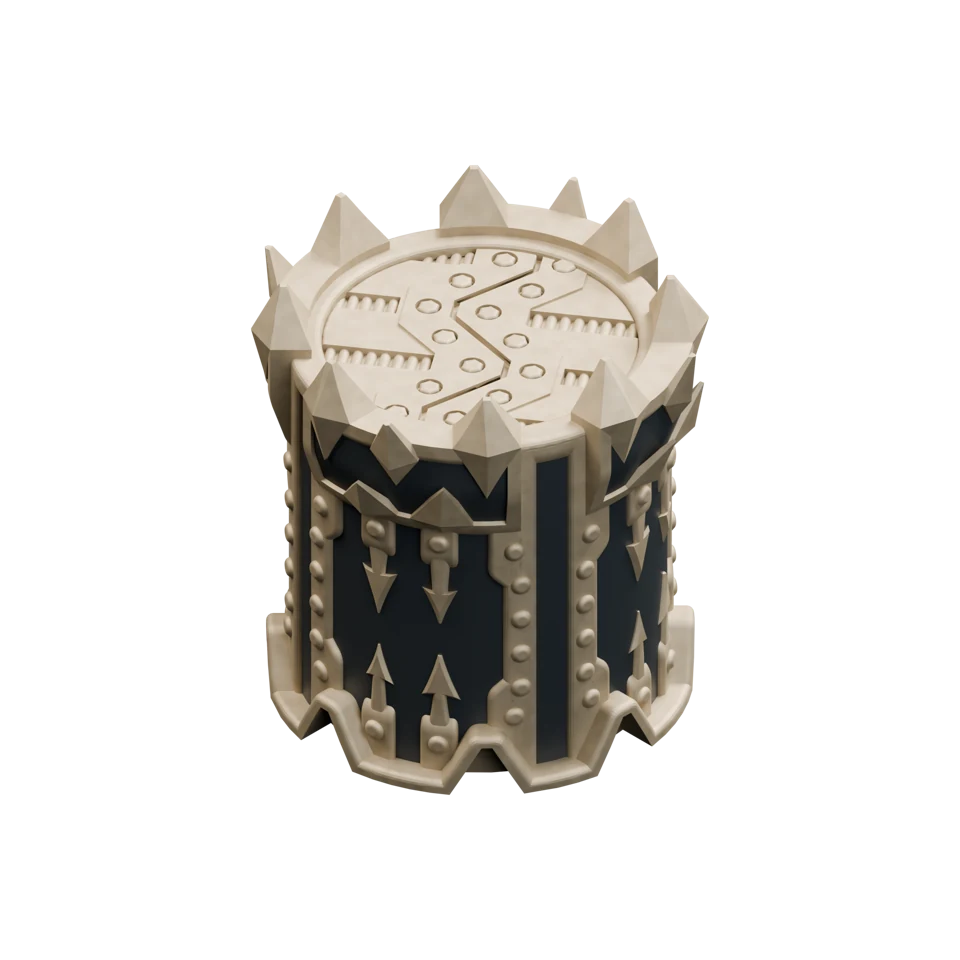 4×
CONTAINER CHAOS SINGLE MONOCOLOR 3.stl
Use the footprints included in your MMF bundle, the free terrain templates or footprints from another maker or official sources; what matters is having the footprints required by your layout. Tinker Junkie recommends the official GW footprints or third-party alternatives to help keep the table immersive.
2×2.5 × 10″
4×2 × 6″
4×4 × 6″
4×12 × 8″
2×11.5 × 7″
Start by laying out your area terrain footprints. Competitive 11th Edition tournament layouts use a shared set of footprints in different arrangements and orientations. Match the shapes and the letter pairs in brackets [AB], [CD], [EF] and [GH] to your multi-level ruins, then place your foldable terrain on the corresponding footprints. The foldable ruins have their letter combination embossed underneath the floors. The rest of the ruins follow the layout depicted in the following diagrams.
After a couple of setups, remembering what goes where becomes much easier. Use the visual guide below to check the pieces for each footprint alongside your event’s layout diagram.
Single containers + 2× Scatter D
1× low piece 2×4×2
1× tall piece 2×4×4
Stacked double containers
2× Scatter A
1× Ruin E [EF] + 1× Ruin G [GH]
1× Ruin F [CD] + 1× Scatter F
1× Ruin D [AB] + 1× Scatter E
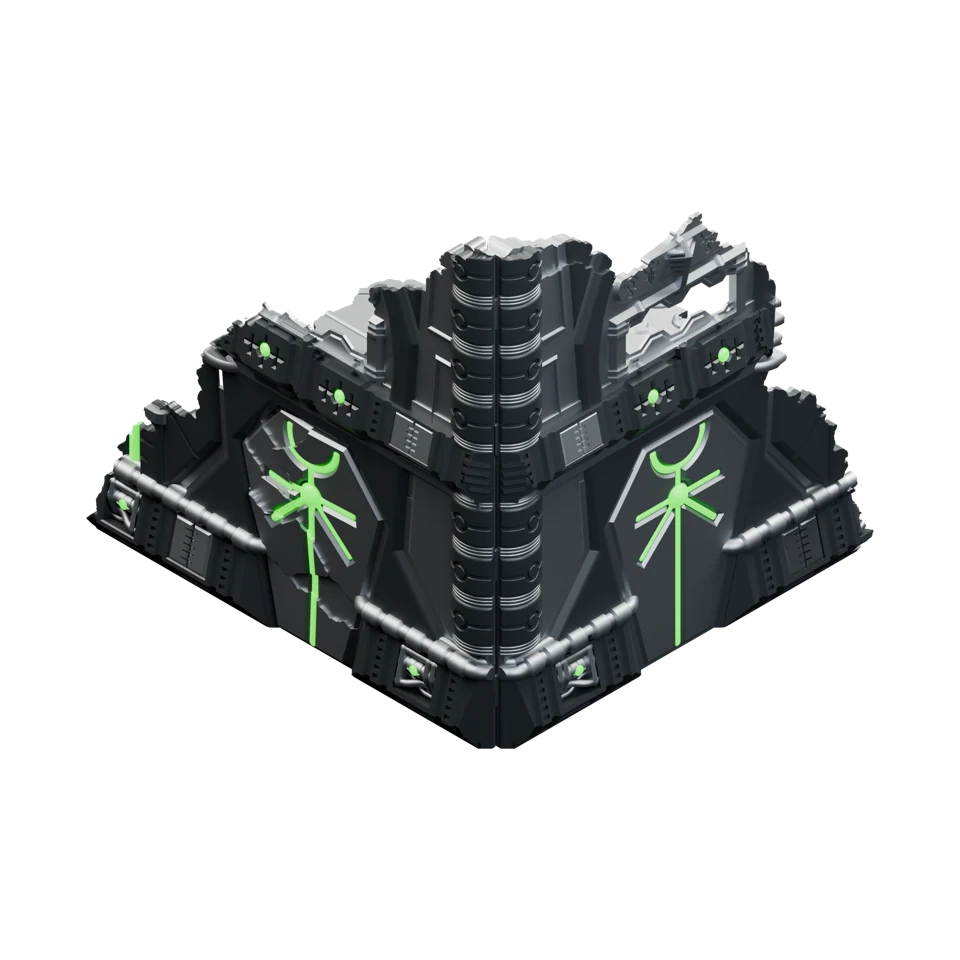 2×
NECROMATONS_D [AB].stl
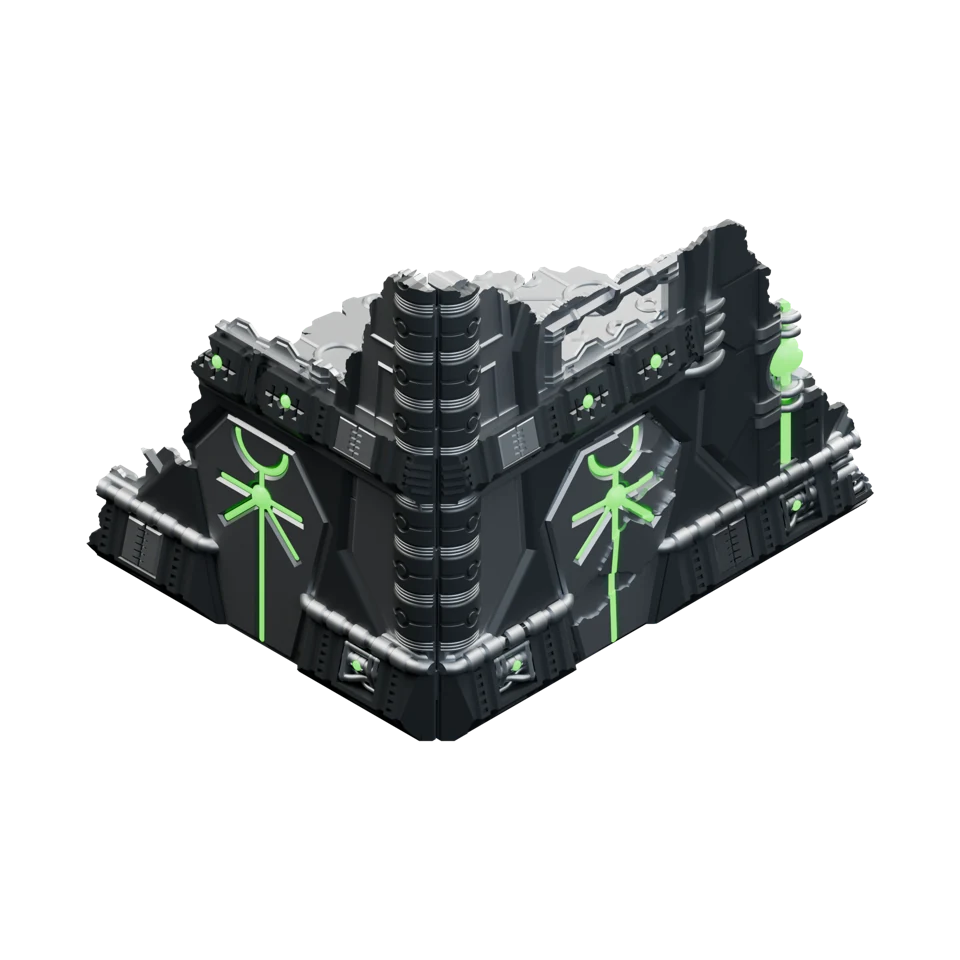 2×
NECROMATONS_E [EF].stl
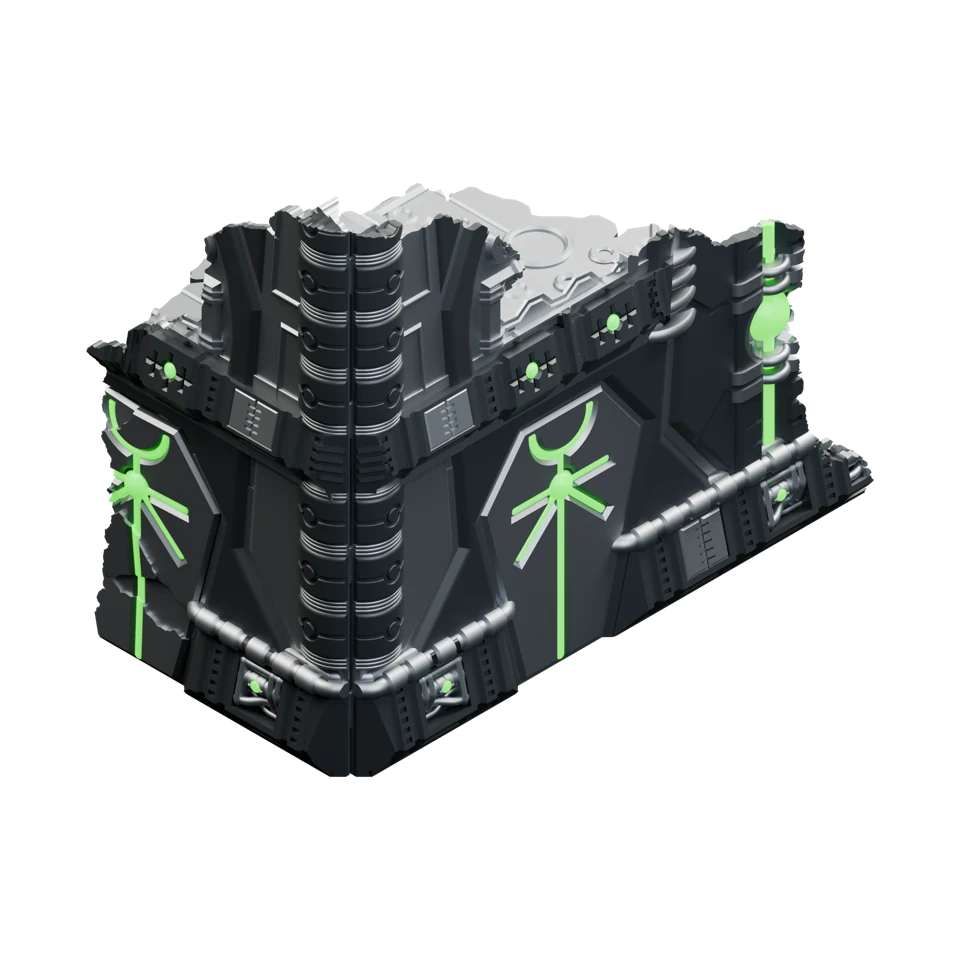 2×
NECROMATONS_F [CD].stl
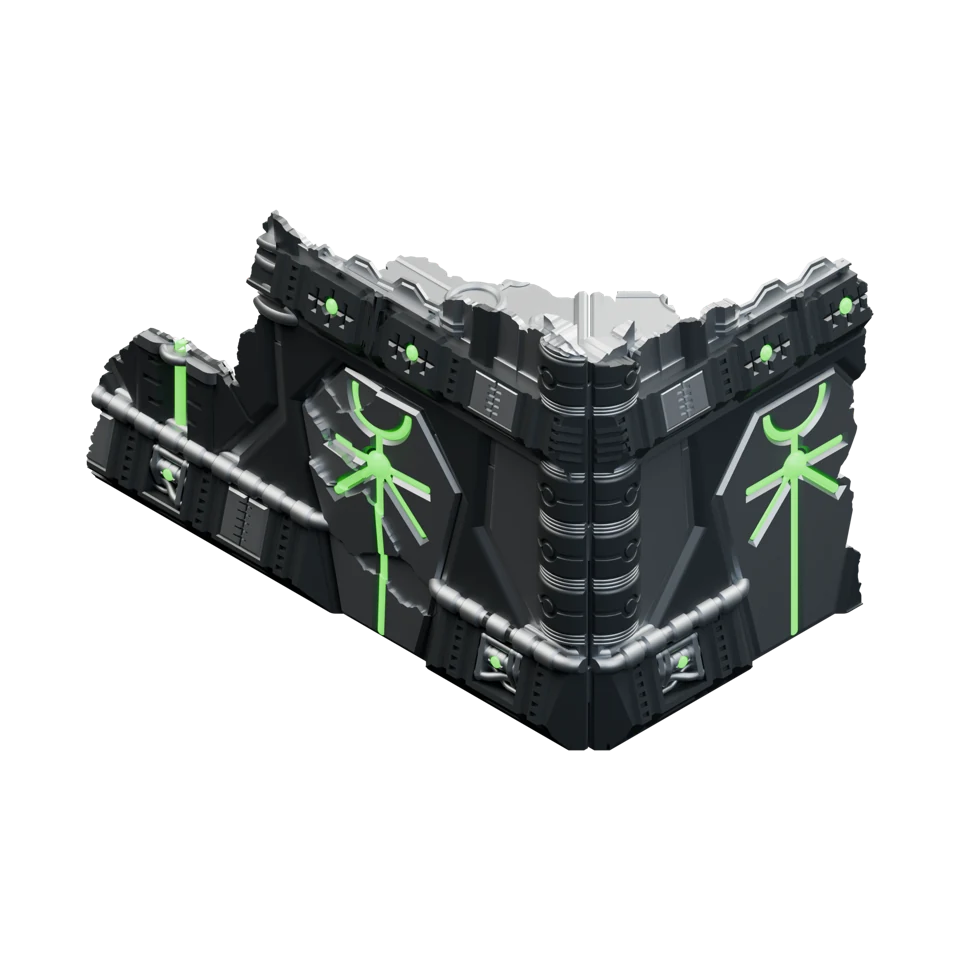 2×
NECROMATONS_G [GH].stl
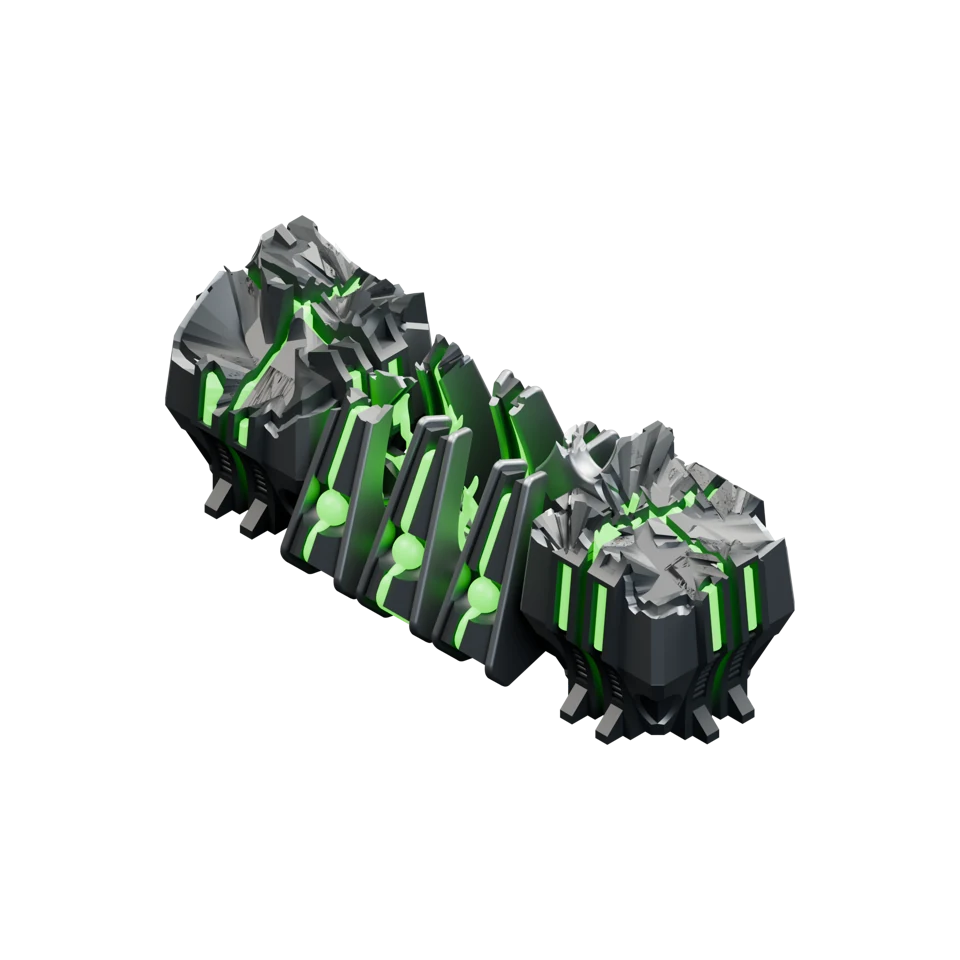 2×
NECROMATON_2x4x2.stl
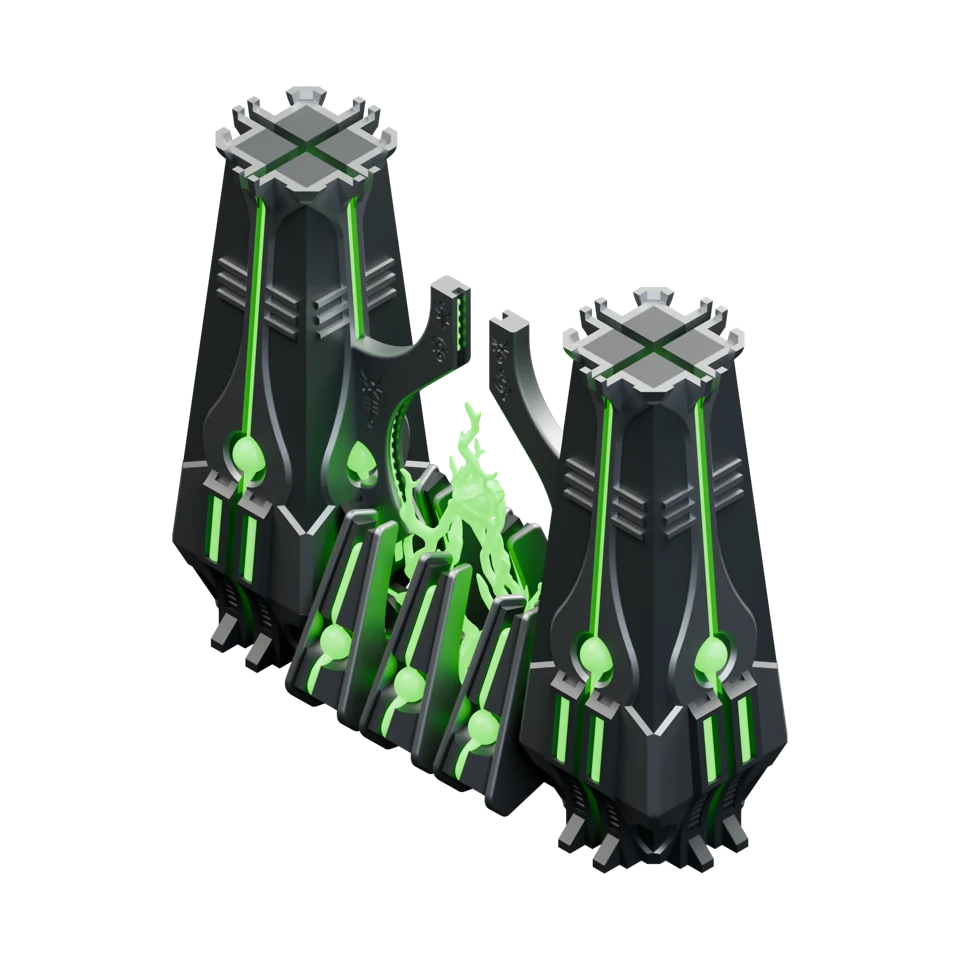 2×
NECROMATON_2x4x4.stl
Alternative: NECROMATON_2x4x4_ALT.stl
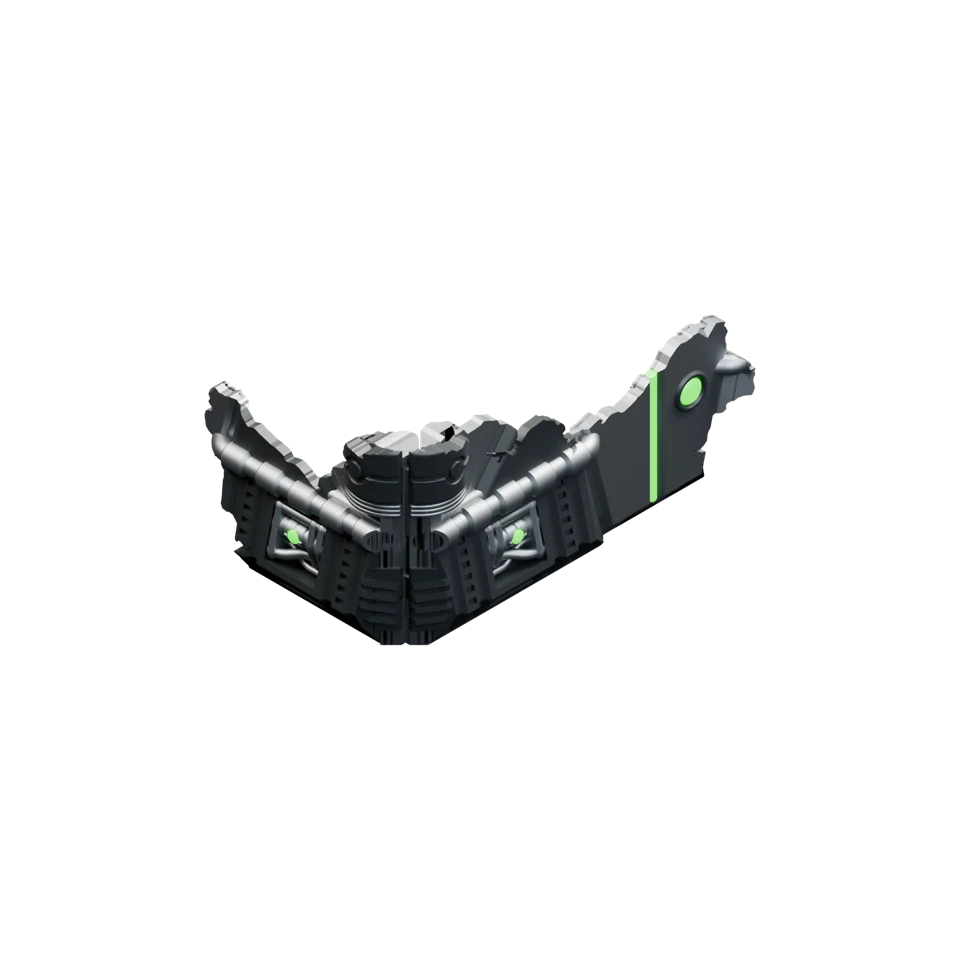 4×
NECROMATON_SCATTER_A.stl
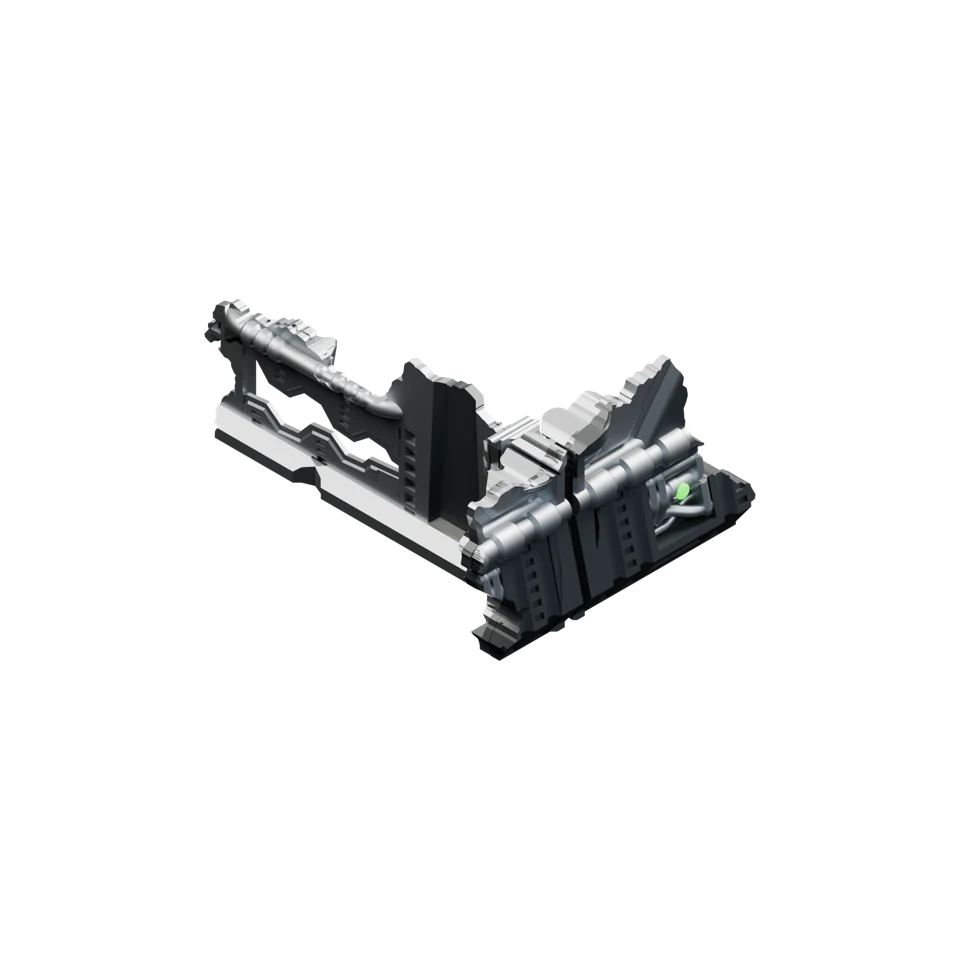 4×
NECROMATON_SCATTER_D.stl
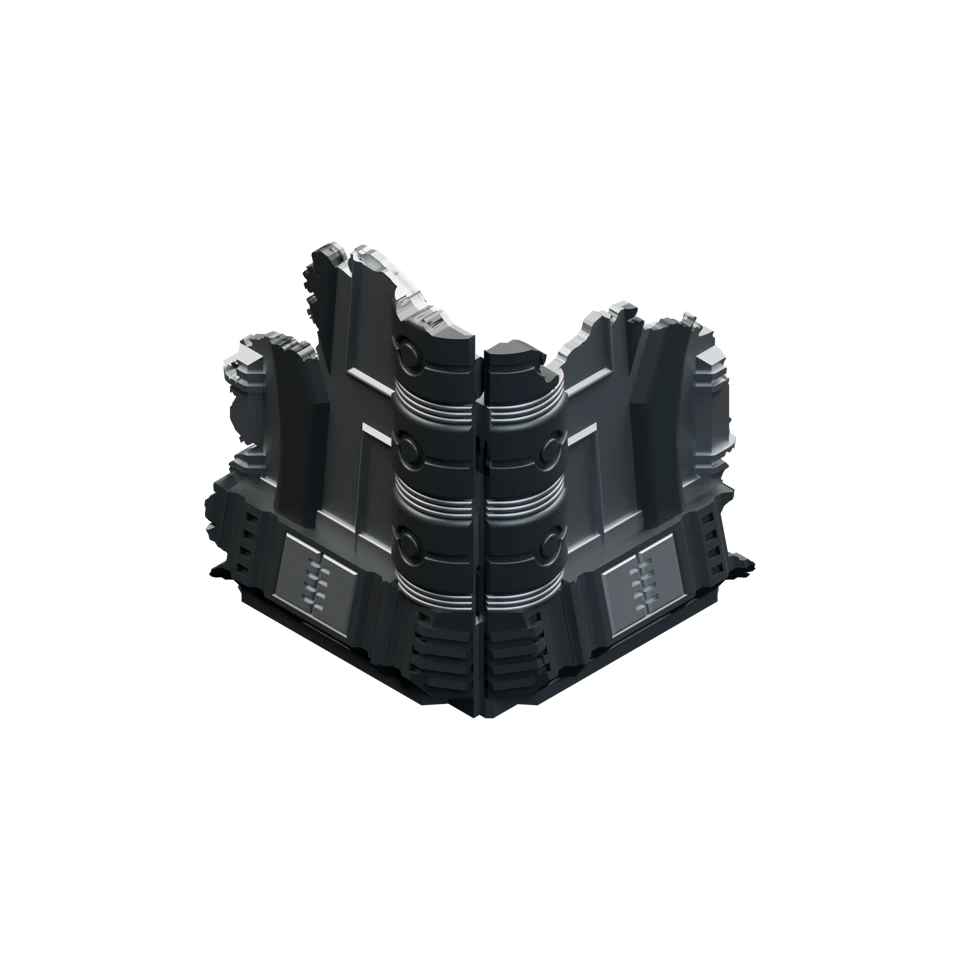 2×
NECROMATON_SCATTER_E.stl
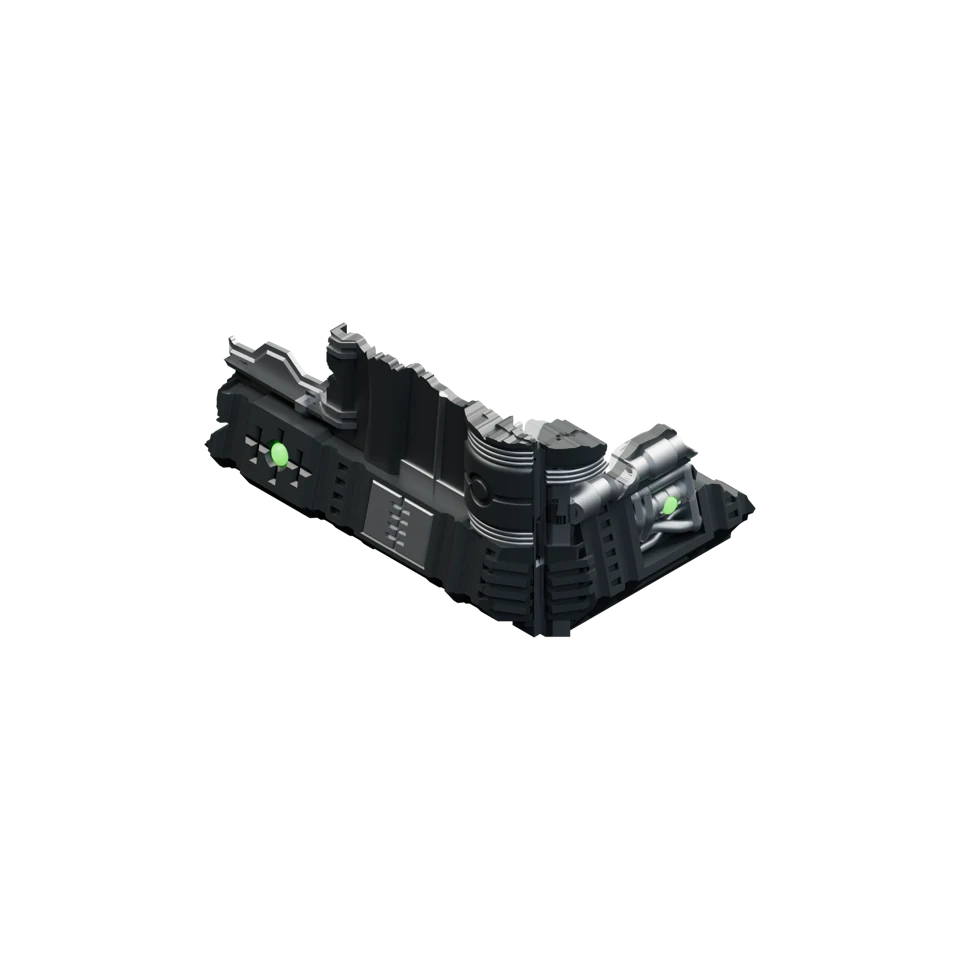 2×
NECROMATON_SCATTER_F.stl
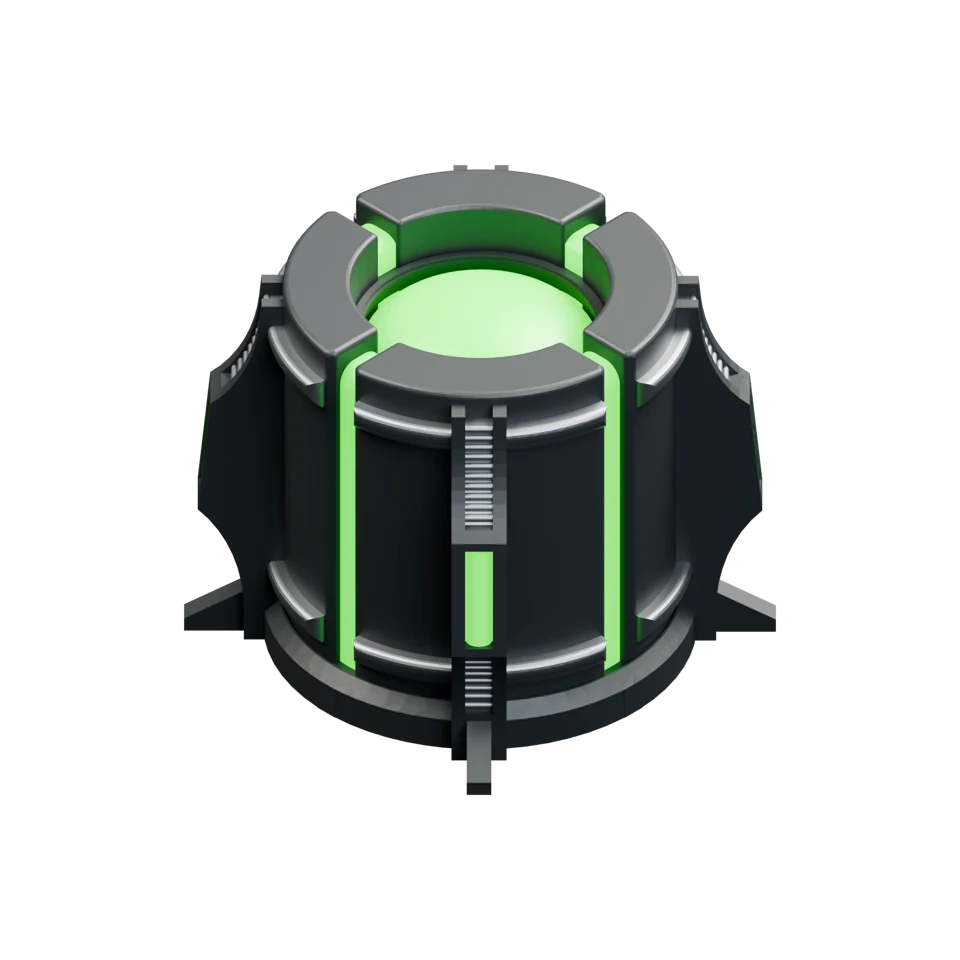 2×
NECROMATON_CONT_A.stl
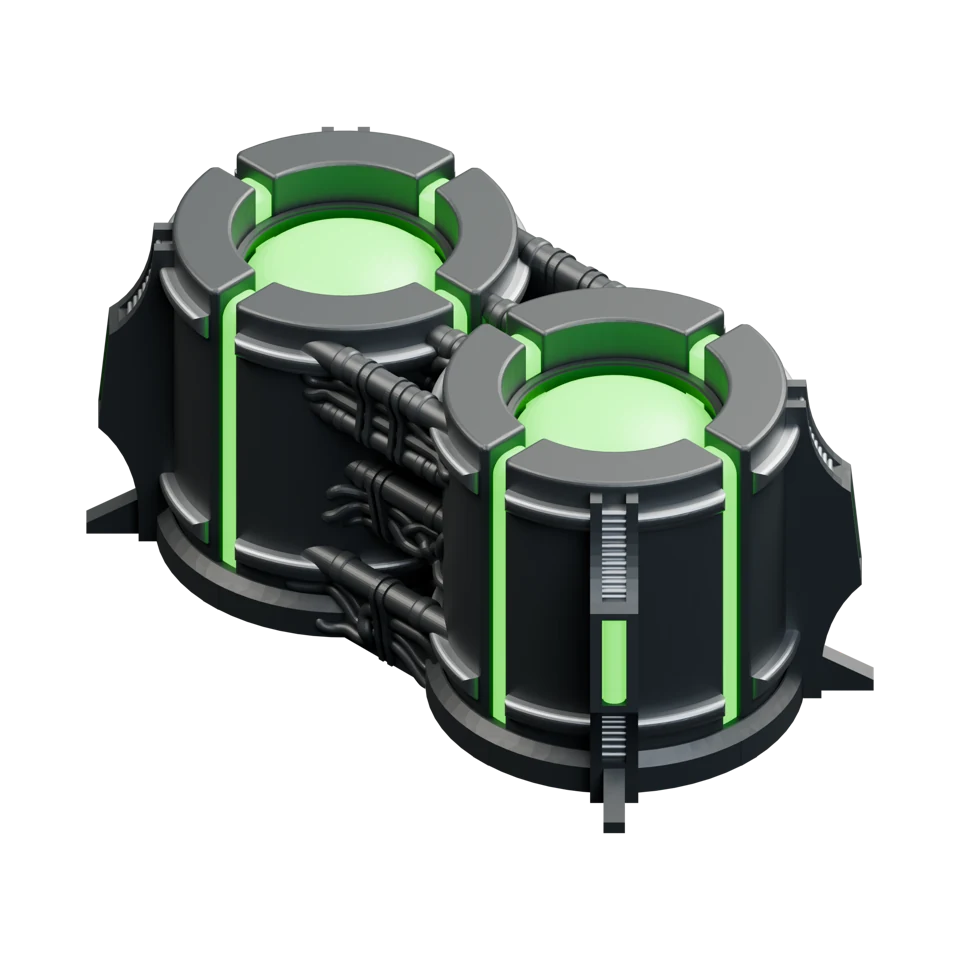 2×
NECROMATON_CONT_B.stl
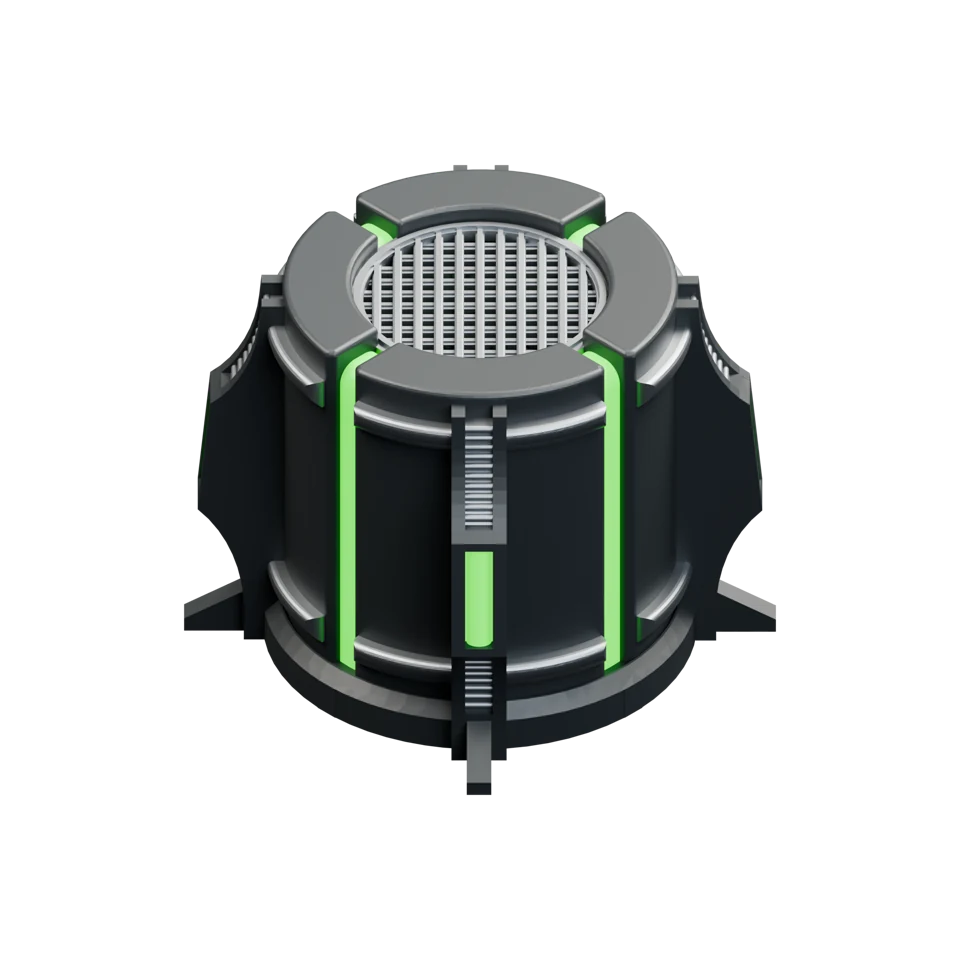 2×
NECROMATON_CONT_C.stl
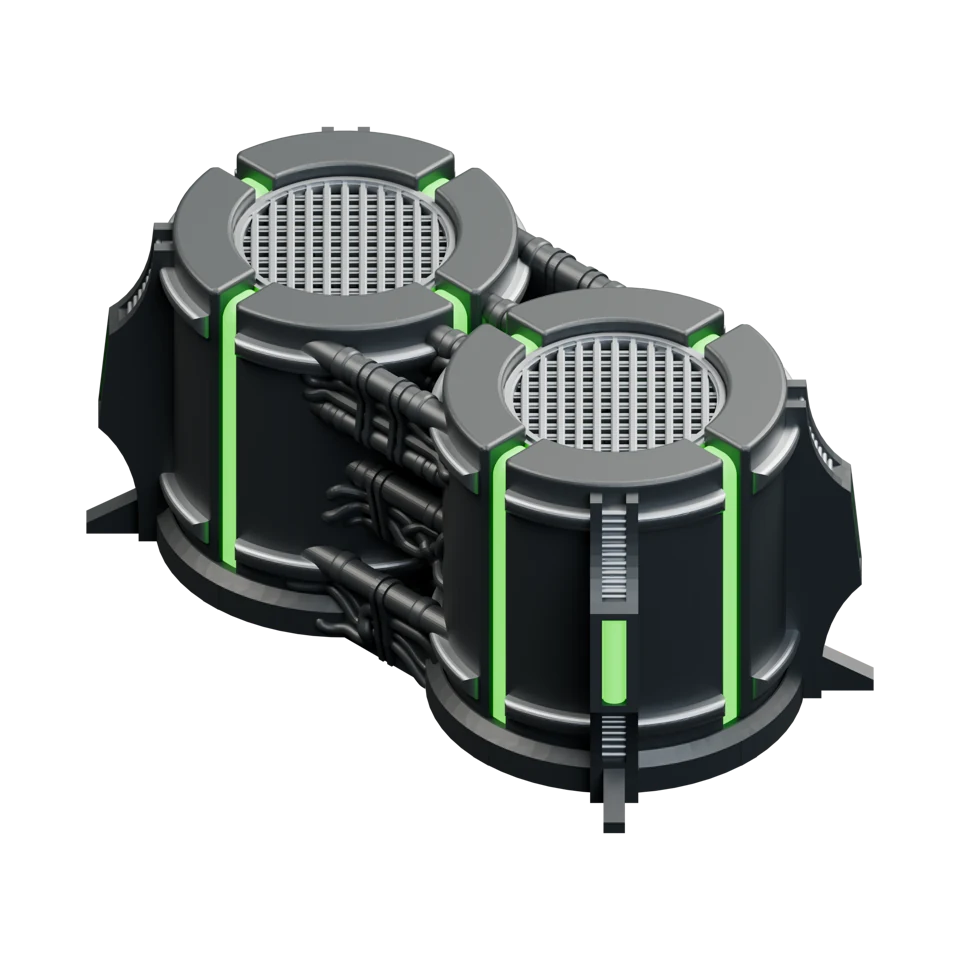 2×
NECROMATON_CONT_D.stl
Use the footprints included in your MMF bundle, the free terrain templates or footprints from another maker or official sources; what matters is having the footprints required by your layout. Tinker Junkie recommends the official GW footprints or third-party alternatives to help keep the table immersive.
2×2.5 × 10″
4×2 × 6″
4×4 × 6″
4×12 × 8″
2×11.5 × 7″
Start by laying out your area terrain footprints. Competitive 11th Edition tournament layouts use a shared set of footprints in different arrangements and orientations. Match the shapes and the letter pairs in brackets [AB], [CD], [EF] and [GH] to your multi-level ruins, then place your foldable terrain on the corresponding footprints. The foldable ruins have their letter combination embossed underneath the floors. The rest of the ruins follow the layout depicted in the following diagrams.
After a couple of setups, remembering what goes where becomes much easier. Use the visual guide below to check the pieces for each footprint alongside your event’s layout diagram.
Single containers + 2× Scatter D
1× low piece 2×4×2
1× tall piece 2×4×4
Stacked double containers
2× Scatter A
1× Ruin E [EF] + 1× Ruin G [GH]
1× Ruin F [CD] + 1× Scatter F
1× Ruin D [AB] + 1× Scatter E
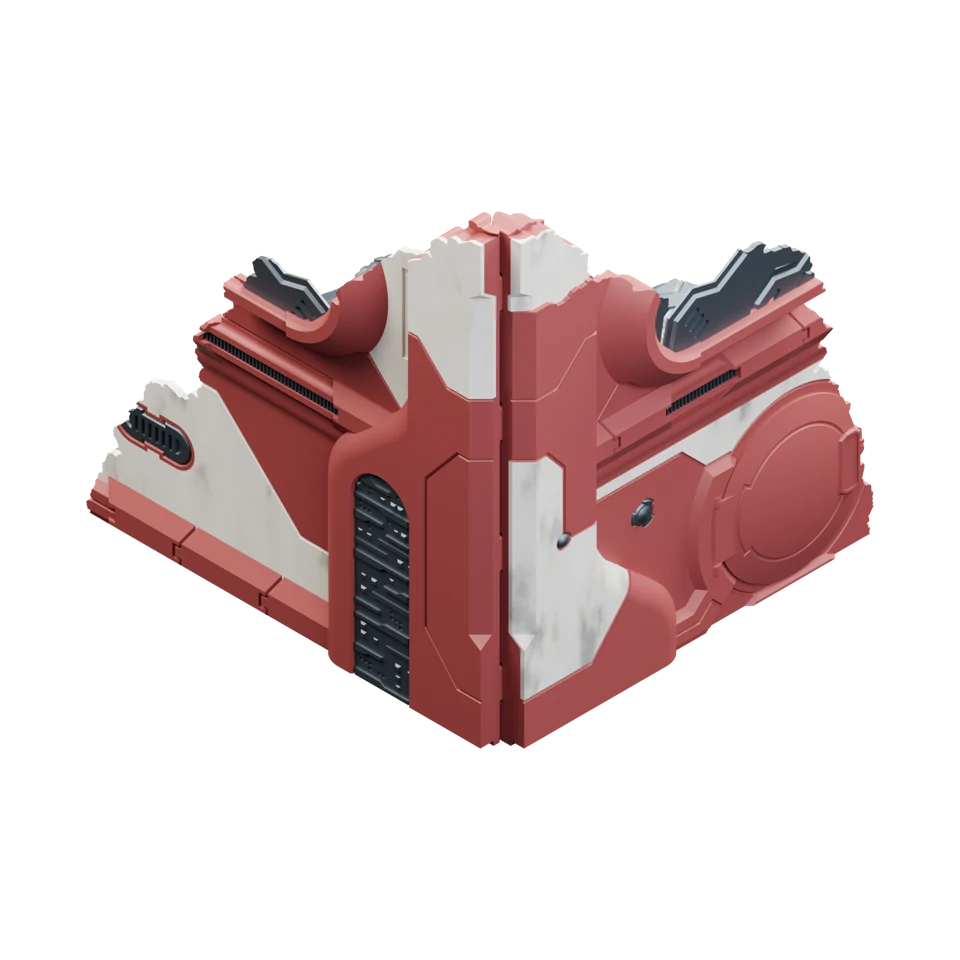 2×
GREATER GOOD_D [AB].stl
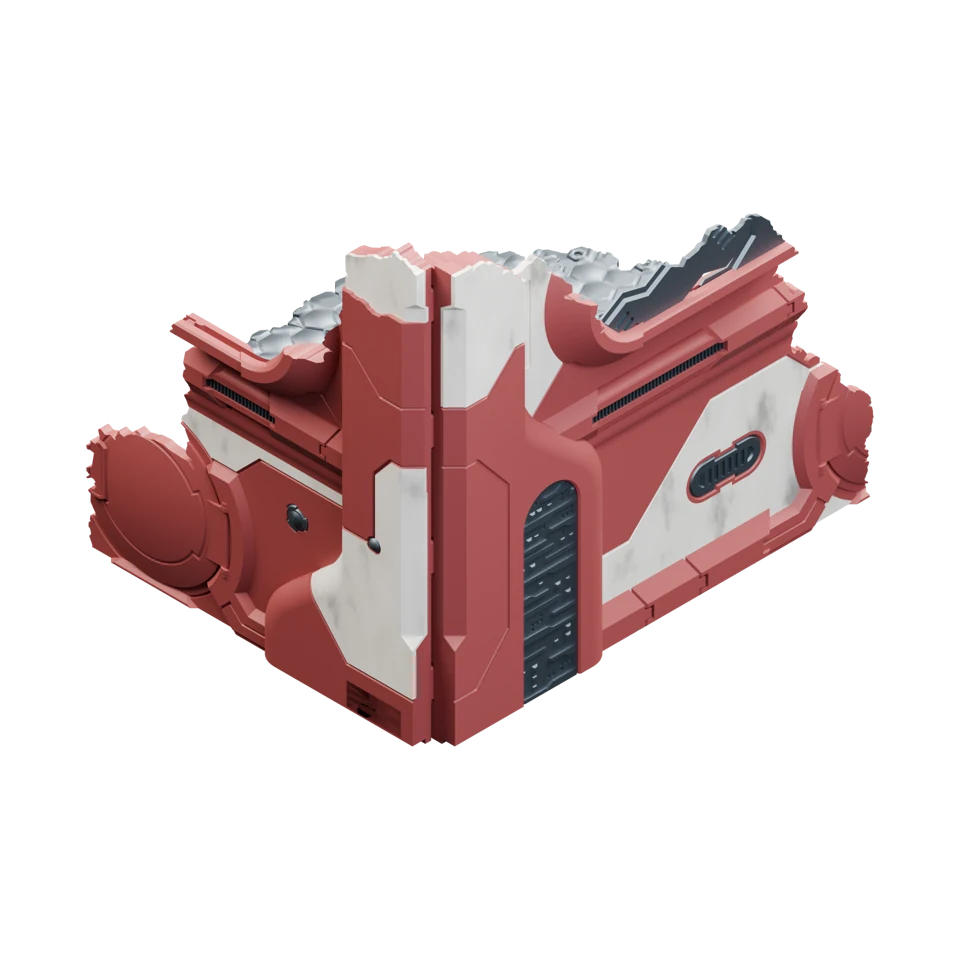 2×
GREATER GOOD_E [EF].stl
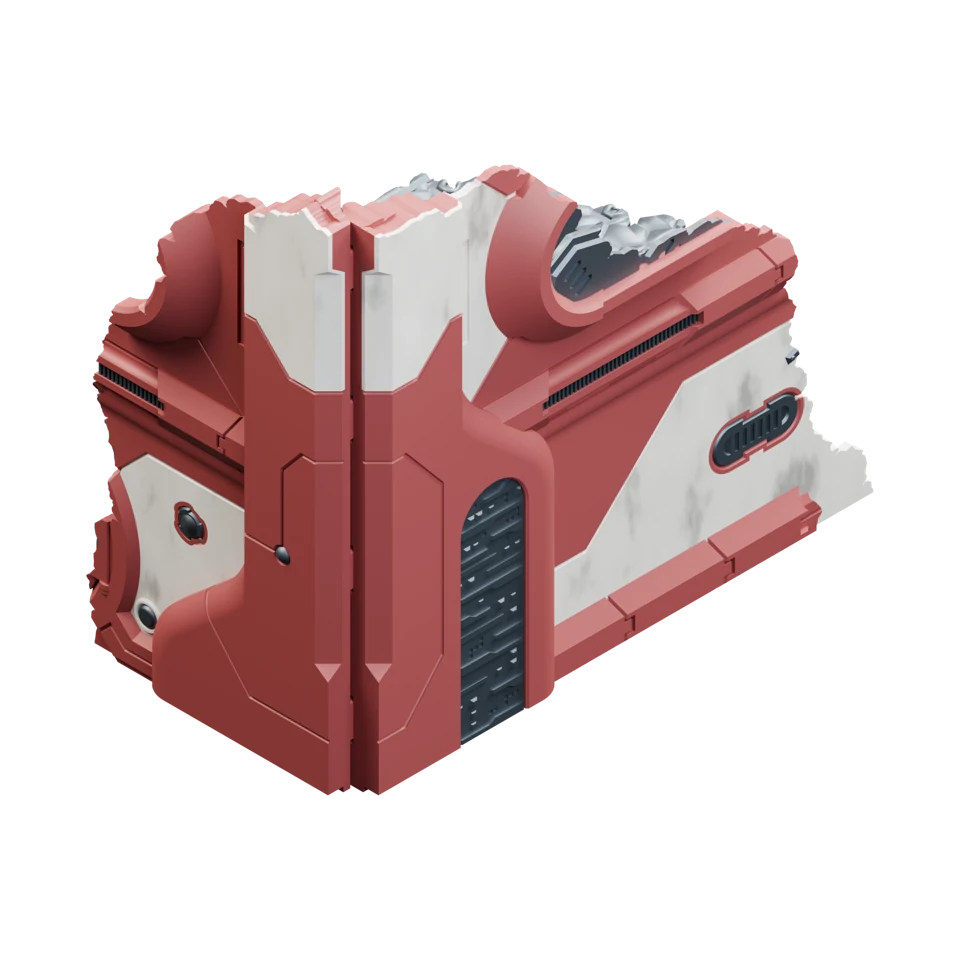 2×
GREATER GOOD_F [CD].stl
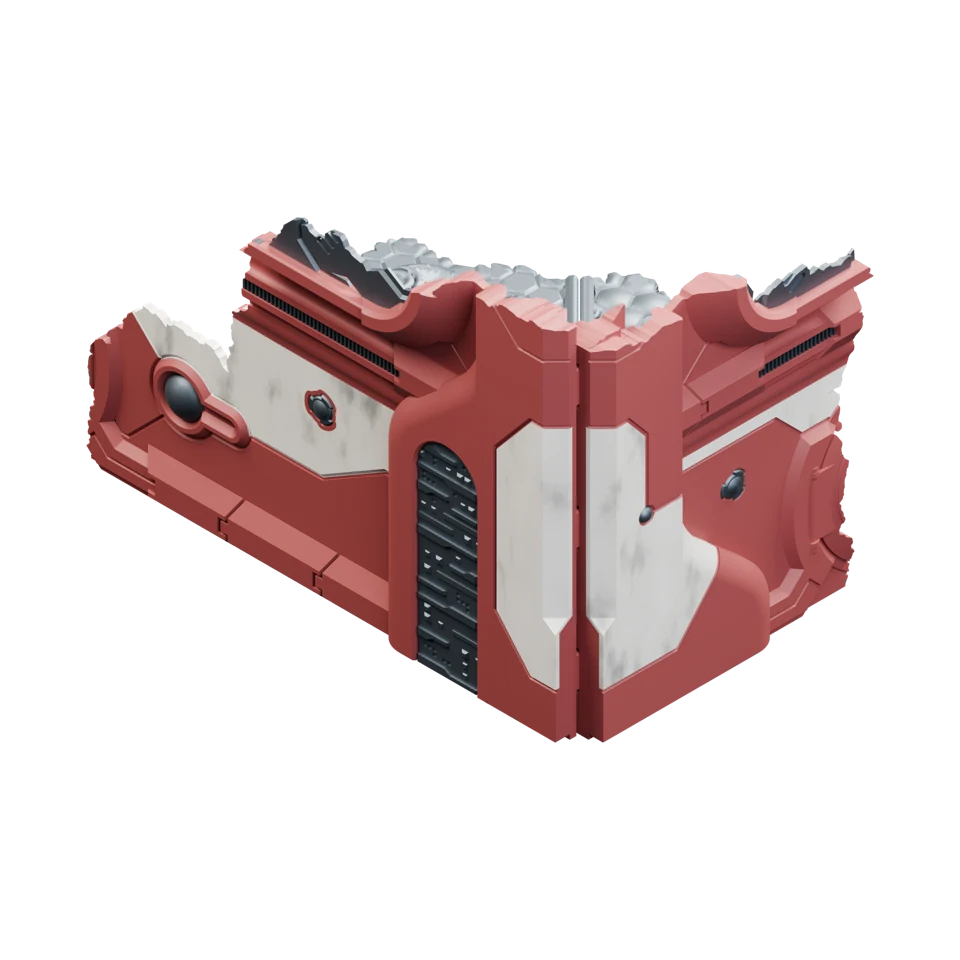 2×
GREATER GOOD_G [GH].stl
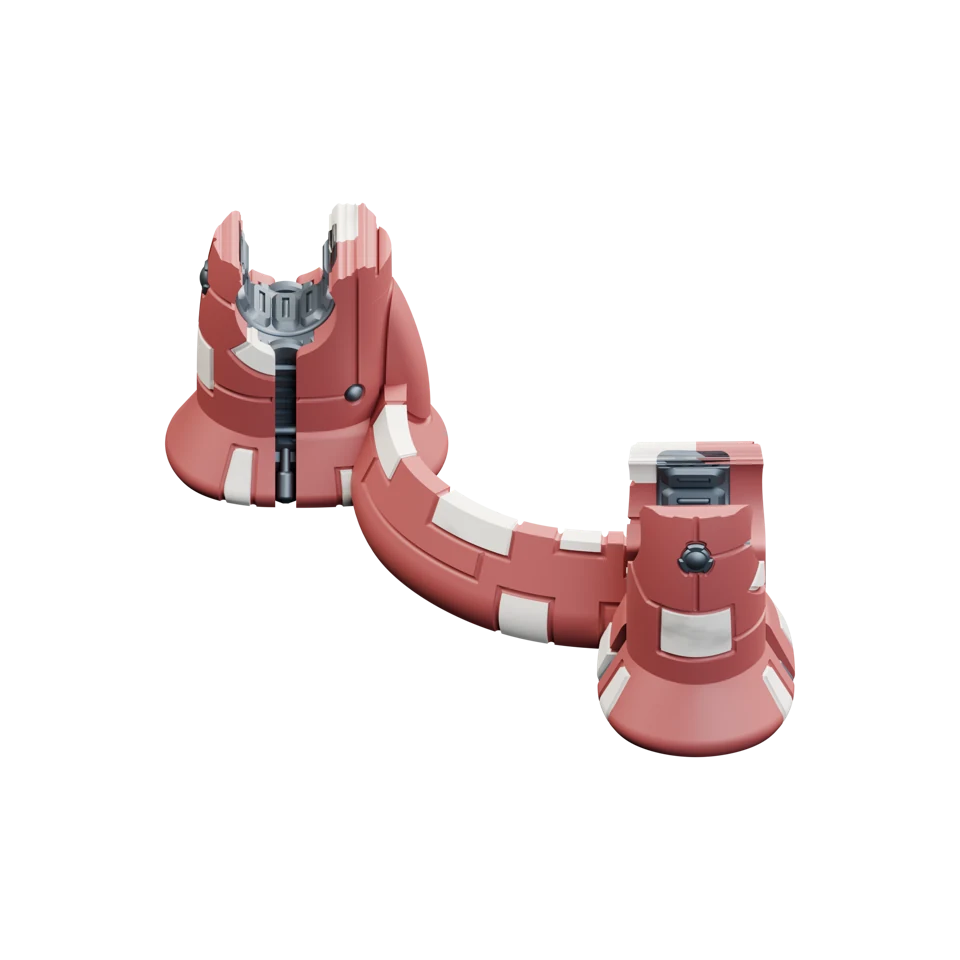 2×
GREATER GOOD_4x2x2.stl
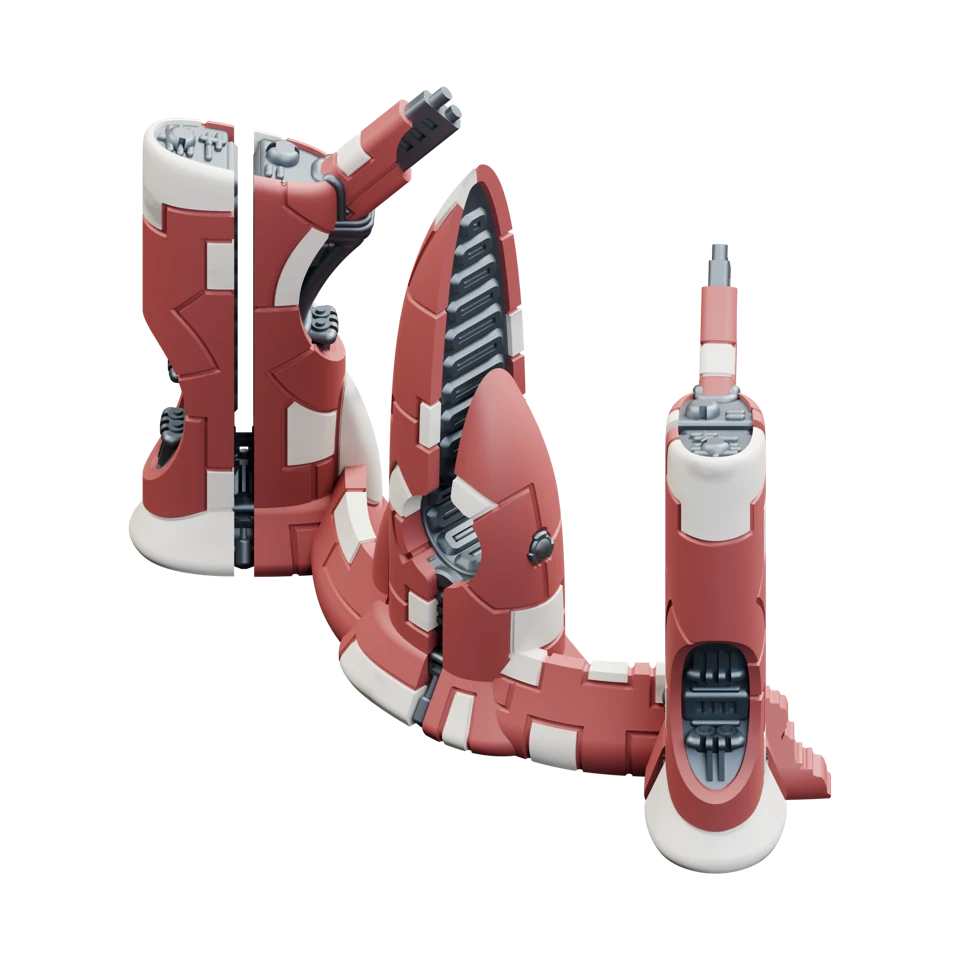 2×
GREATER GOOD_4x2x4.stl
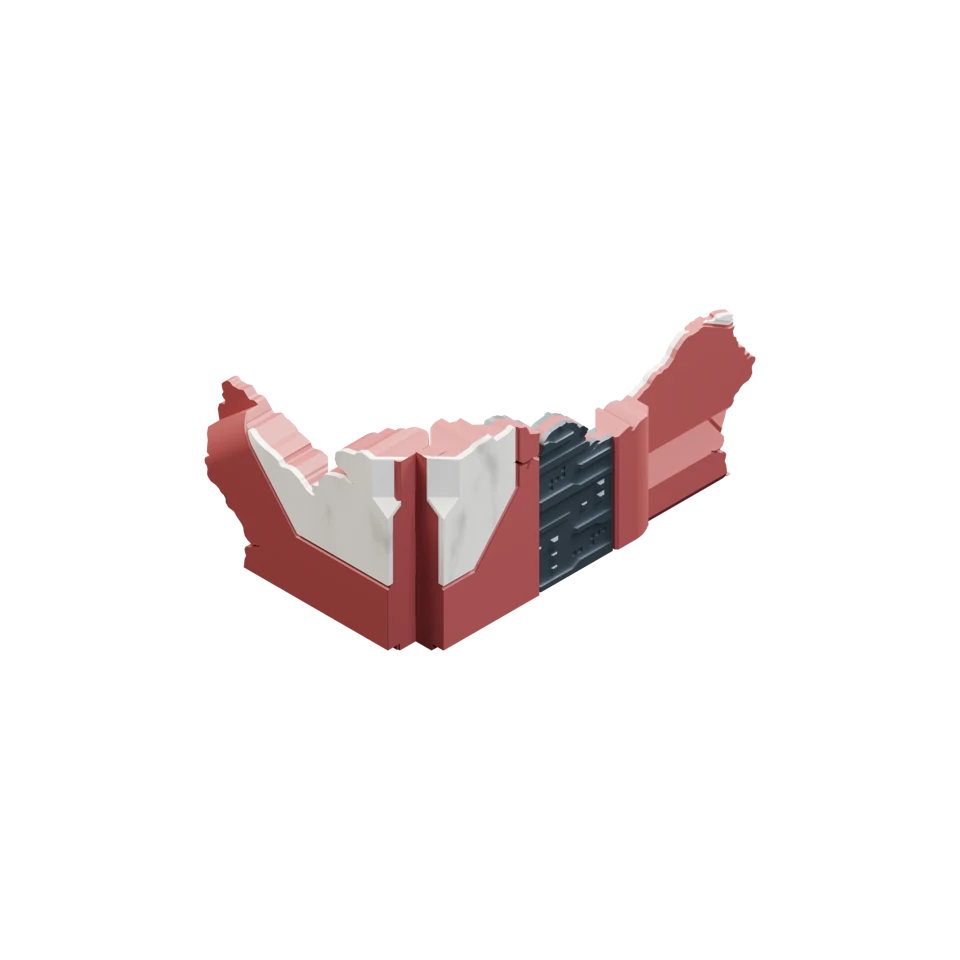 4×
GREATER GOOD_SCATTER_A.stl
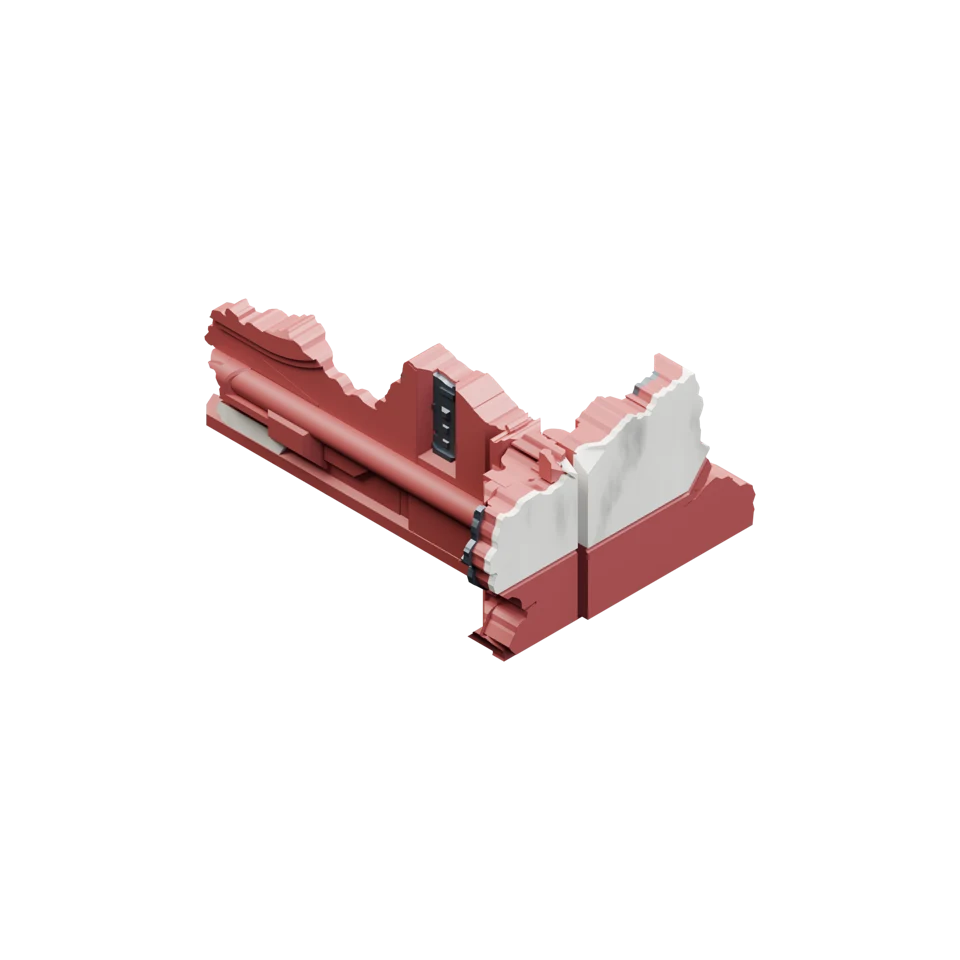 4×
GREATER GOOD_SCATTER_D.stl
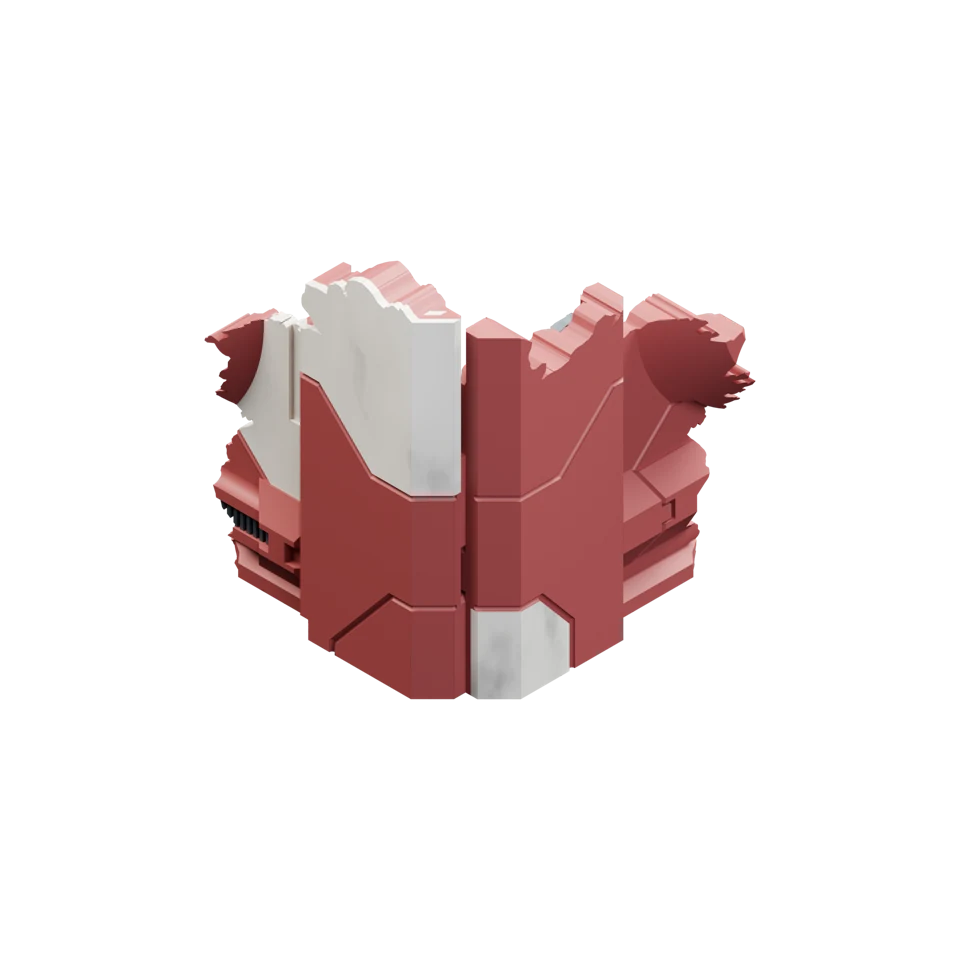 2×
GREATER GOOD_SCATTER_E.stl
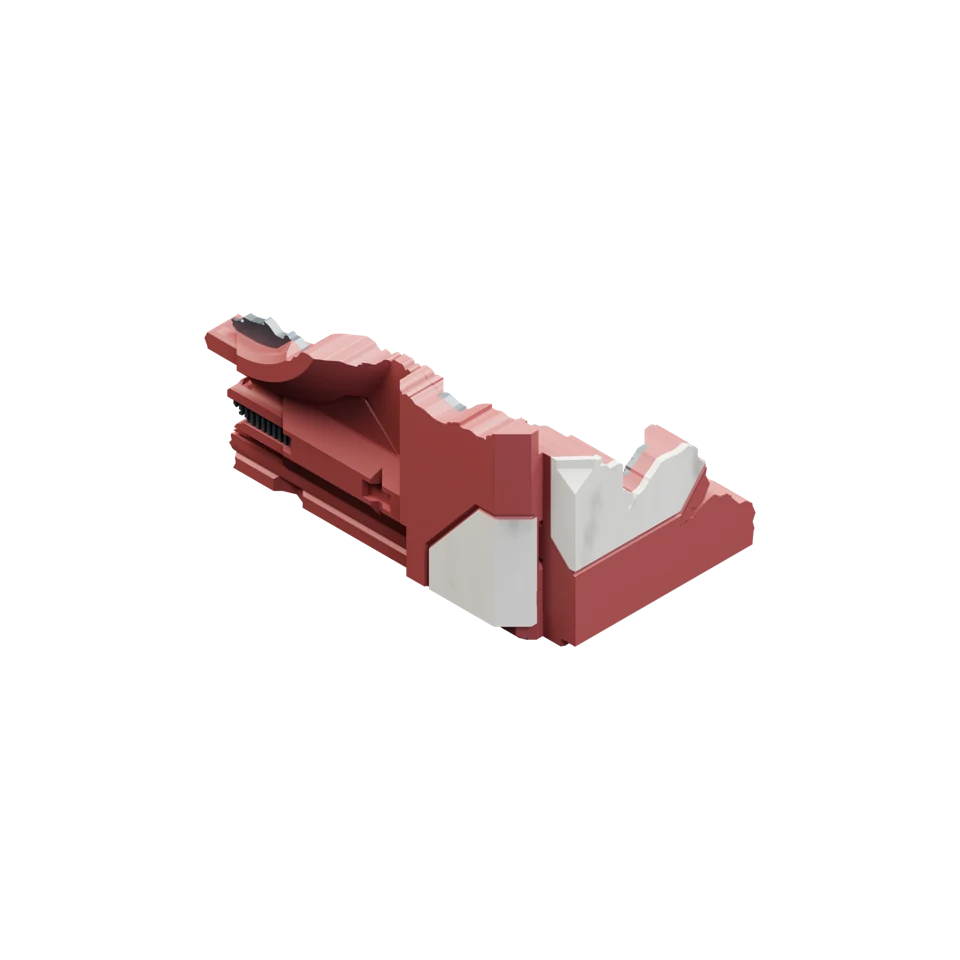 2×
GREATER GOOD_SCATTER_F.stl
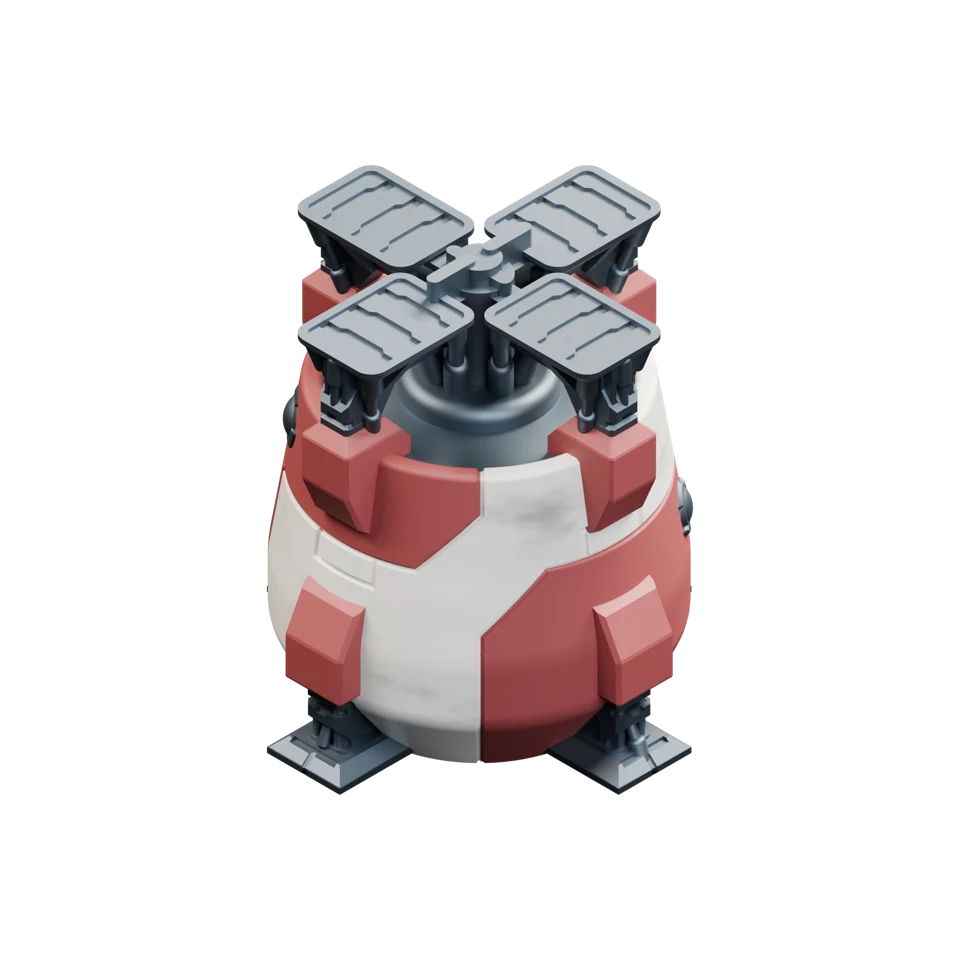 4×
GREATER GOOD_CONT_A.stl
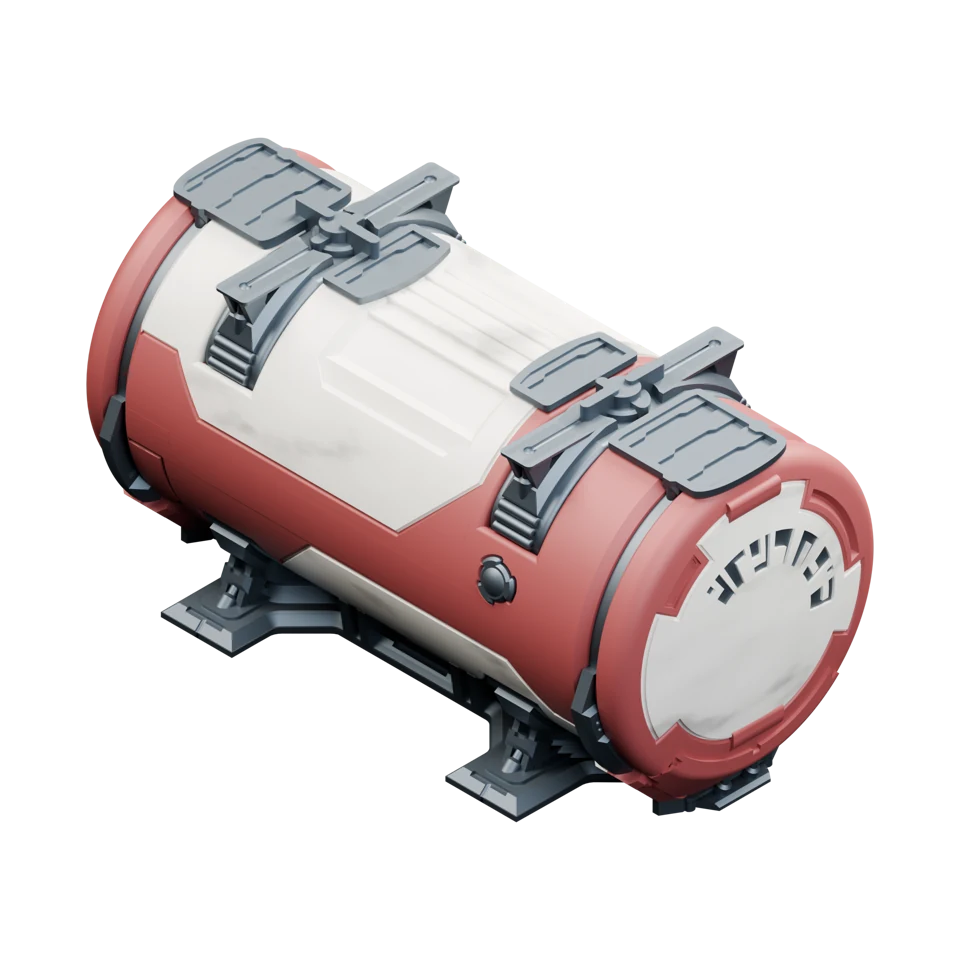 4×
GREATER GOOD_CONT_C.stl
Alternative upper C: B_PT1 + B_PT2
Use the footprints included in your MMF bundle, the free terrain templates or footprints from another maker or official sources; what matters is having the footprints required by your layout. Tinker Junkie recommends the official GW footprints or third-party alternatives to help keep the table immersive.
2×2.5 × 10″
4×2 × 6″
4×4 × 6″
4×12 × 8″
2×11.5 × 7″
Start by laying out your area terrain footprints. Competitive 11th Edition tournament layouts use a shared set of footprints in different arrangements and orientations. Match the shapes and the letter pairs in brackets [AB], [CD], [EF] and [GH] to your multi-level ruins, then place your foldable terrain on the corresponding footprints. The foldable ruins have their letter combination embossed underneath the floors. The rest of the ruins follow the layout depicted in the following diagrams.
After a couple of setups, remembering what goes where becomes much easier. Use the visual guide below to check the pieces for each footprint alongside your event’s layout diagram.
Single containers + 2× Scatter D
1× low piece 2×4×2
1× tall piece 2×4×4
Stacked double containers
2× Scatter A
1× Ruin E [EF] + 1× Ruin G [GH]
1× Ruin F [CD] + 1× Scatter F
1× Ruin D [AB] + 1× Scatter E
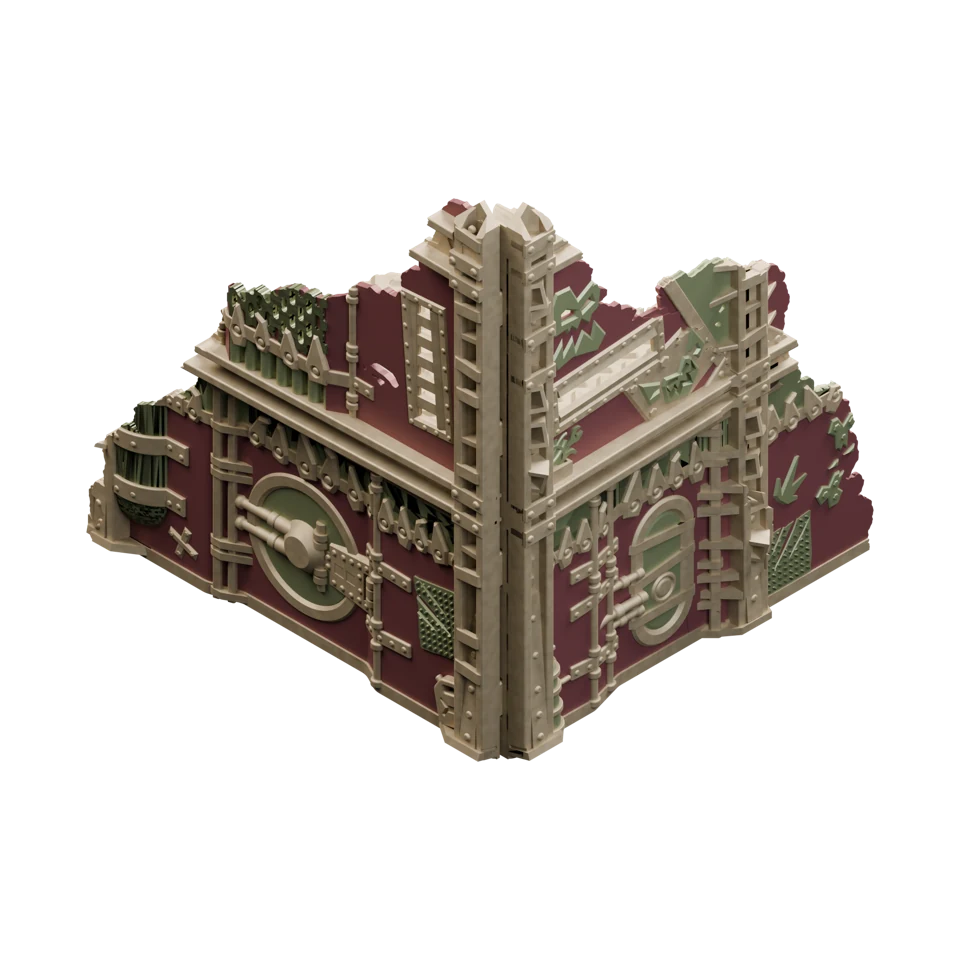 2×
ORKS_D [AB].stl
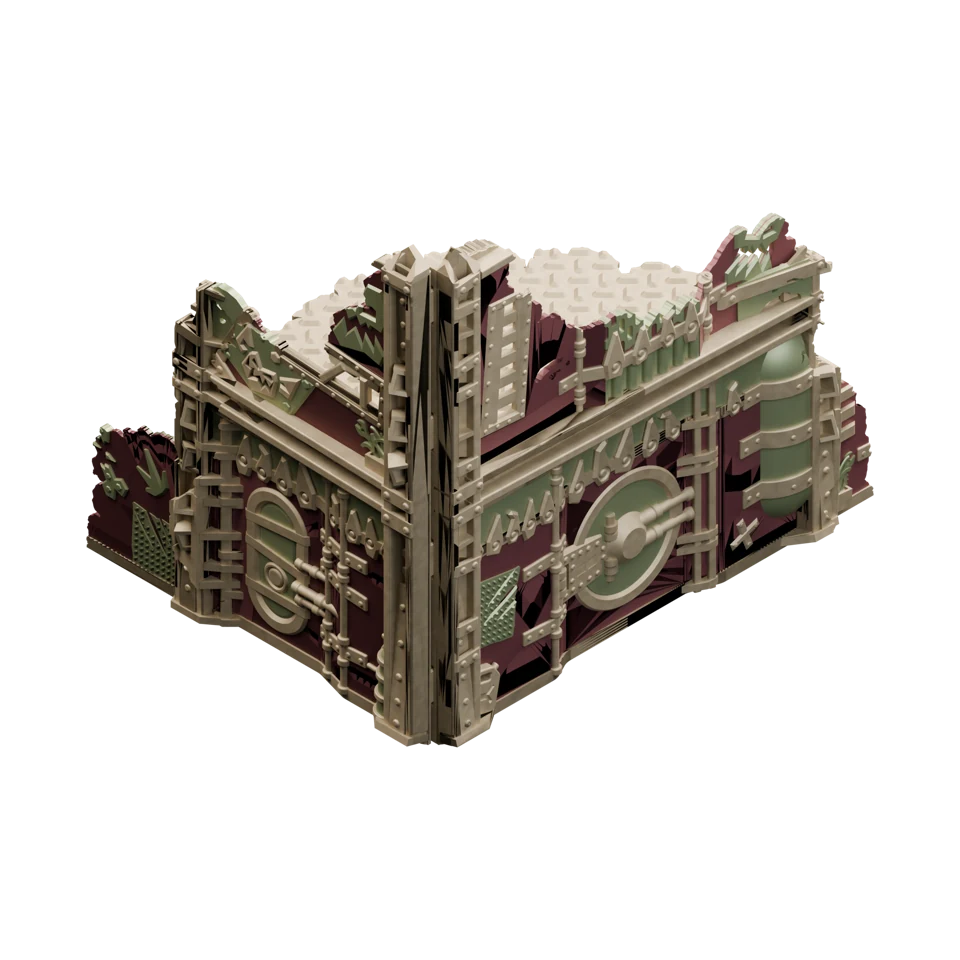 2×
ORKS_E [EF].stl
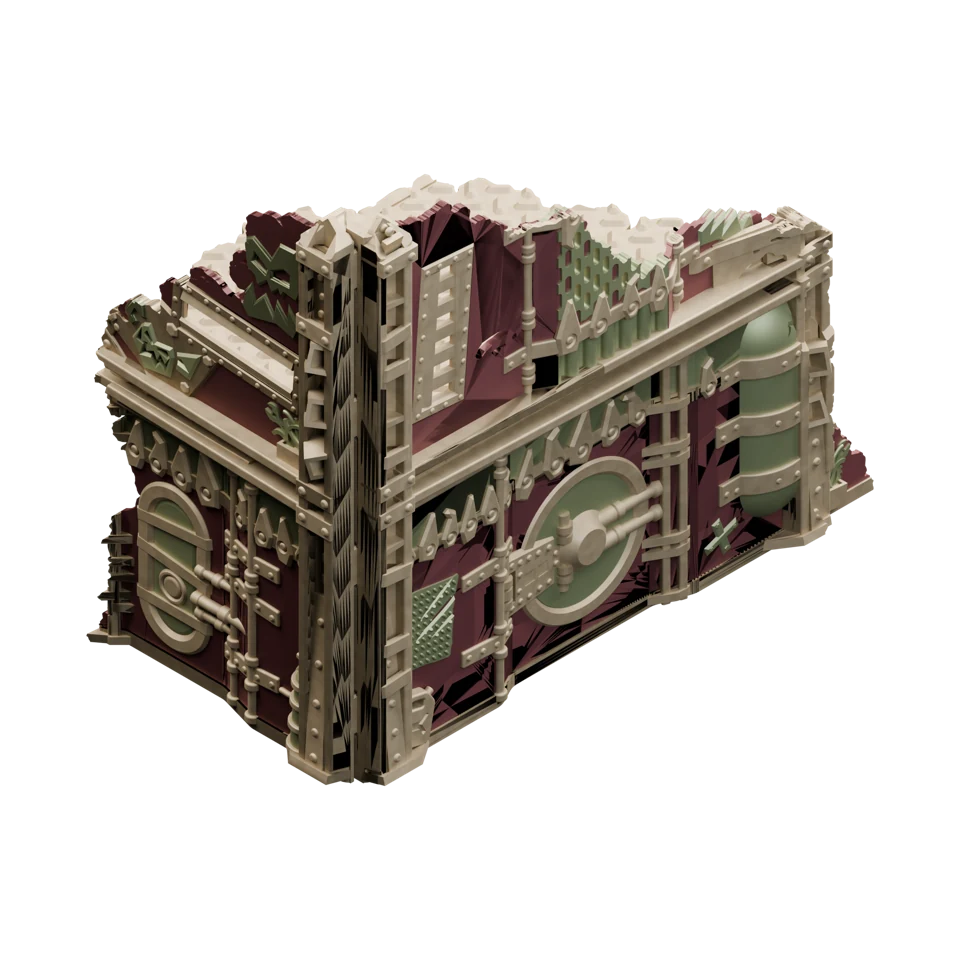 2×
ORKS_F [CD].stl
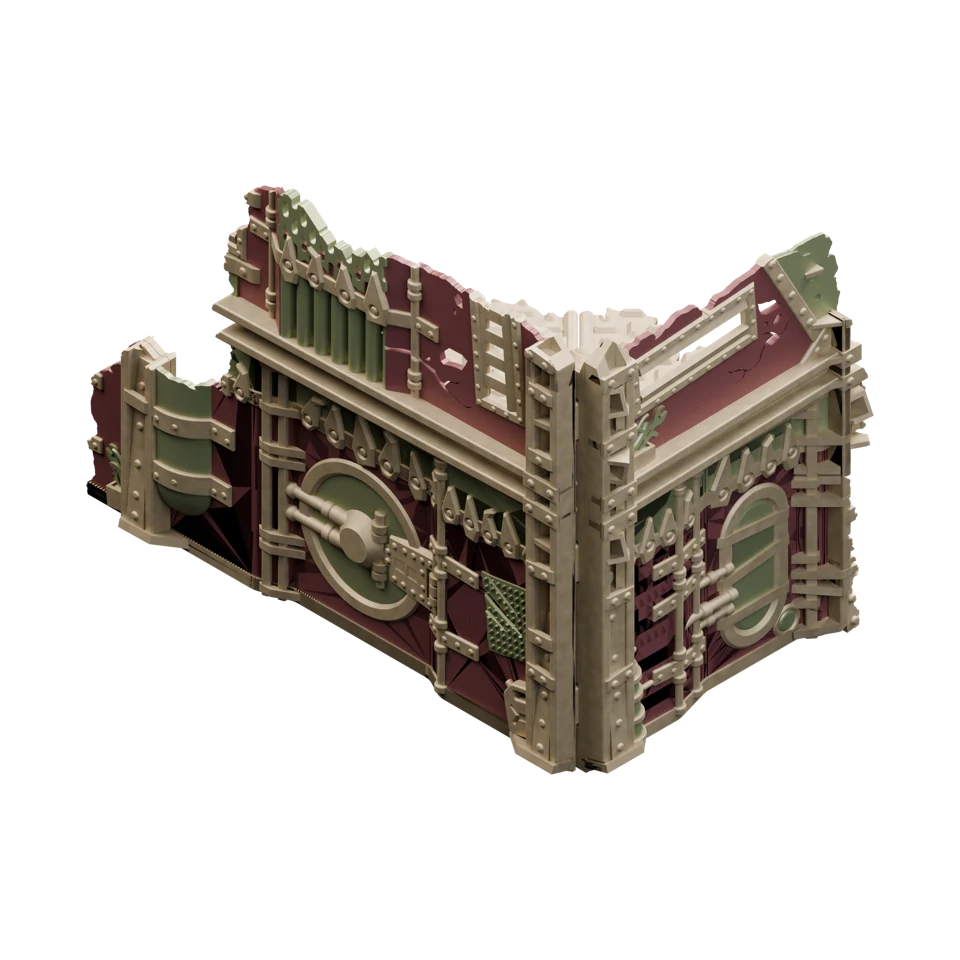 2×
ORKS_G [GH].stl
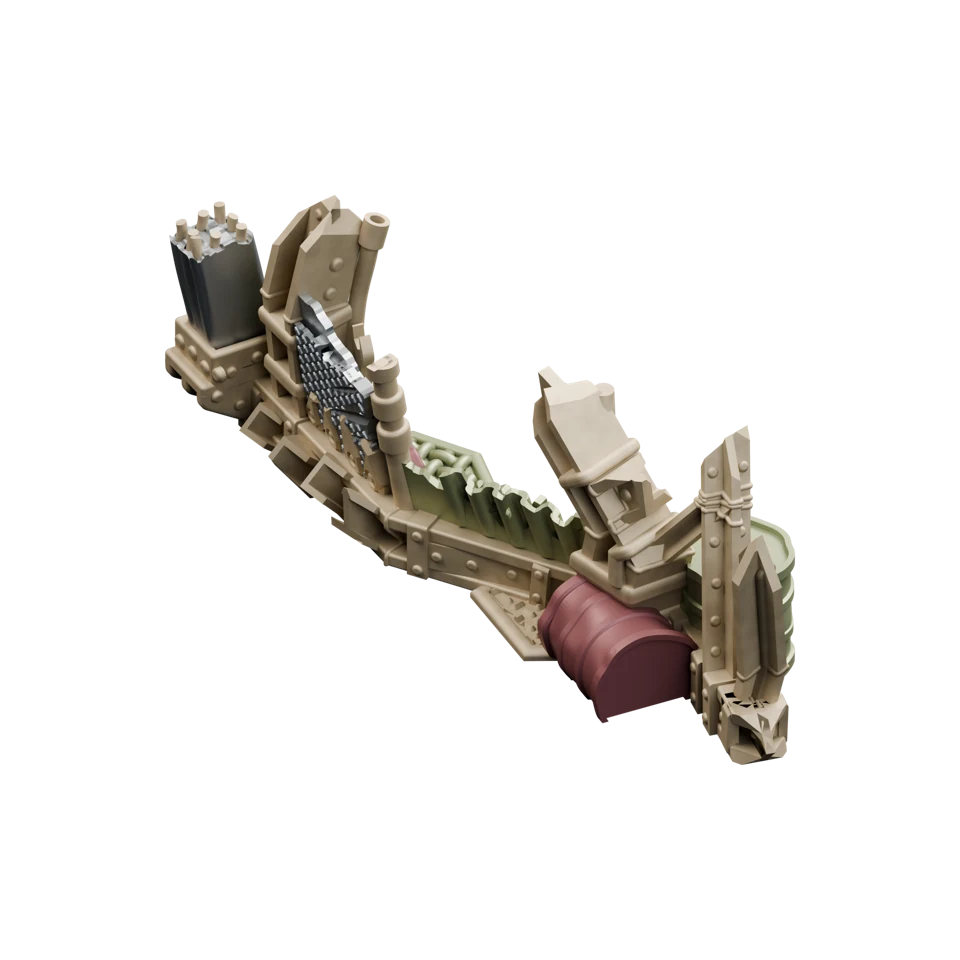 2×
ORKS_11THED_2x4x2.stl
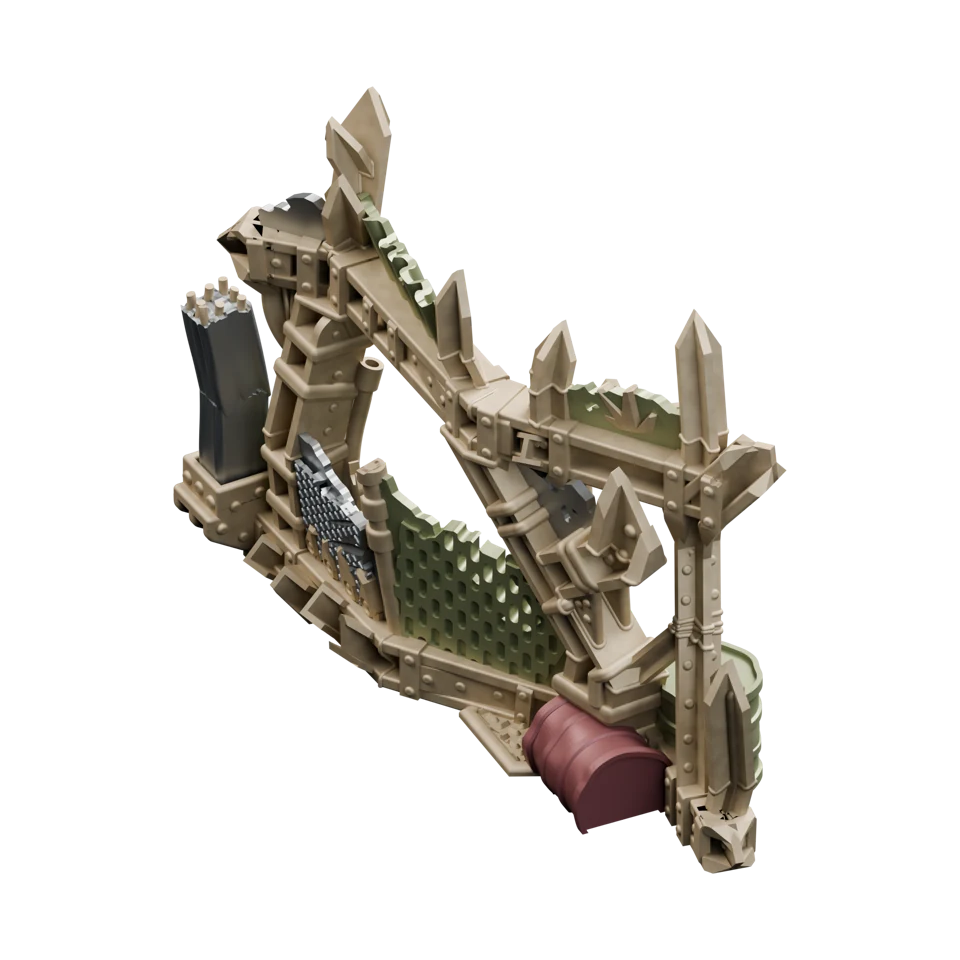 2×
ORKS_11THED_2x4x4.stl
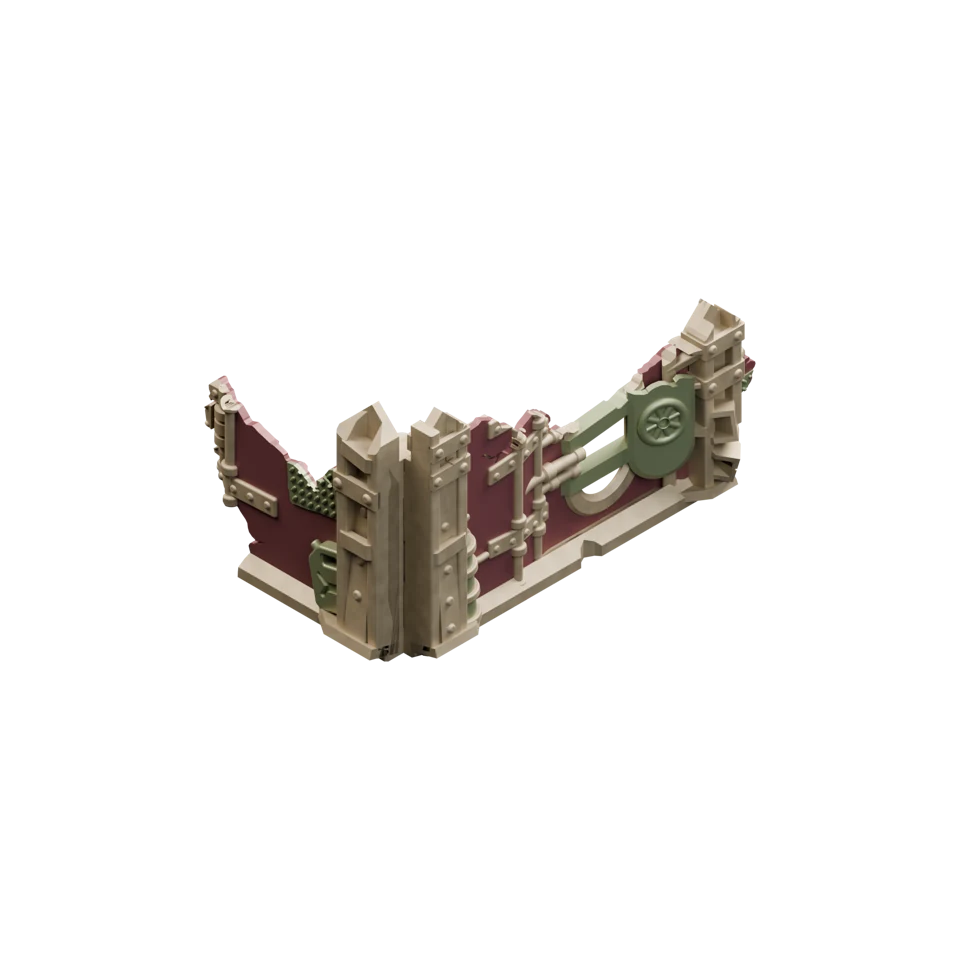 4×
ORKS_SCATTER_A.stl
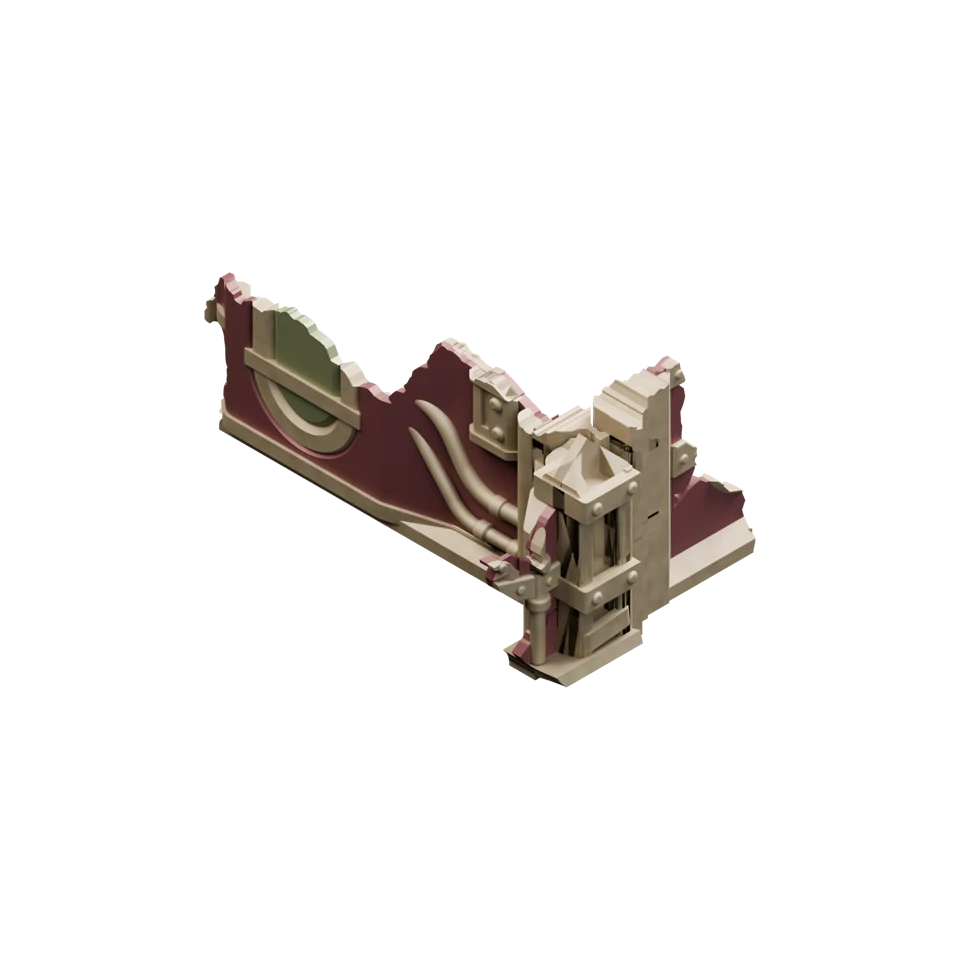 4×
ORKS_SCATTER_D.stl
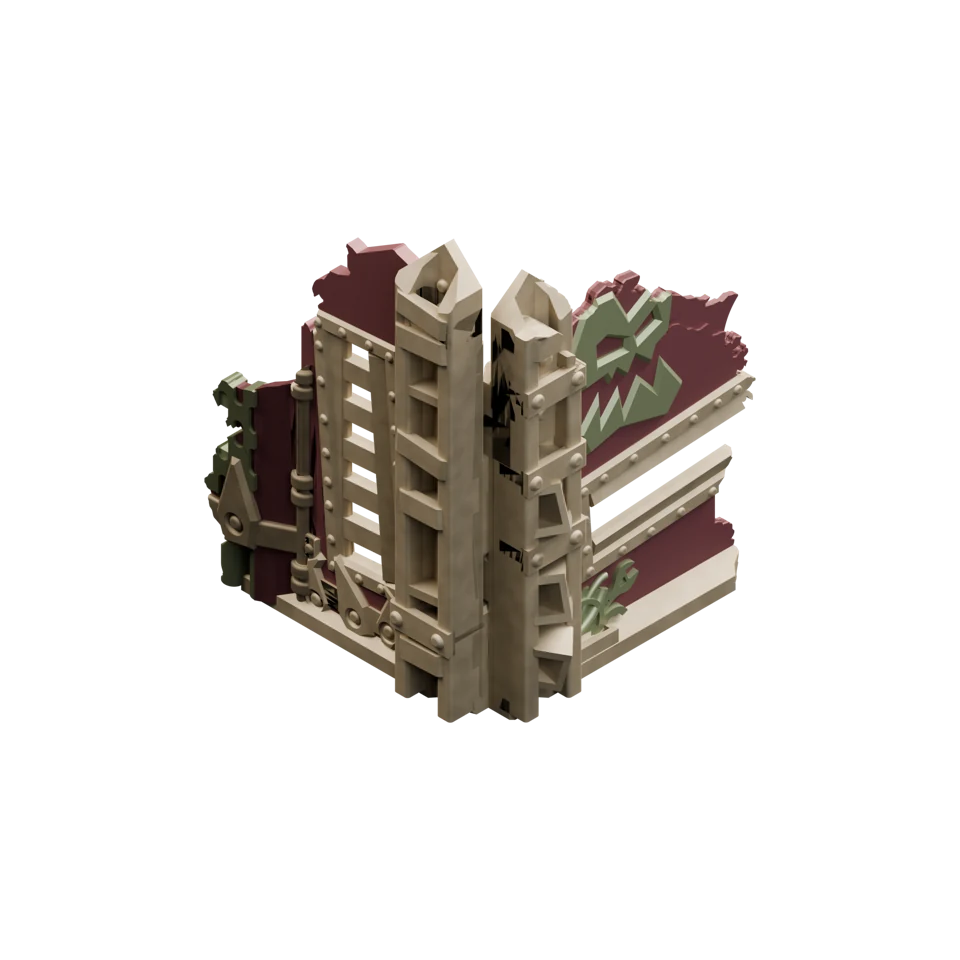 2×
ORKS_SCATTER_E.stl
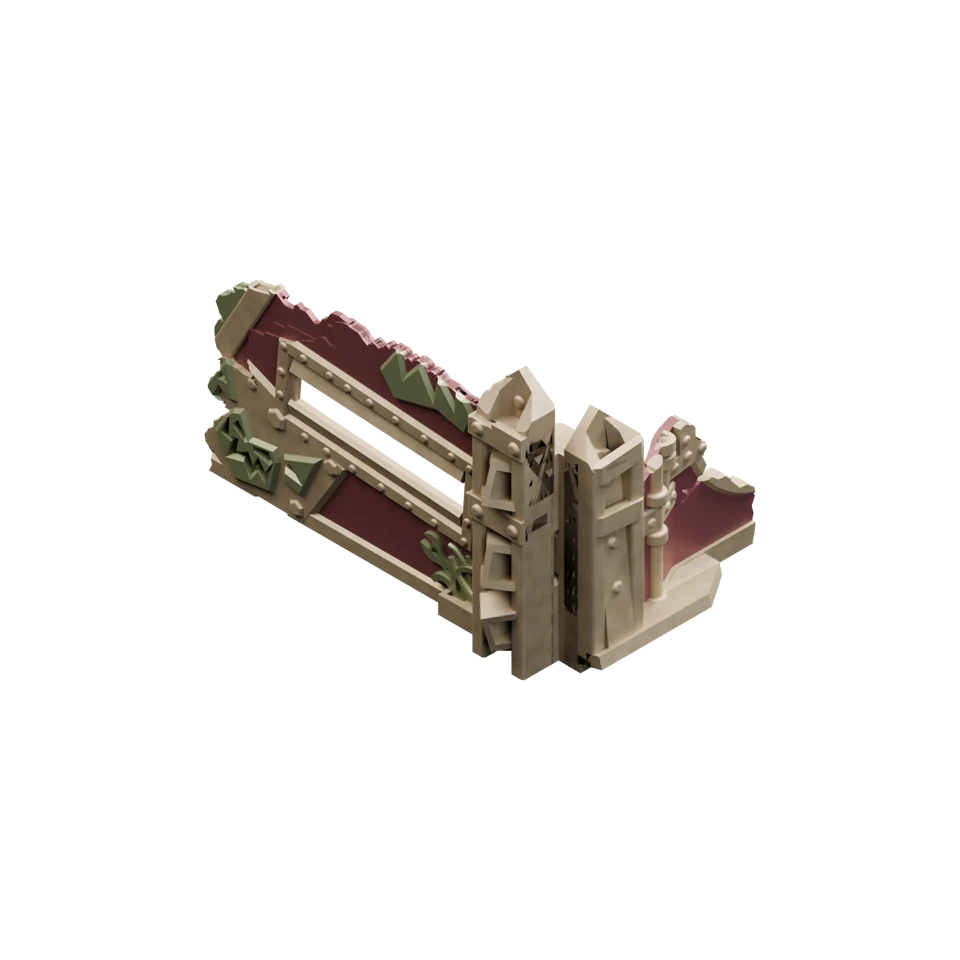 2×
ORKS_SCATTER_F.stl
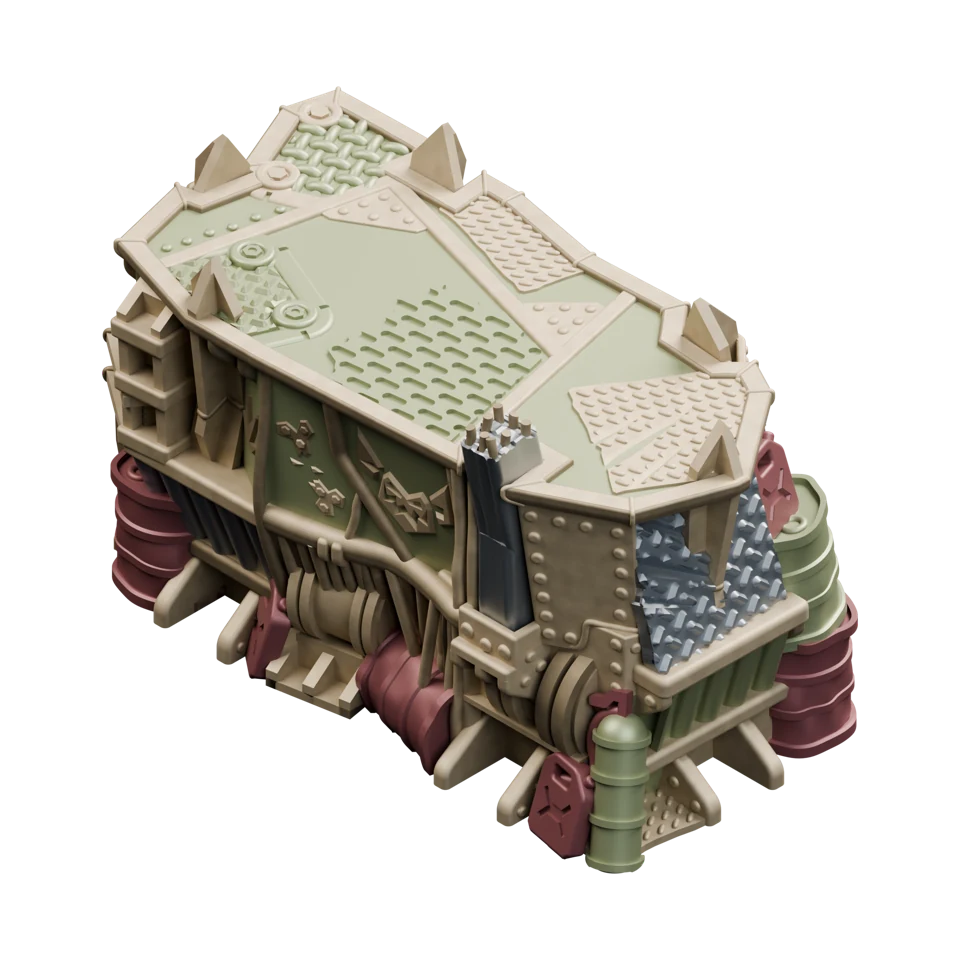 2×
ORKS_CONT_A.stl
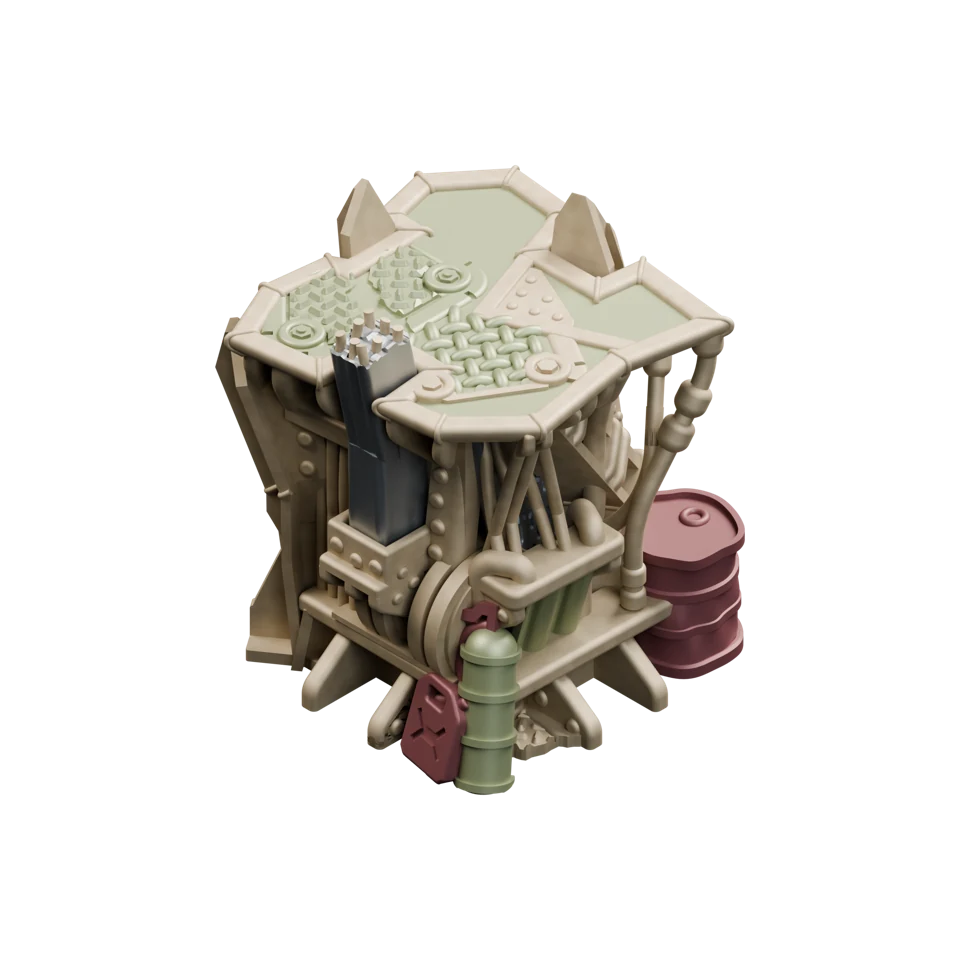 2×
ORKS_CONT_B.stl
Use the footprints included in your MMF bundle, the free terrain templates or footprints from another maker or official sources; what matters is having the footprints required by your layout. Tinker Junkie recommends the official GW footprints or third-party alternatives to help keep the table immersive.
2×2.5 × 10″
4×2 × 6″
4×4 × 6″
4×12 × 8″
2×11.5 × 7″
Start by laying out your area terrain footprints. Competitive 11th Edition tournament layouts use a shared set of footprints in different arrangements and orientations. Match the shapes and the letter pairs in brackets [AB], [CD], [EF] and [GH] to your multi-level ruins, then place your foldable terrain on the corresponding footprints. The foldable ruins have their letter combination embossed underneath the floors. The rest of the ruins follow the layout depicted in the following diagrams.
After a couple of setups, remembering what goes where becomes much easier. Use the visual guide below to check the pieces for each footprint alongside your event’s layout diagram.
Single containers + 2× Scatter D
1× low piece 2×4×2
1× tall piece 2×4×4
Stacked double containers
2× Scatter A
1× Ruin E [EF] + 1× Ruin G [GH]
1× Ruin F [CD] + 1× Scatter F
1× Ruin D [AB] + 1× Scatter E
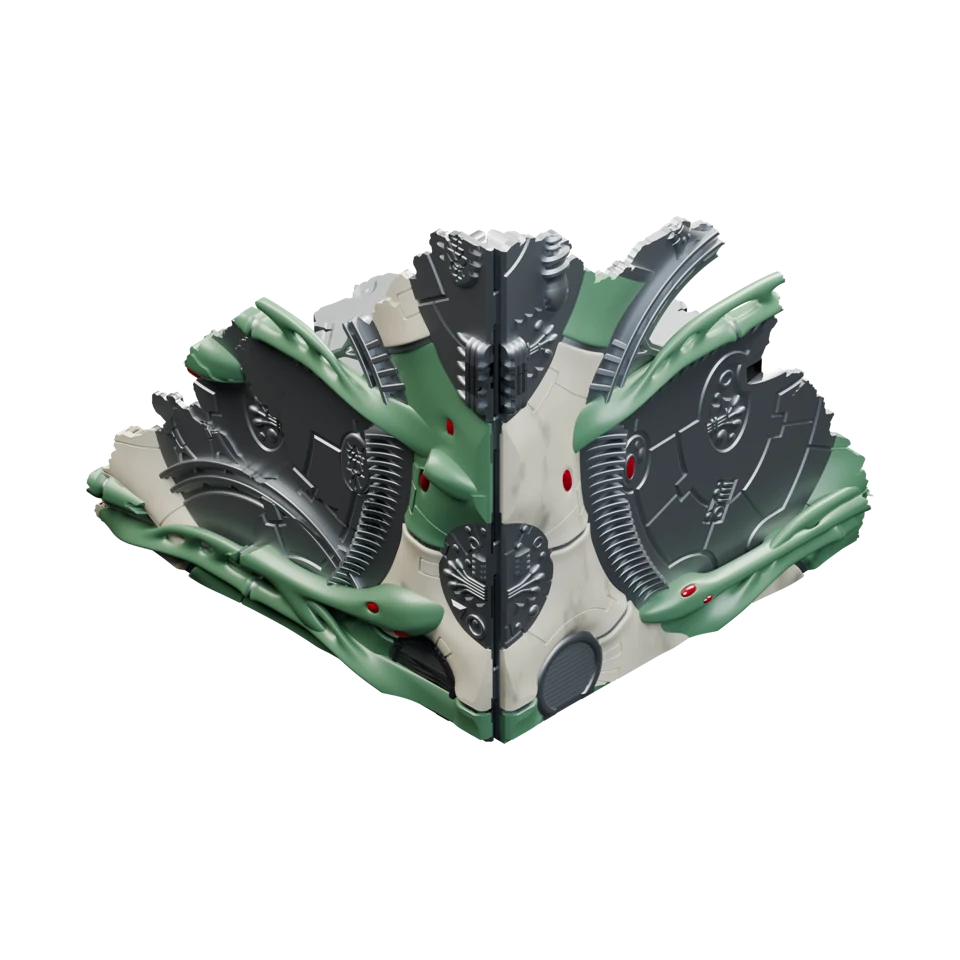 2×
SPACE ELVES_D [AB].stl
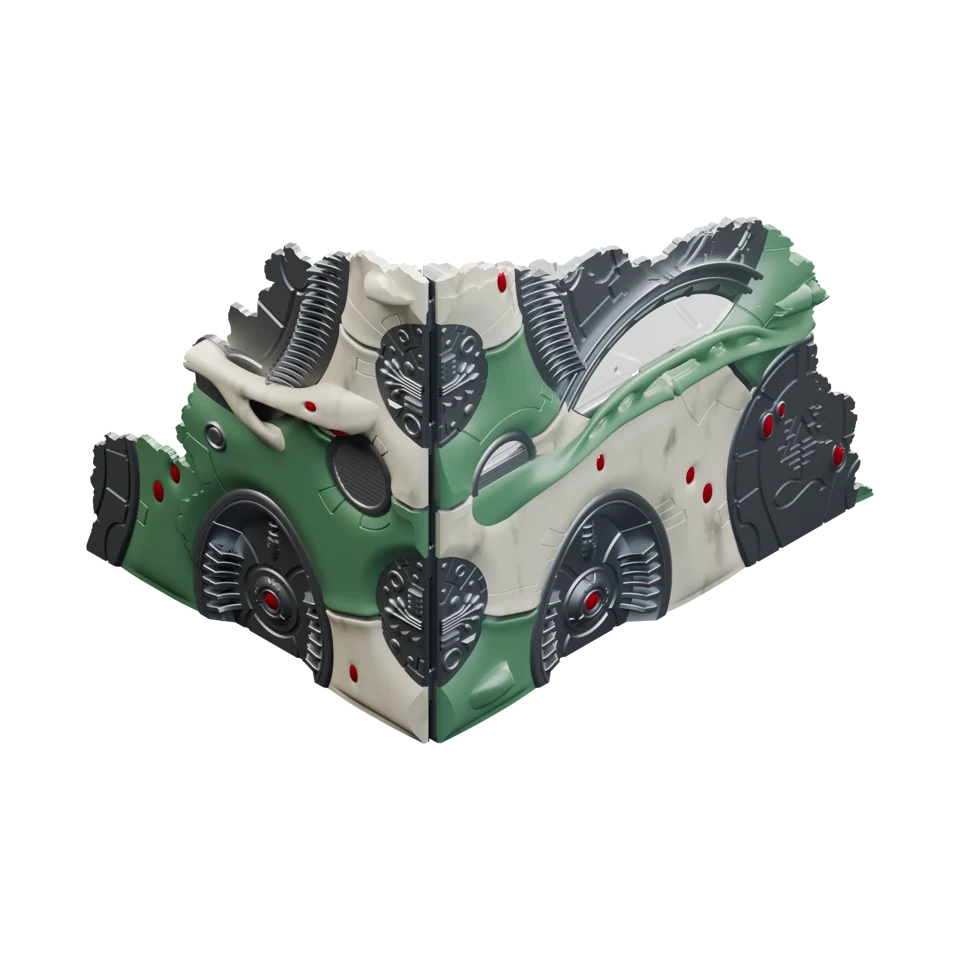 2×
SPACE ELVES_E [EF].stl
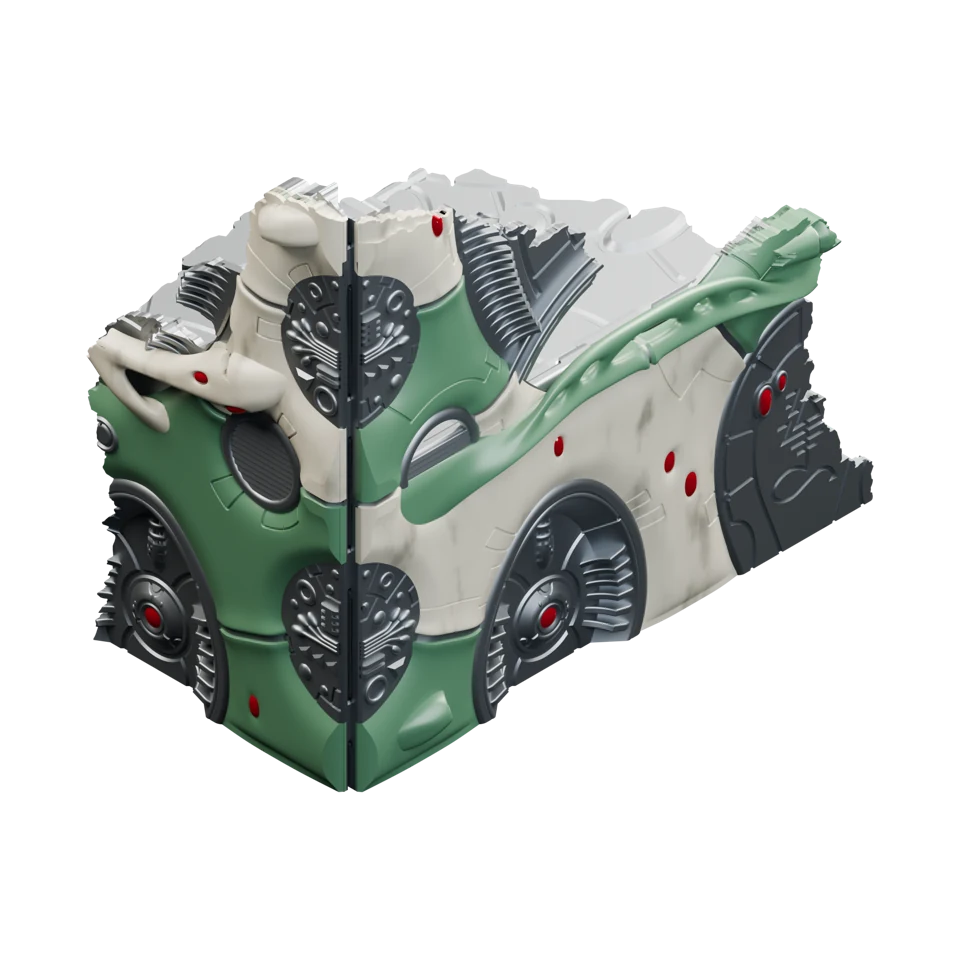 2×
SPACE ELVES_F [CD].stl
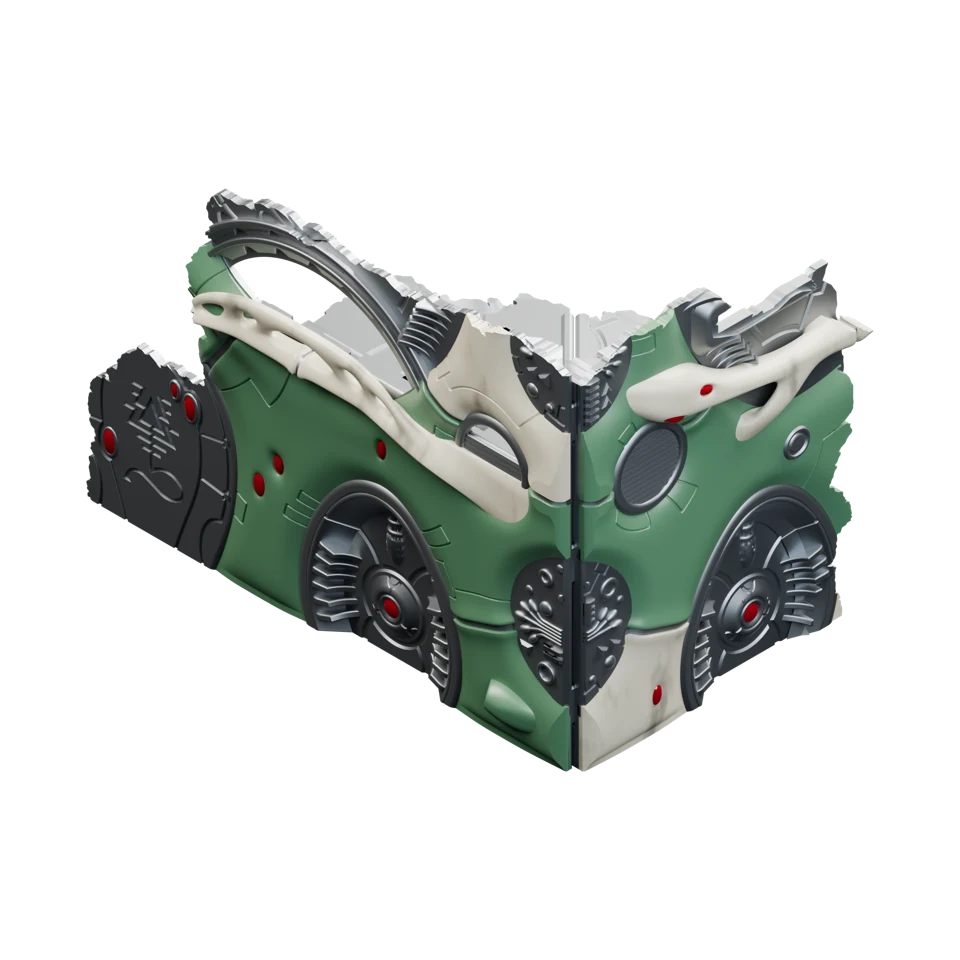 2×
SPACE ELVES_G [GH].stl
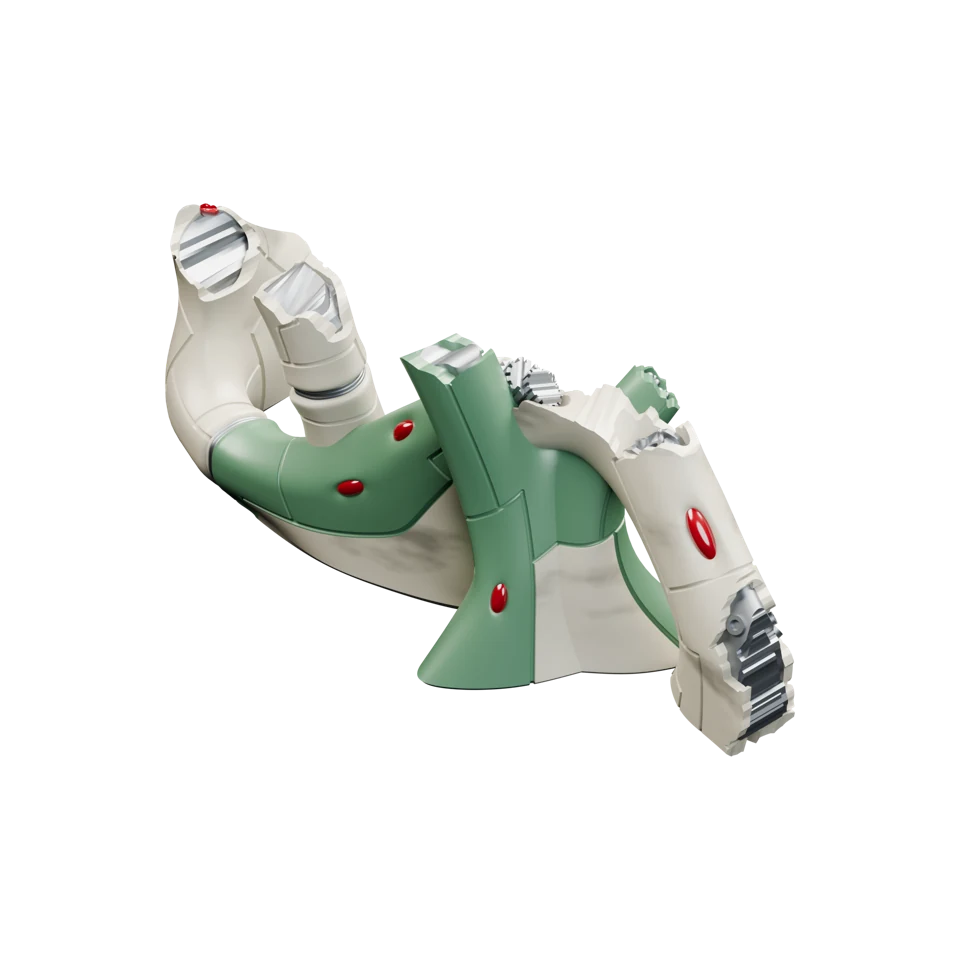 2×
SPACE ELVES_2x4x2.stl
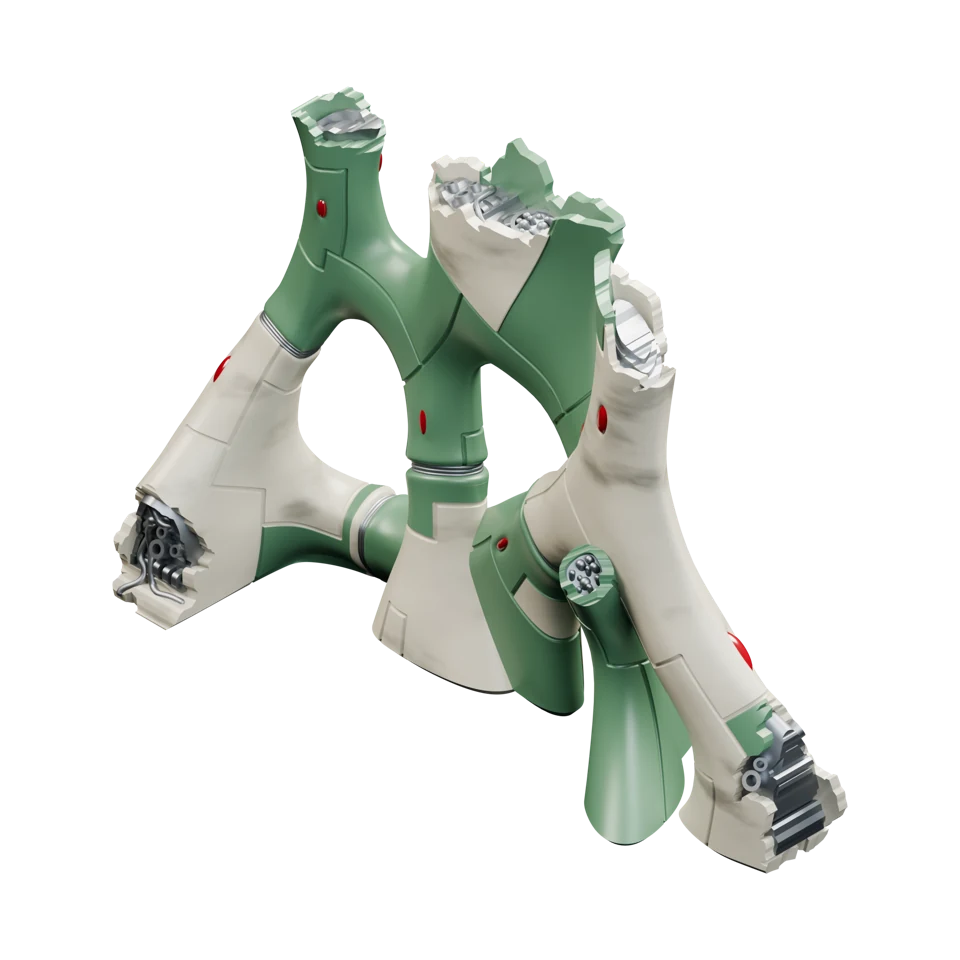 2×
SPACE ELVES_2x4x4.stl
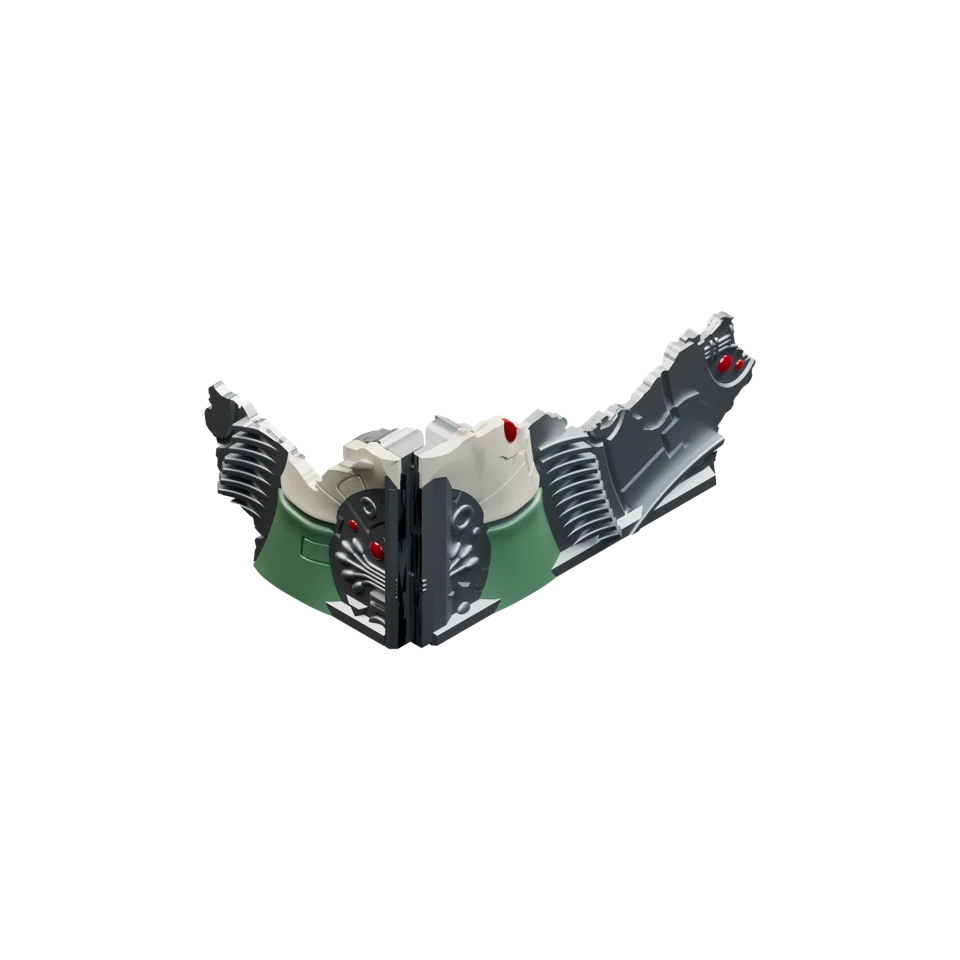 4×
ELVES_SCATTER_A.stl
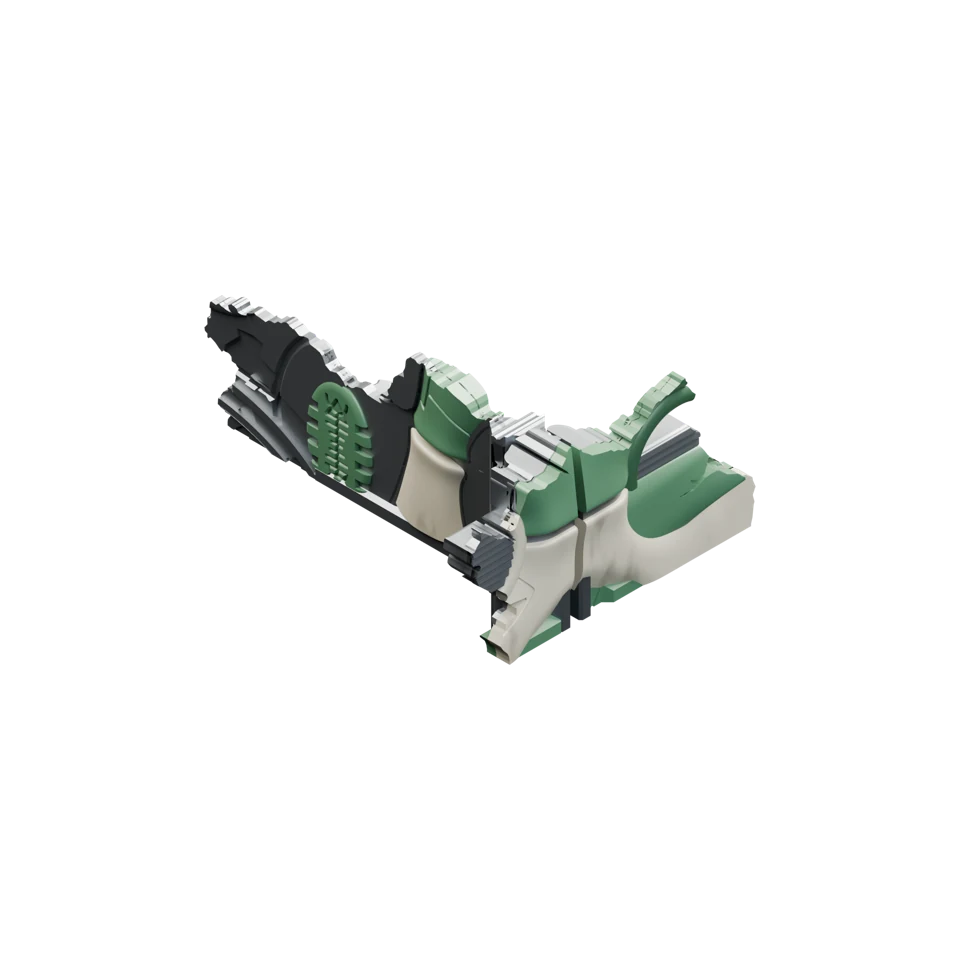 4×
ELVES_SCATTER_D.stl
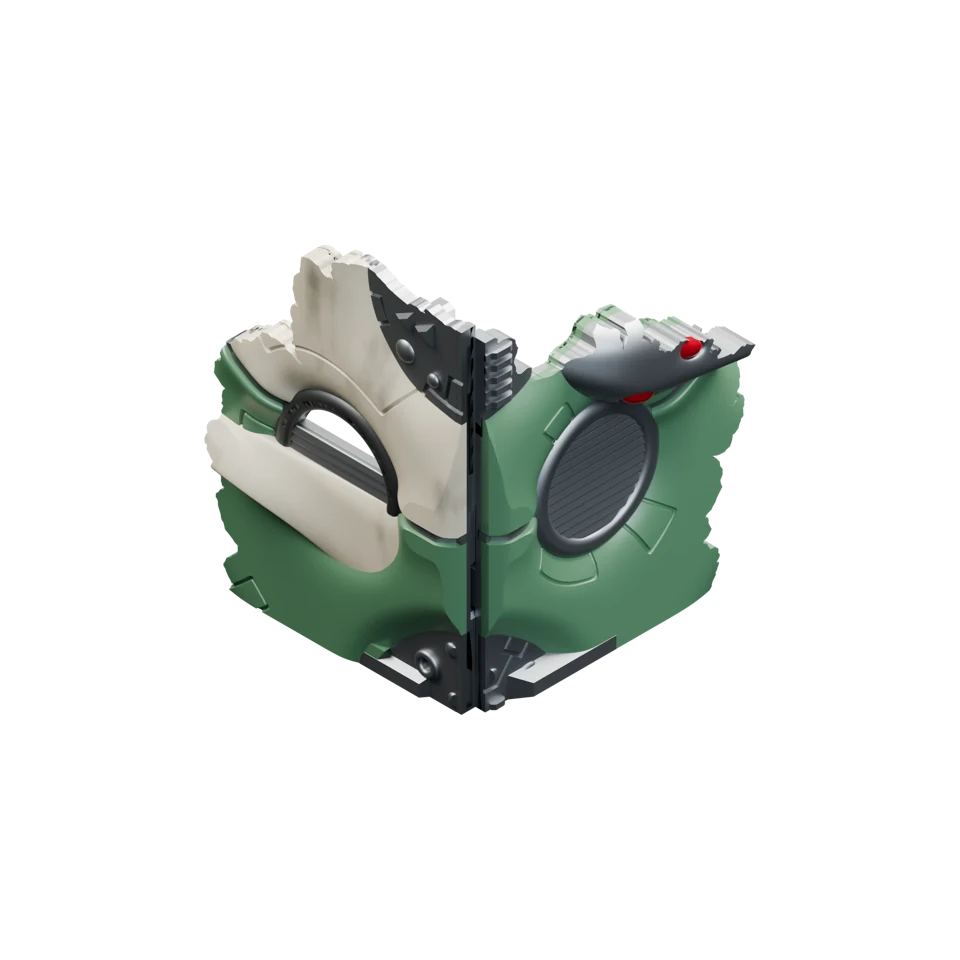 2×
ELVES_SCATTER_E.stl
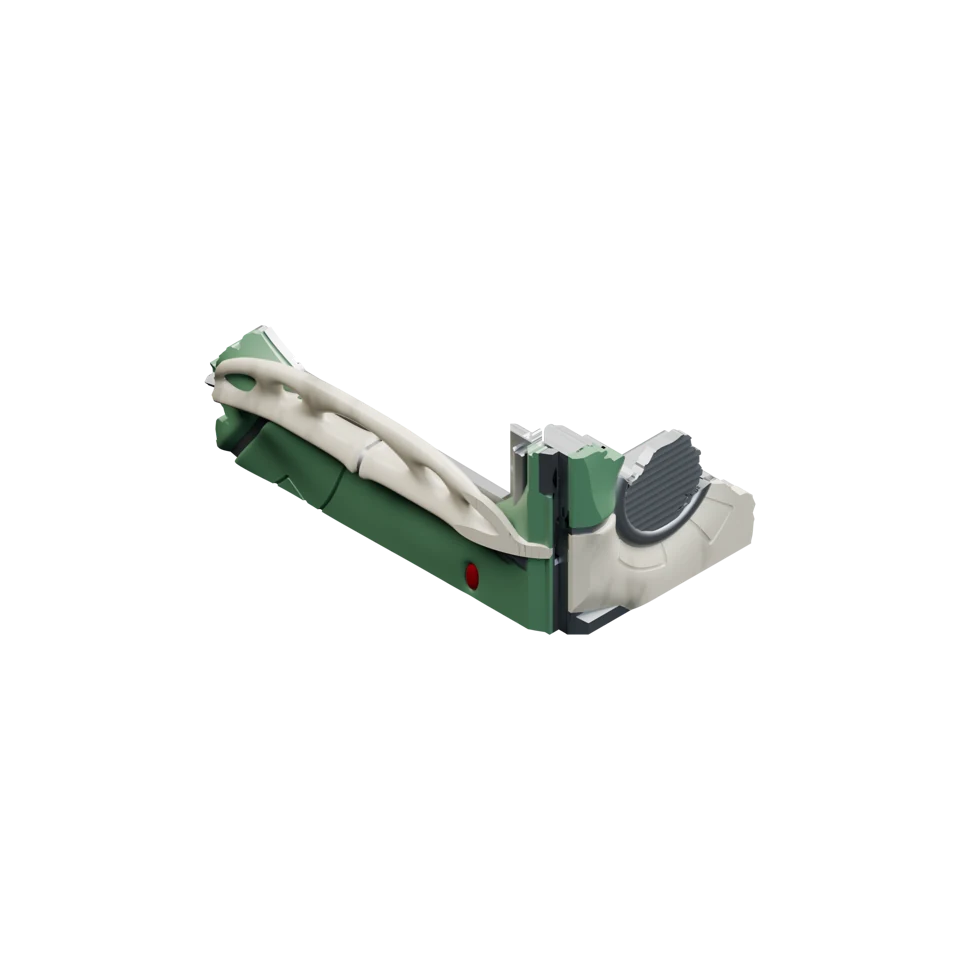 2×
ELVES_SCATTER_F.stl
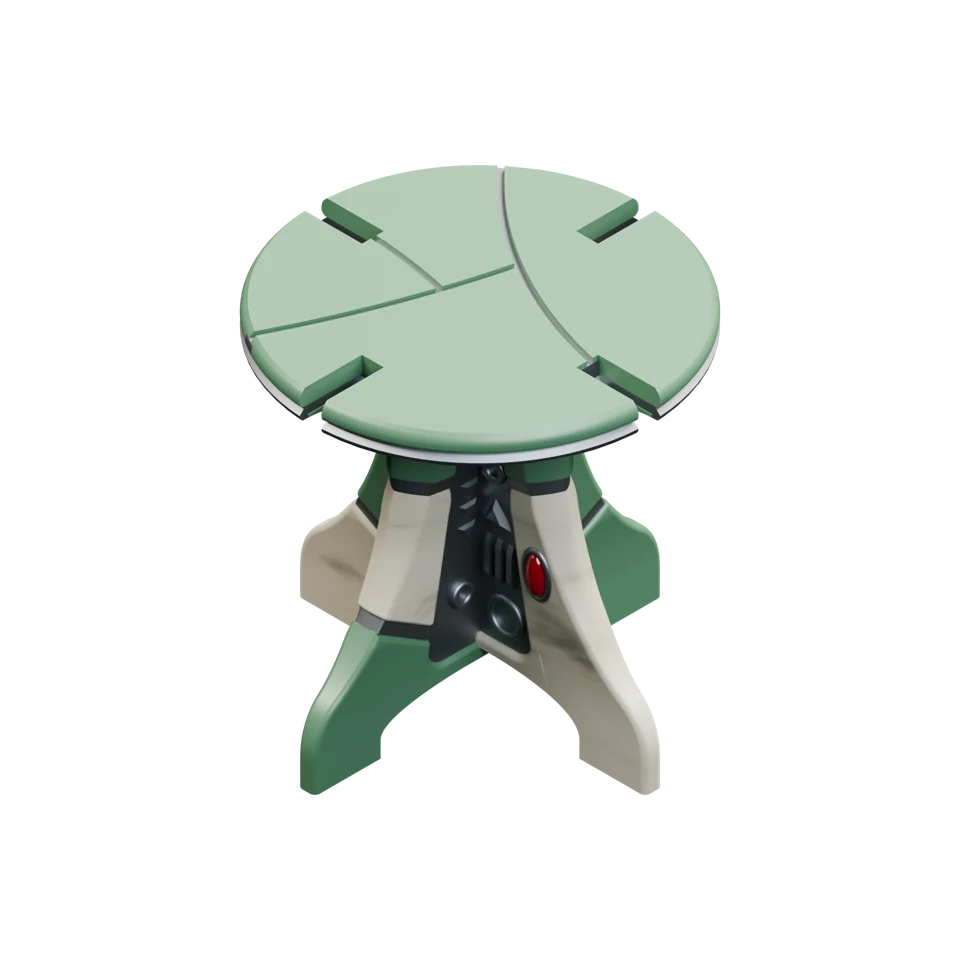 2×
ELVES_CONT_A.stl
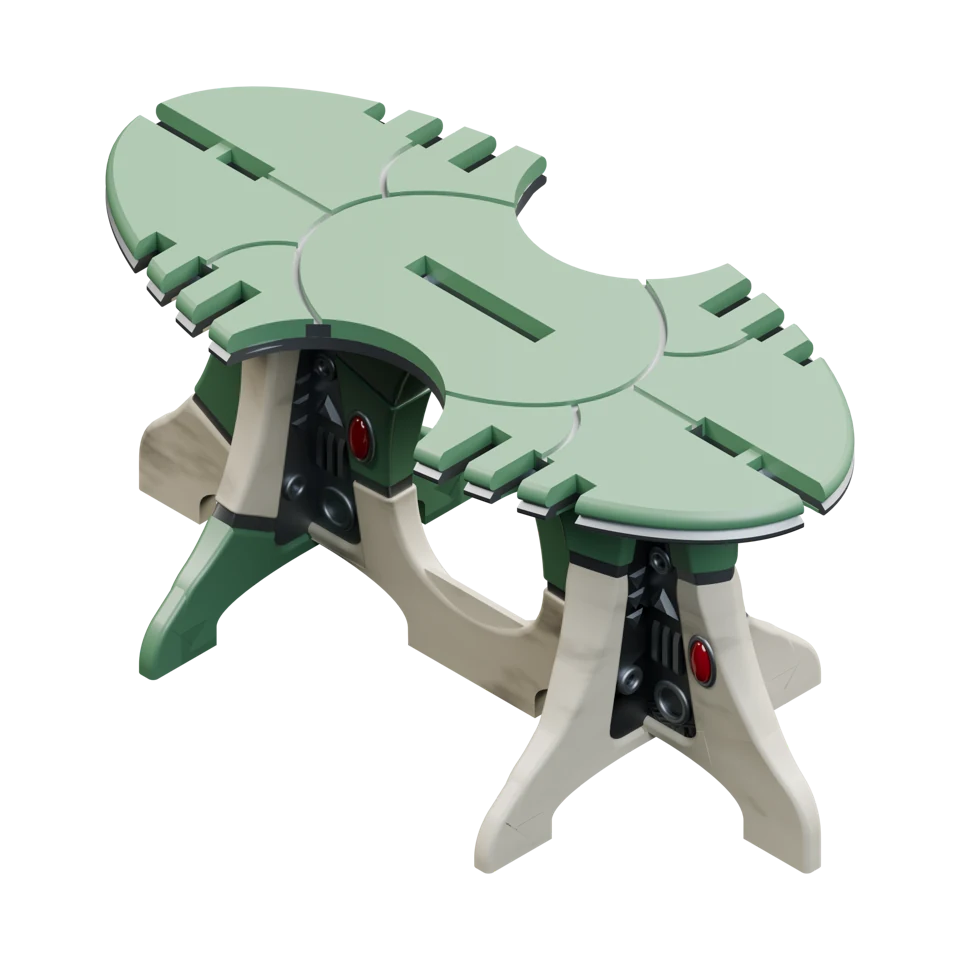 2×
ELVES_CONT_B.stl
Use the footprints included in your MMF bundle, the free terrain templates or footprints from another maker or official sources; what matters is having the footprints required by your layout. Tinker Junkie recommends the official GW footprints or third-party alternatives to help keep the table immersive.
2×2.5 × 10″
4×2 × 6″
4×4 × 6″
4×12 × 8″
2×11.5 × 7″
Start by laying out your area terrain footprints. Competitive 11th Edition tournament layouts use a shared set of footprints in different arrangements and orientations. Match the shapes and the letter pairs in brackets [AB], [CD], [EF] and [GH] to your multi-level ruins, then place your foldable terrain on the corresponding footprints. The foldable ruins have their letter combination embossed underneath the floors. The rest of the ruins follow the layout depicted in the following diagrams.
After a couple of setups, remembering what goes where becomes much easier. Use the visual guide below to check the pieces for each footprint alongside your event’s layout diagram.
Single containers + 2× Scatter D
1× low piece 2×4×2
1× tall piece 2×4×4
Stacked double containers
2× Scatter A
1× Ruin E [EF] + 1× Ruin G [GH]
1× Ruin F [CD] + 1× Scatter F
1× Ruin D [AB] + 1× Scatter E
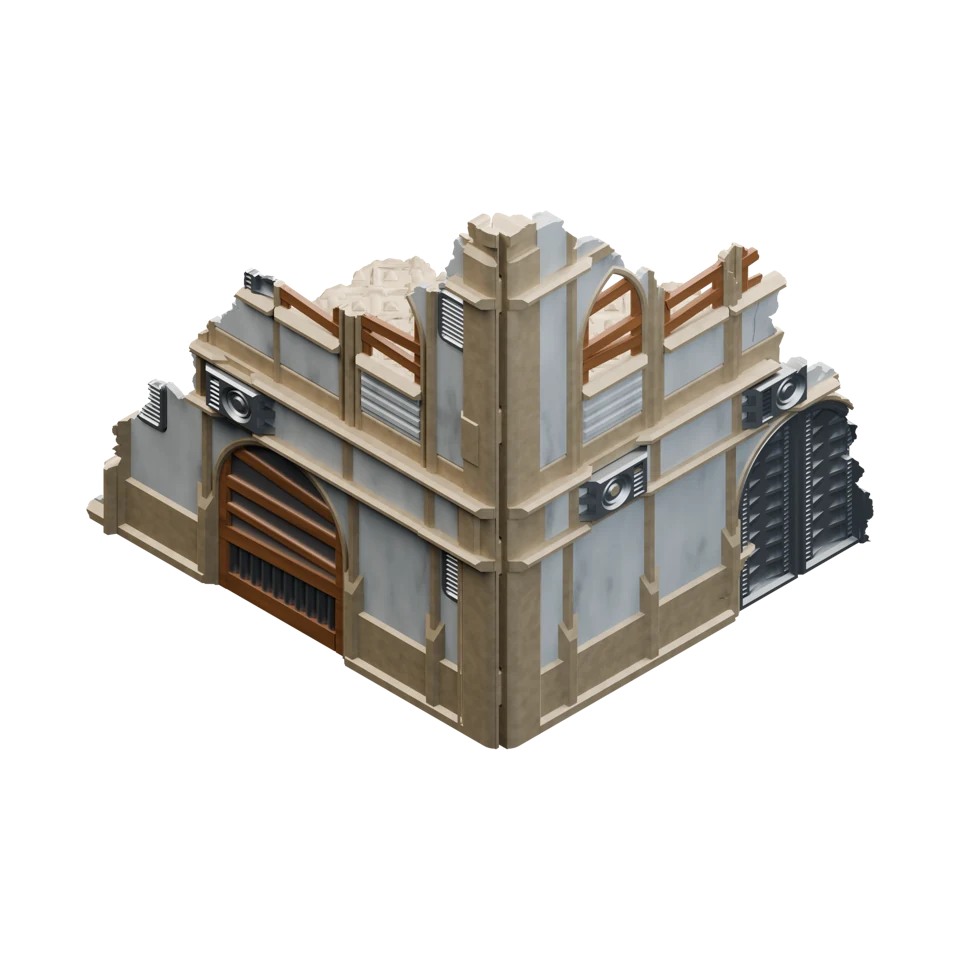 2×
IMPERIAL GOTHIC_D [AB].stl
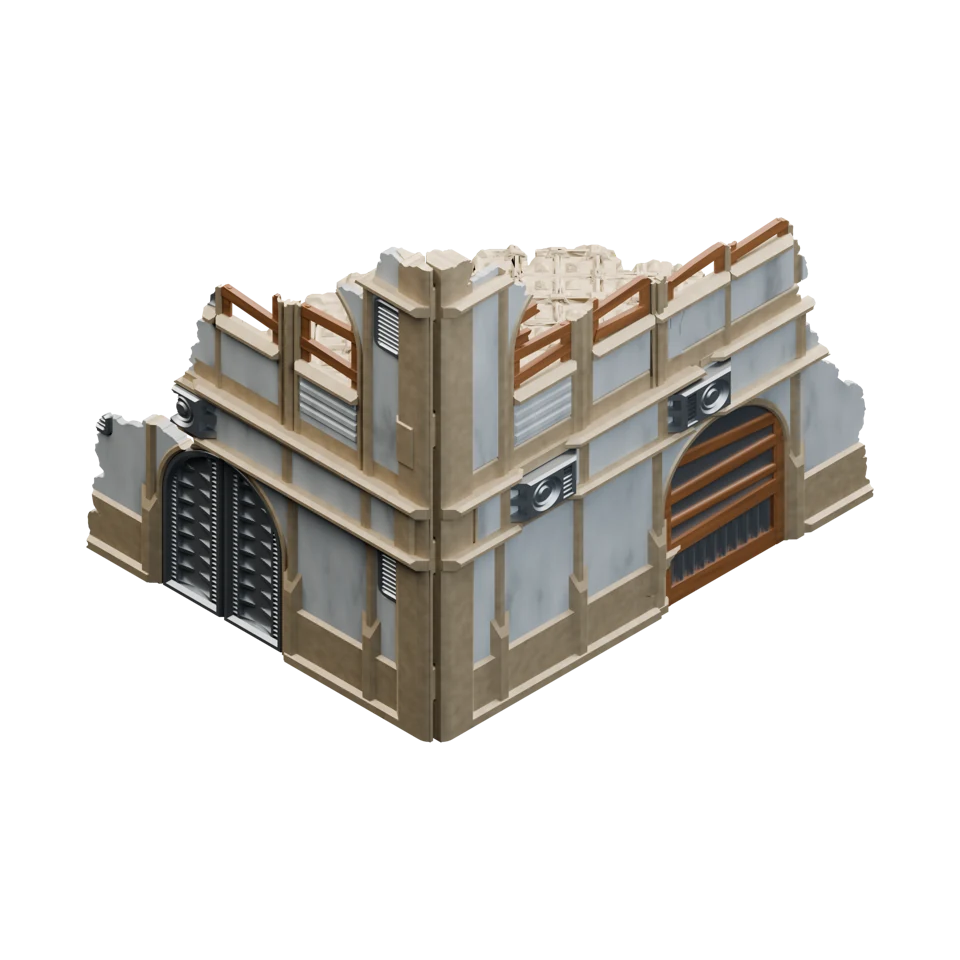 2×
IMPERIAL GOTHIC_E [EF].stl
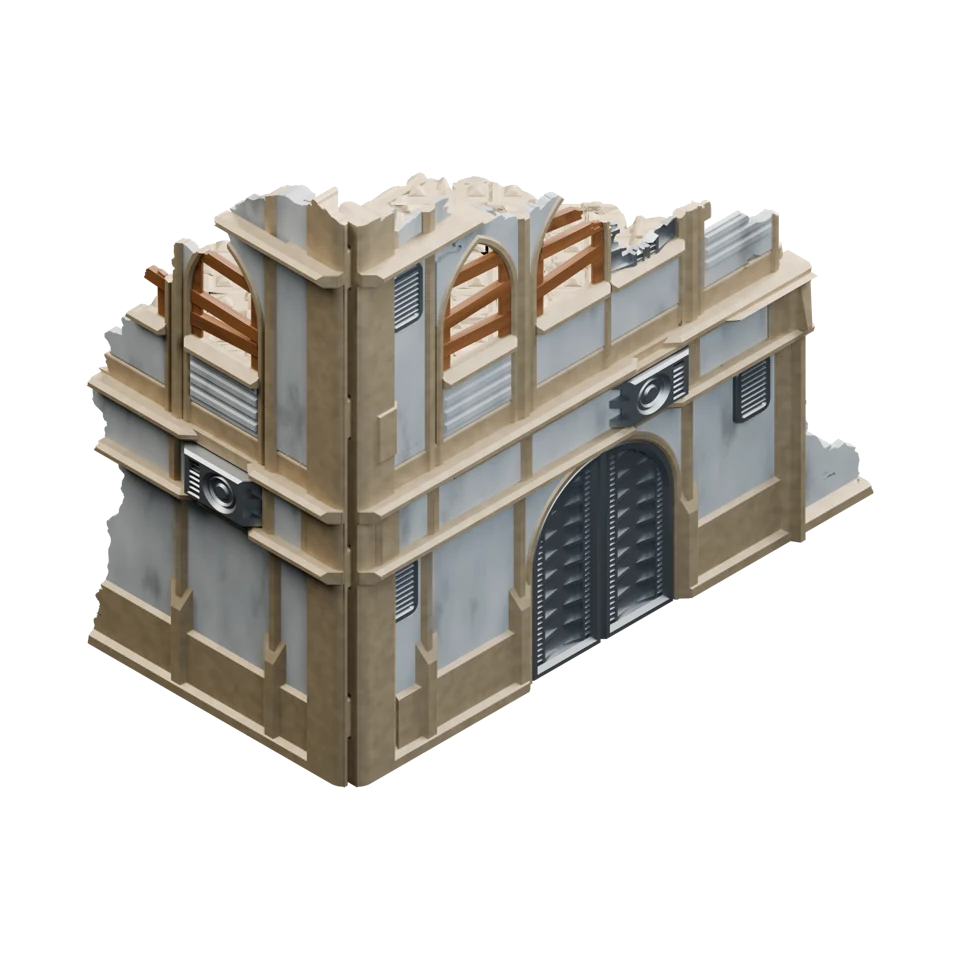 2×
IMPERIAL GOTHIC_F [CD].stl
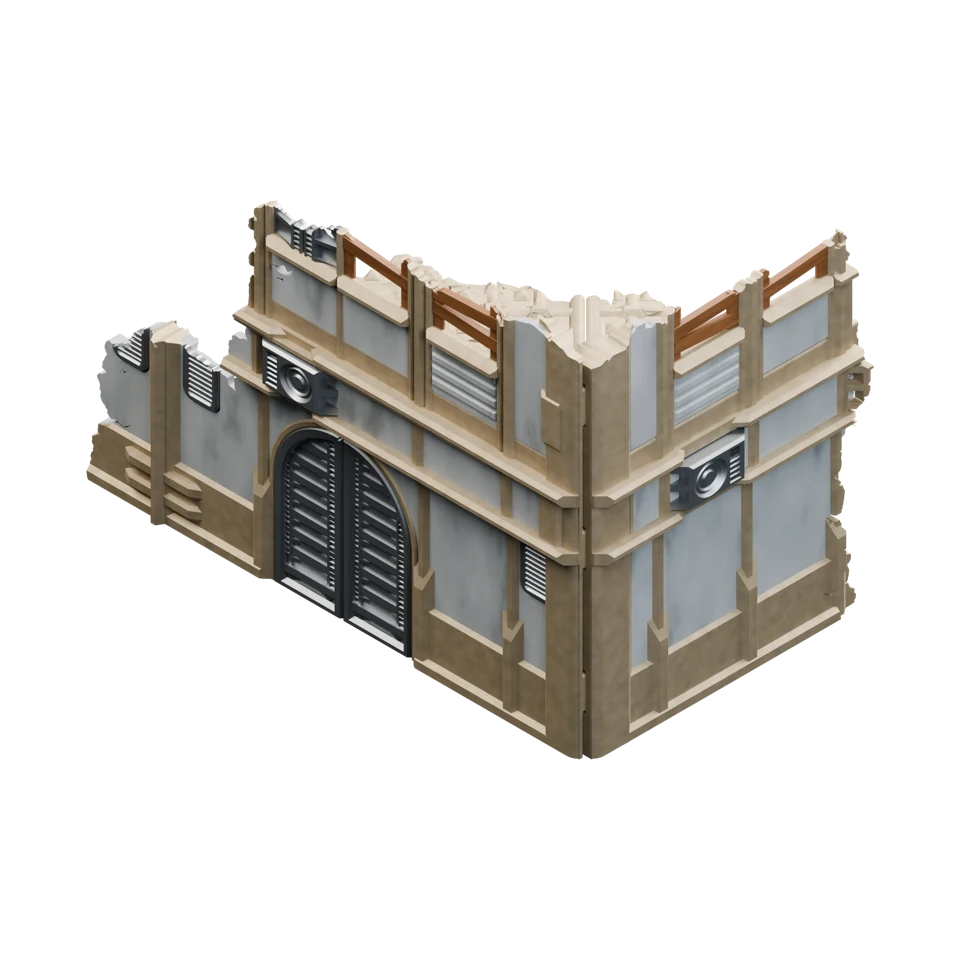 2×
IMPERIAL GOTHIC_G [GH].stl
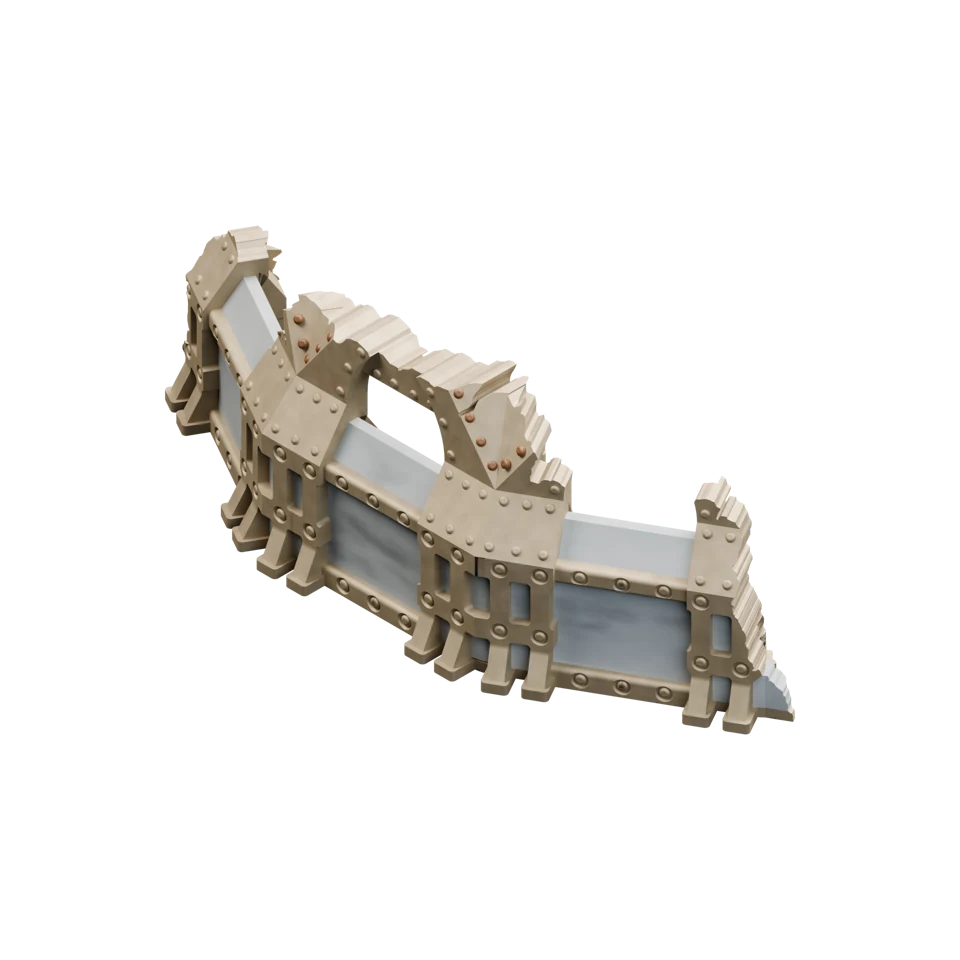 2×
IMPERIAL GOTHIC 2x4x2.stl
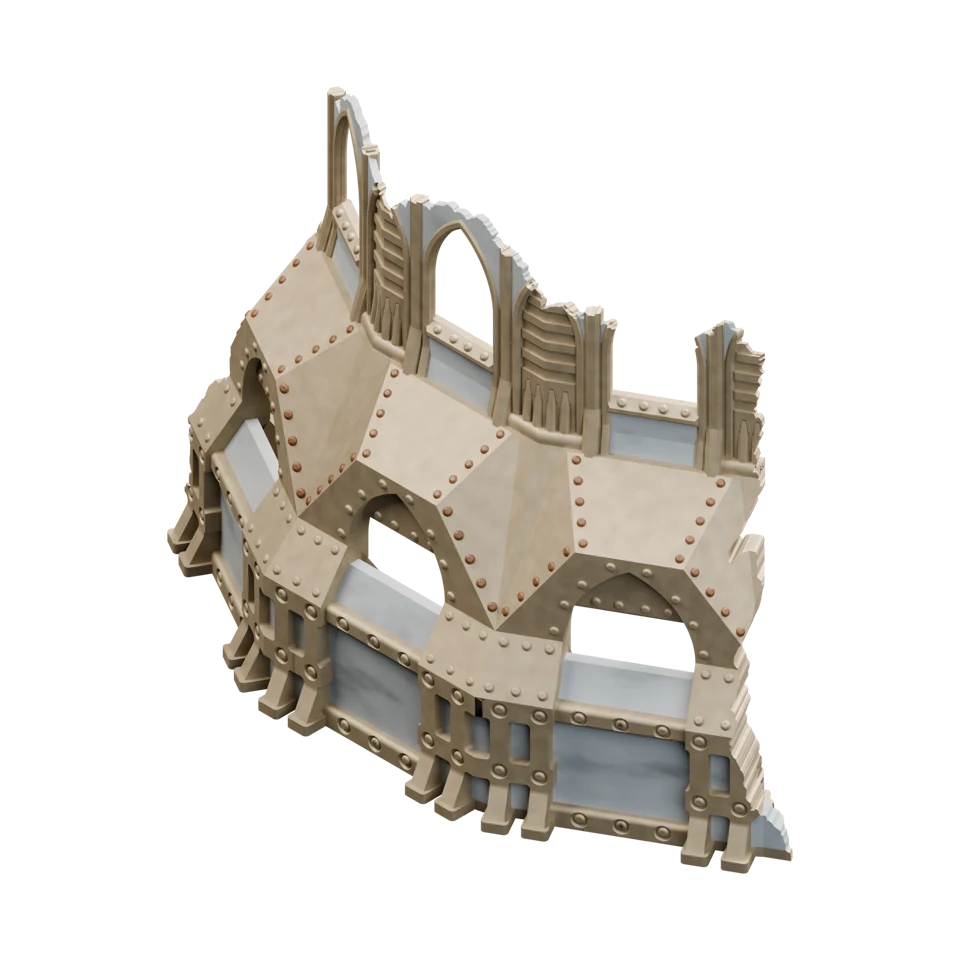 2×
IMPERIAL GOTHIC 2x4x4.stl
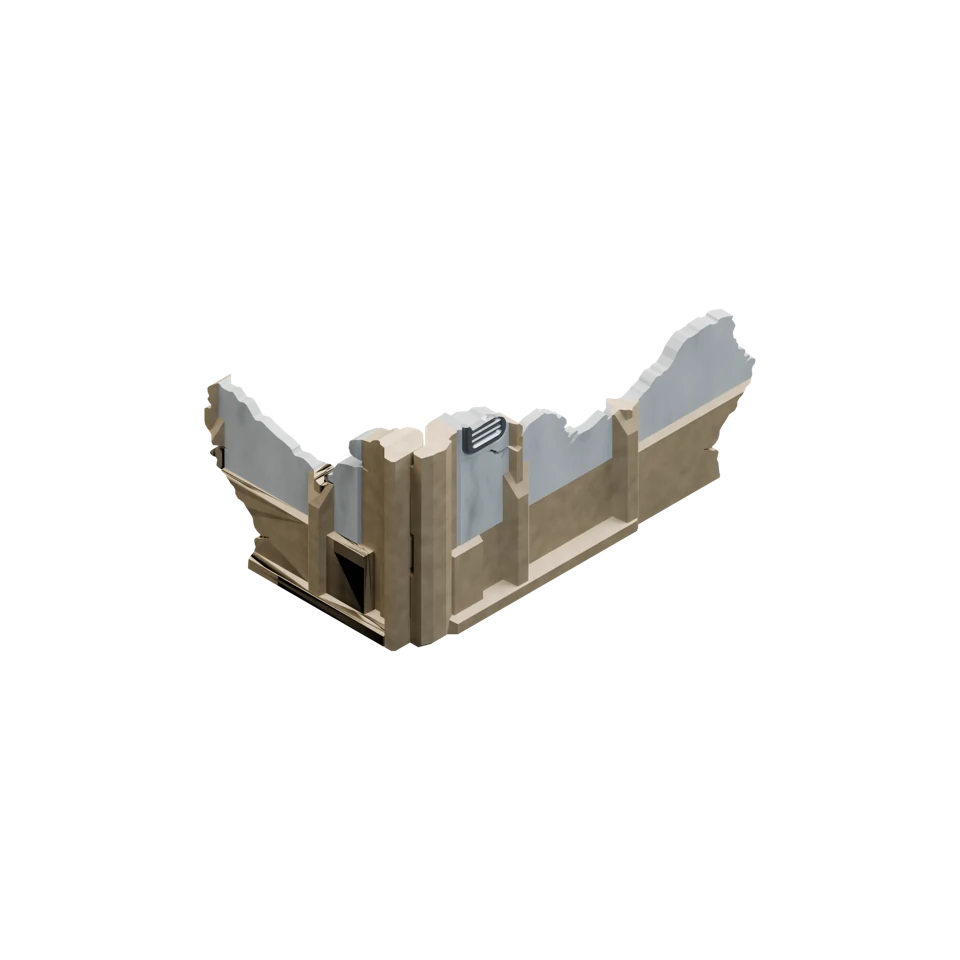 4×
IMPERIAL_SCATTER_A.stl
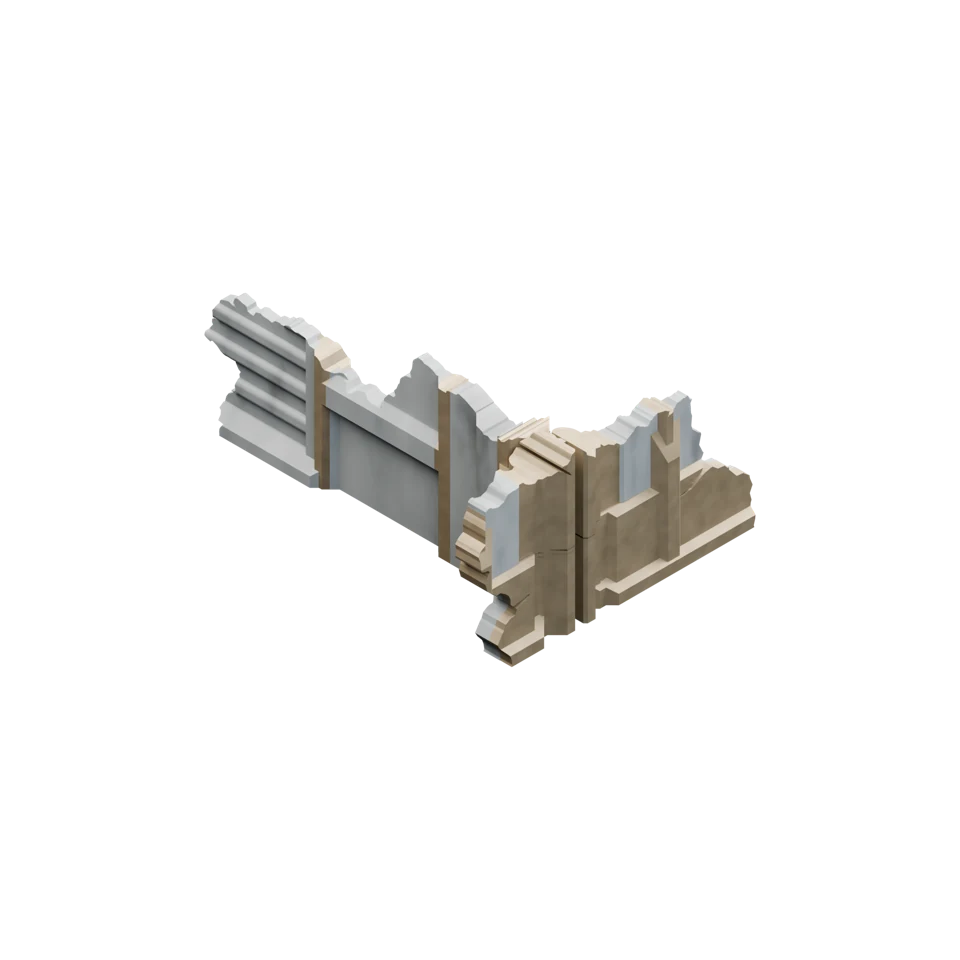 4×
IMPERIAL_SCATTER_D.stl
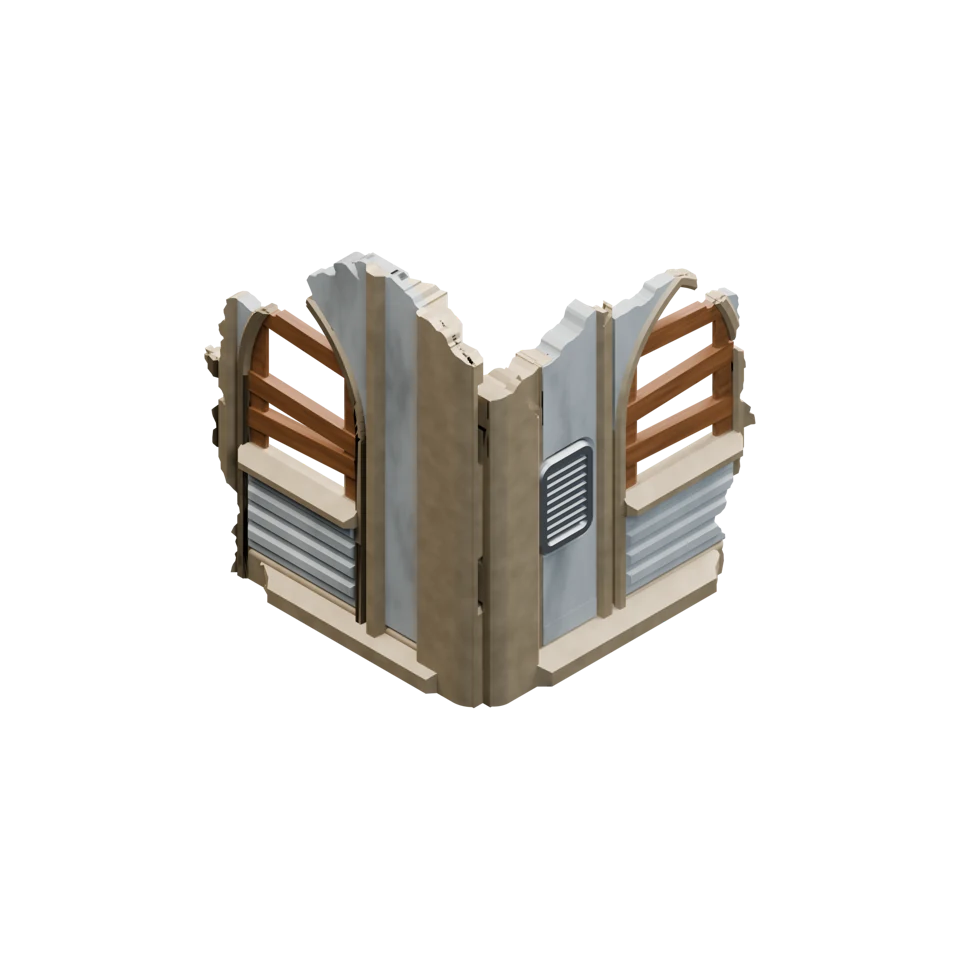 2×
IMPERIAL_SCATTER_E.stl
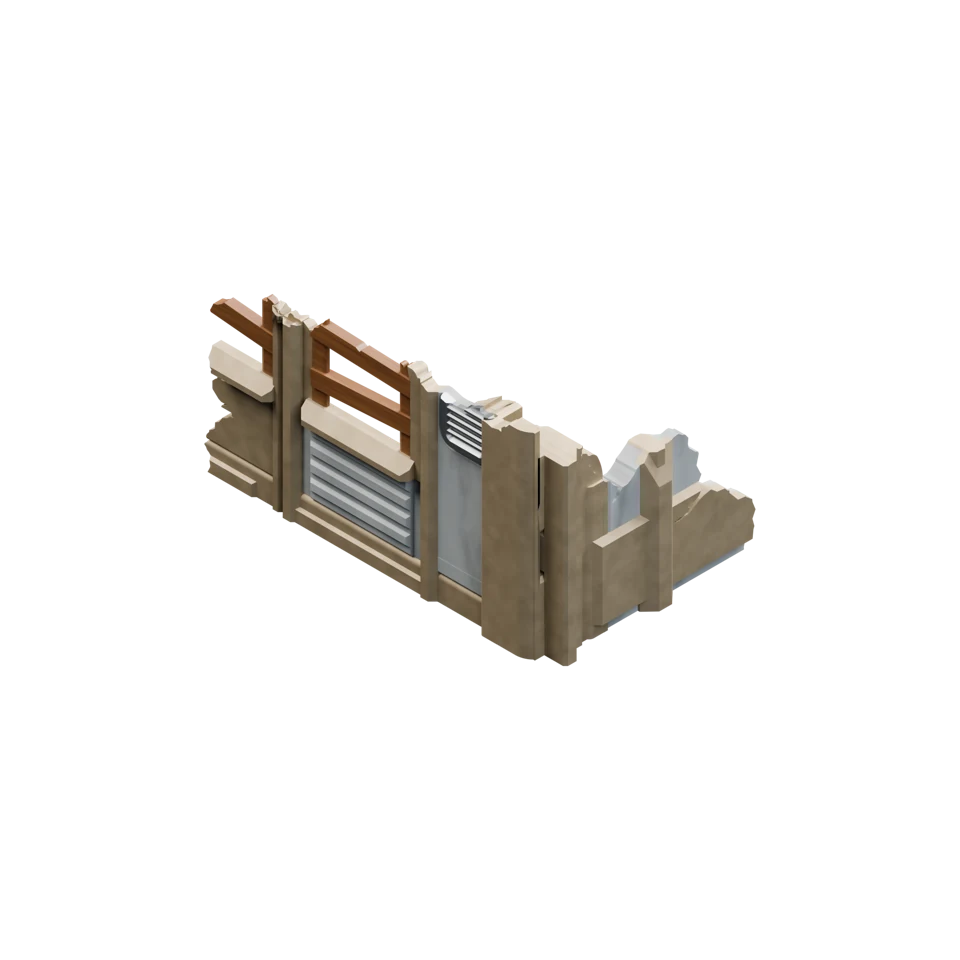 2×
IMPERIAL_SCATTER_F.stl
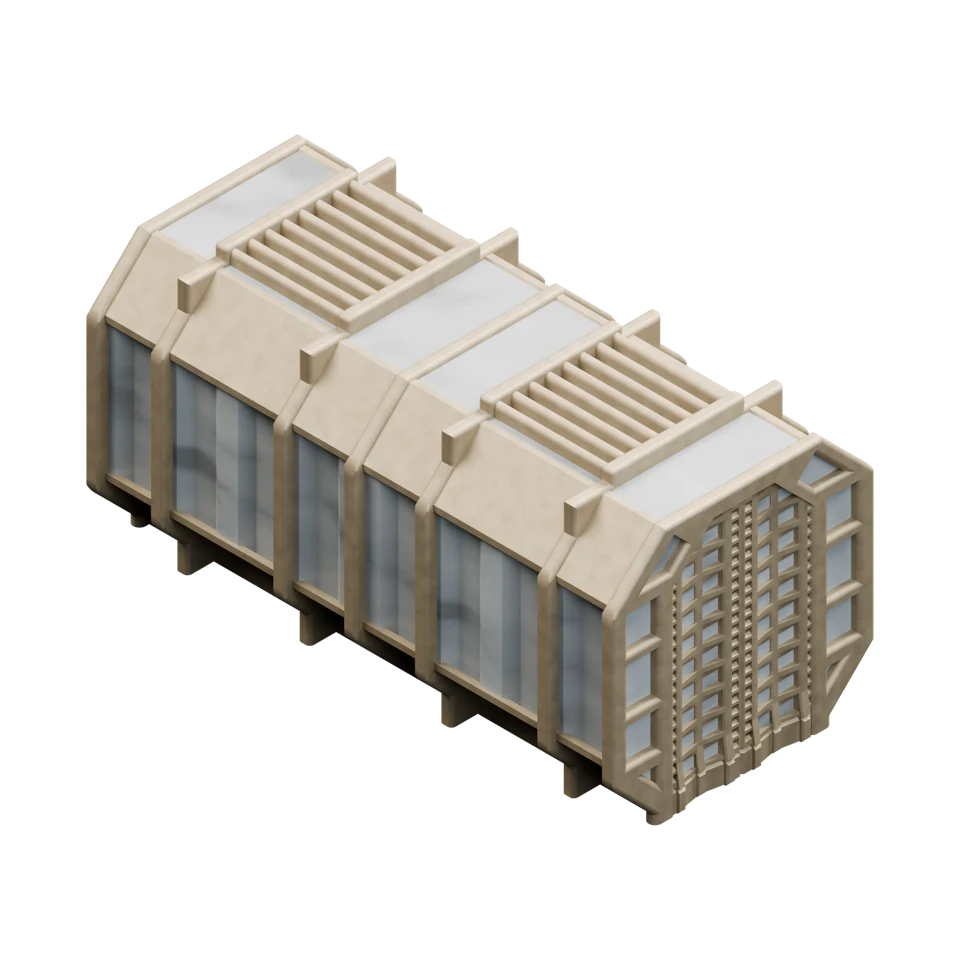 4×
CONTAINERS.stl
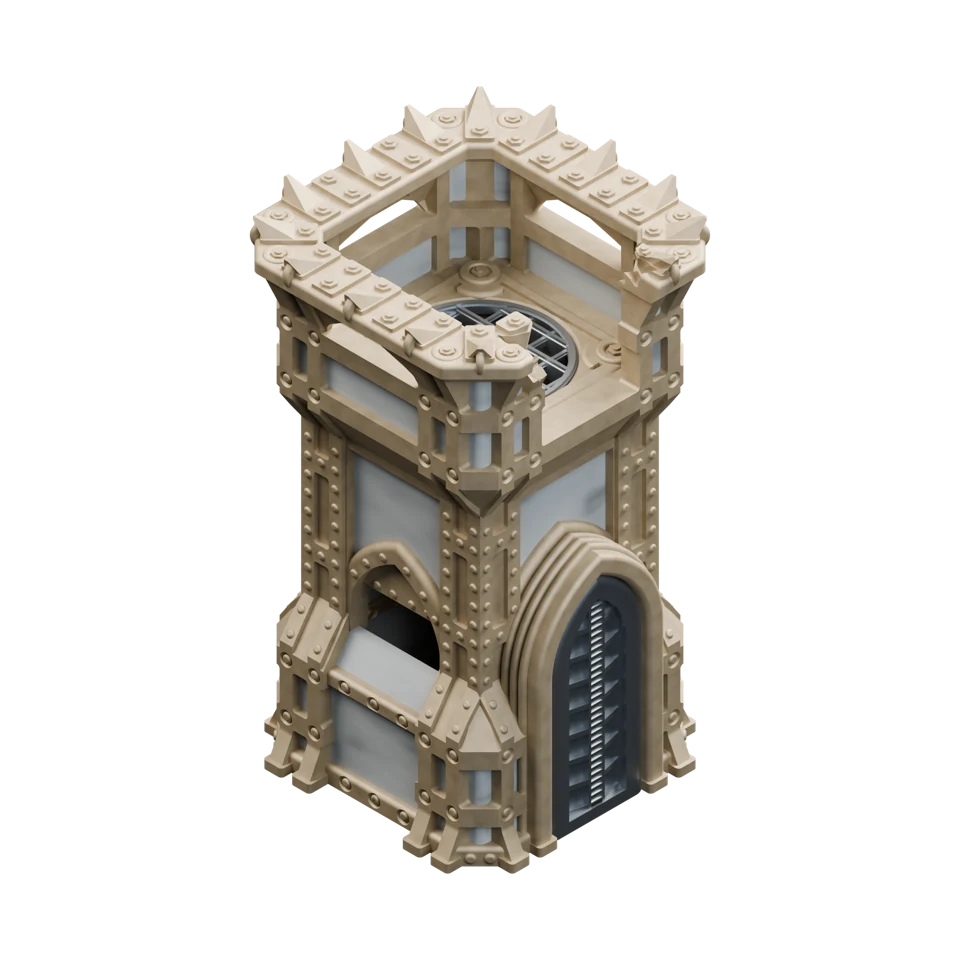 2×
IMPERIAL GOTHIC SINGLE CONTAINER.stl
Use the footprints included in your MMF bundle, the free terrain templates or footprints from another maker or official sources; what matters is having the footprints required by your layout. Tinker Junkie recommends the official GW footprints or third-party alternatives to help keep the table immersive.
2×2.5 × 10″
4×2 × 6″
4×4 × 6″
4×12 × 8″
2×11.5 × 7″
Start by laying out your area terrain footprints. Competitive 11th Edition tournament layouts use a shared set of footprints in different arrangements and orientations. Match the shapes and the letter pairs in brackets [AB], [CD], [EF] and [GH] to your multi-level ruins, then place your foldable terrain on the corresponding footprints. The foldable ruins have their letter combination embossed underneath the floors. The rest of the ruins follow the layout depicted in the following diagrams.
After a couple of setups, remembering what goes where becomes much easier. Use the visual guide below to check the pieces for each footprint alongside your event’s layout diagram.
Single containers + 2× Scatter D
1× low piece 2×4×2
1× tall piece 2×4×4
Stacked double containers
2× Scatter A
1× Ruin E [EF] + 1× Ruin G [GH]
1× Ruin F [CD] + 1× Scatter F
1× Ruin D [AB] + 1× Scatter E